A few years ago, I switch from shooting on a Sony A7iii to a bmpcc4k pro – mostly because my buddy Rob had one of these, we often shoot together, and we thought it would make sense to standardize on workflow and a shared set of lenses.
You can pickup one used for about $1000 US – often with a cage and a bunch of other addons.
The chief drawbacks of this camera are:
- no image stabilization
- no continuous autofocus
If you’re OK with that, it’s an absolutely amazing camera.
I decided to start a page similar to my Resolve Tips page to record what I’ve been learning about shooting with this camera.
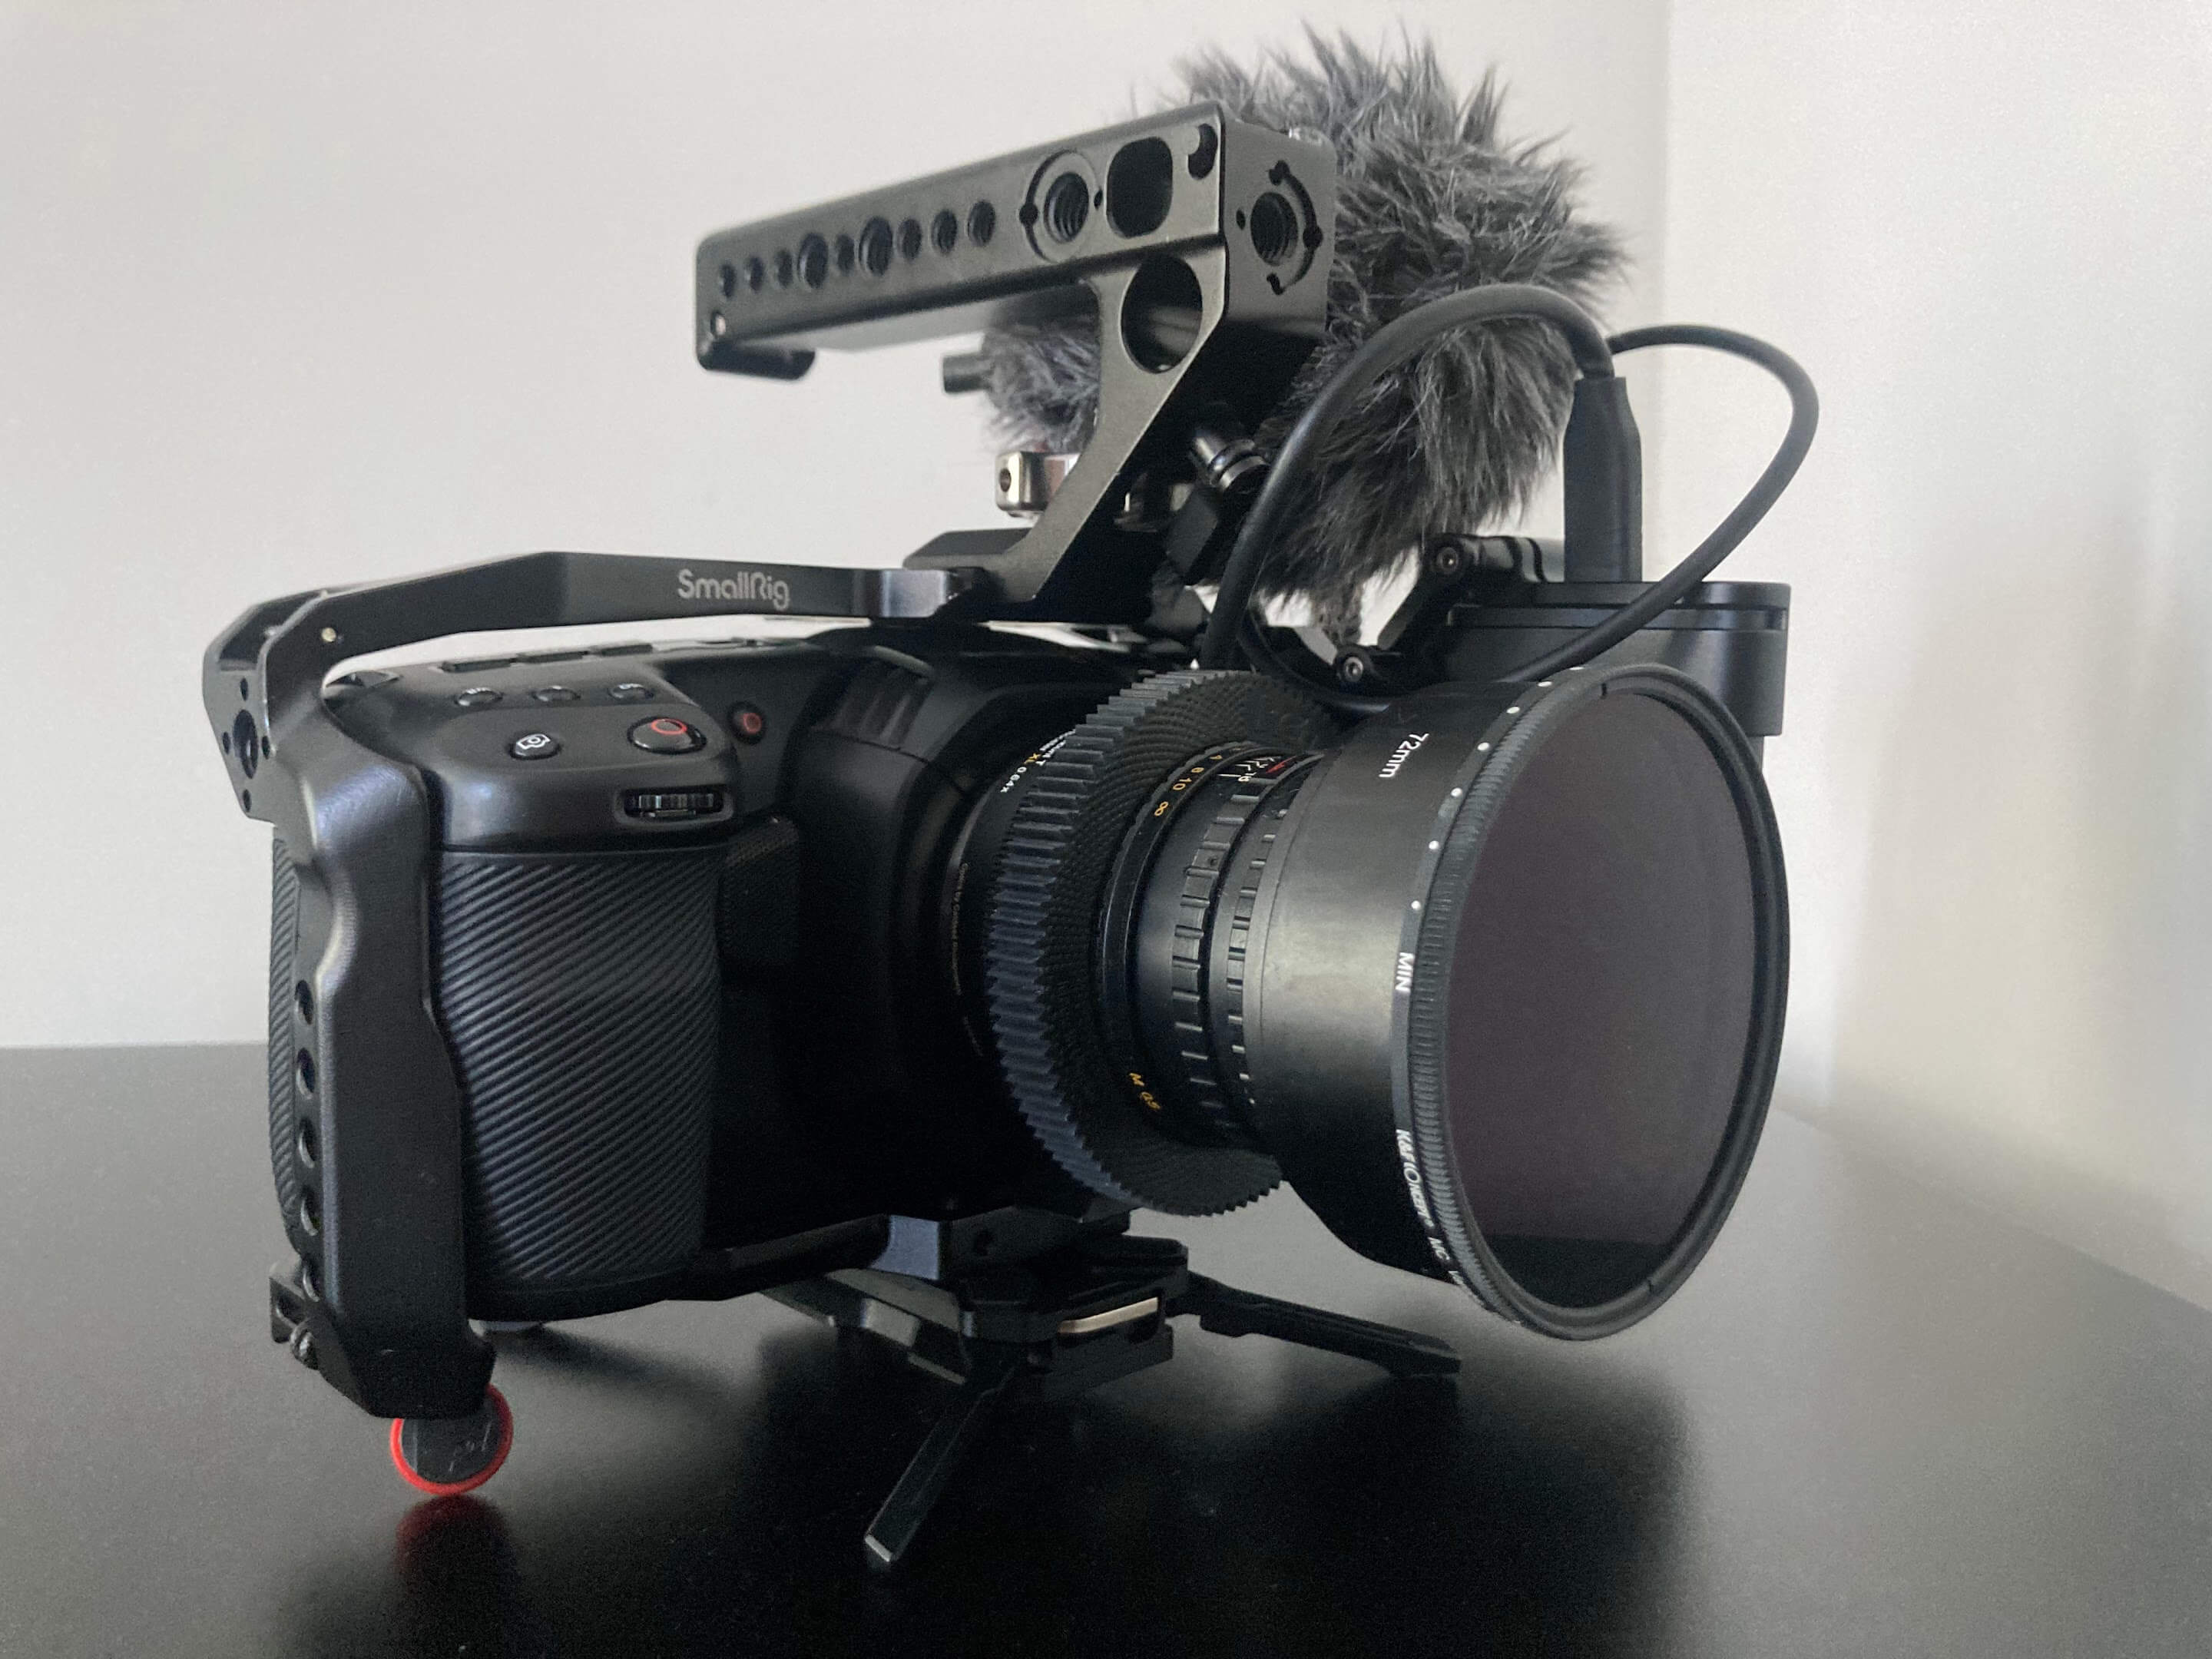
bmpcc4k
Lenses
We mostly shoot on the absolutely gorgeous Voigtlander Nokton f/0.95 primes. Rob has a 10.5mm, 25mm, and 42.5mm and I have a 17.5mm (these equate to 20mm, 33mm, 47mm, and 81mm with crop factor).
I also have a Helios 44-3 58mm f/2.0 lens which I have been loving, a Canon FD 28mm f/2.8, and a Canon FD 50mm f/1.4. I haven’t shot too much on the Canons yet.
I made this spreadsheet to easily convert all the crop factors to the bmpcc4k pro sensor size with various speed boosters / lens adapters.
Exposure and False Color: Skin Tones
This video recommends using False Color to expose not for the whitest highlights or blackest shadows, but for skin tones.
Rule of thumb:
- pink for people with lighter skin tones
- green for people with darker skin tones
Recording Format
I have been using Constant Bitrate 8:1 most of the time (Jun 2023).
One issue I ran into a few months ago was absolutely huge file sizes without much benefit when using one of the higher quality Constant Quality settings (I can’t recall which).
Stabilize with a Camera Strap
I don’t have the steadiest hand in the world, so given the lack of image stabilization, I was looking for some additional ways to stabilize.
I tried gimbals, but these are quite a bit of overhead for quick stuff, and I eventually landing on just using a camera strap.
I got the Peak Slide. It’s got a great little quick release system to make taking it on and off quickly.
My only gripe is I wish the minimum length was a few inches shorter.
Handheld Tips
- AOD Cinematic Eye // Handheld Camera Setups
- strongly recommends the “ninja-walk” (heel to toe walking)
- strongly recommends “matching your steps” to the walking subject on screen
- strongly recommends getting a shoulder rig when shooting more than 10m at a time of handheld
- Mark Bone also recently Rx-ed on YouTube getting a cine-saddle for handheld
- Handheld Camera Filming Techniques // with BMPCC 6K Rig
- low: kneel on ground, stabilize against kneeling leg
- lower: rest camera on shoe
- mid: rest camera against hip / body, hold the top handle
- higher: rest on shoulder
- Shoot Better Handheld w/ the BMPCC 4K//6K
- put weight on your camera (will help stabilize)
- hard to short longer lenses without a tripod - shot on 21mm, not > 50mm
- don’t lock up your muscles - keep your muscles relaxed, sway back and forth (but not too much) - let your camera flow
- use a TOP HANDLE
- practice, practice, practice
- stabilized lenses - may not be best for low light, but can be good daytime outdoors
- try shooting higher framerate and slow it down
- learn by doing, practice, make mistakes
-
[Shooting Handheld Tips on getting stable footage ( BMPCC 4k / 6K )](https://www.youtube.com/watch?v=yTLNOCl-IZE) - reasons to short handheld:
- 1 - speed (of setup), of switching gears
- 2 - movement - likes a bit of floating movement vs locking down
- control your BREATHING
- keep things CLOSE TO YOUR BODY, more points of contact
- kneel down
- dont’ fight movements
- add weight to your rig
- know how to hold your rig
- know what you can / cannot stabilize in post (long and slow pan shot easier to fix than quick erratic movement)
- do long interviews with tripod, save handheld for shorter ones
- reasons to short handheld:
Panning Speed
One thing with shooting at 24fps is you really have to move the camera quite slowly – when you pan, tilt, or do any other movement – to avoid judder.
RED has a nice article on camera panning speed that is quite instructive. Some tips:
- smaller sensors require slower movement
- longer focal lengths require slower movement
-
The rule of thumb is to pan no faster than a full image width every seven seconds
-
The seven second rule of thumb is based on traditional theatrical viewing at 24 fps with a 180° shutter angle. Varying either setting can influence the appearance of panning and change the optimal panning speed.
-
Most cinematic pans are performed near 180°
- for a fluid / dreamlike vibe, use:
-
faster panning and a larger shutter angle, for example.
-
-
landscape detail may benefit from slower panning and a smaller shutter angle.
- Cf. RED Panning Speed Tool
- Cf. an instructive blackmagic forum thread on panning and judder
Seated Interview Tips
- Shoot lots of “nodding yes” shots – even just as b-roll – so you have something to cut to in the edits.
- Shoot one of the cameras handheld (if you have 2 cameras).
- Get BOTH EYES in the secondary (close-up) shot.
Blackmagic Camera iOS App
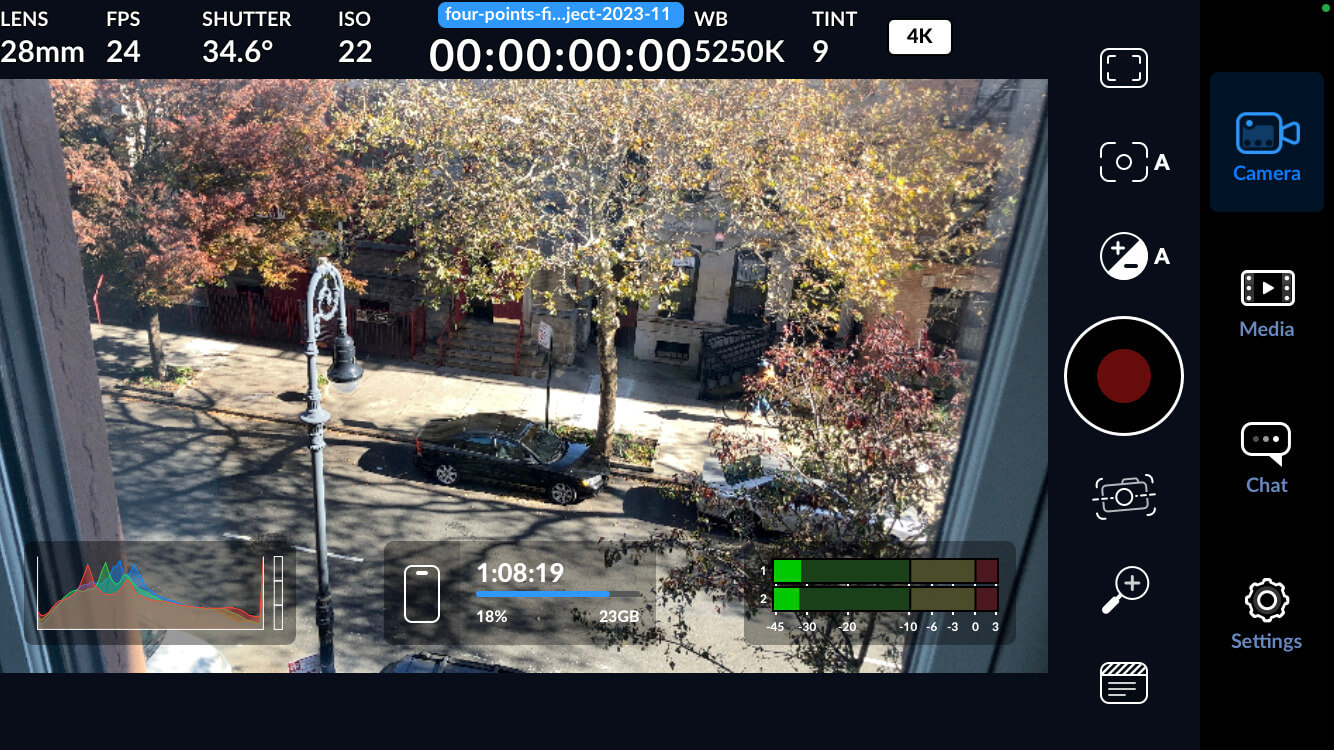 Blackmagic Camera for iOS.
n Sep 2023, Blackmagic released a their Blackmagic Camera app for iOS.
For a long time, I’ve been on the hunt for the best video camera app for iOS – I’ve tried ProCam, Pro Camera by Moment, Filmic Pro, and probably a few others I can’t recall.
All of these are fine and give you easier access to some of the more nuanced controls that the native camera app buries, but to be honest, I never loved any of them nor spent enough time in any one of them to really feel like I had “mastered” the UI to the point where I felt as comfortable as I do in the Blackmagic UI.
Even little things like a different legend / color scheme for false color, for example, kind of make a difference.
Camera Name + Filename Convention
In settings, set Filename Convention to Blackmagic Camera and in Camera settings (page 2) set your camera name (and suffix with - or _) for filenames that easily identify footage from this device:
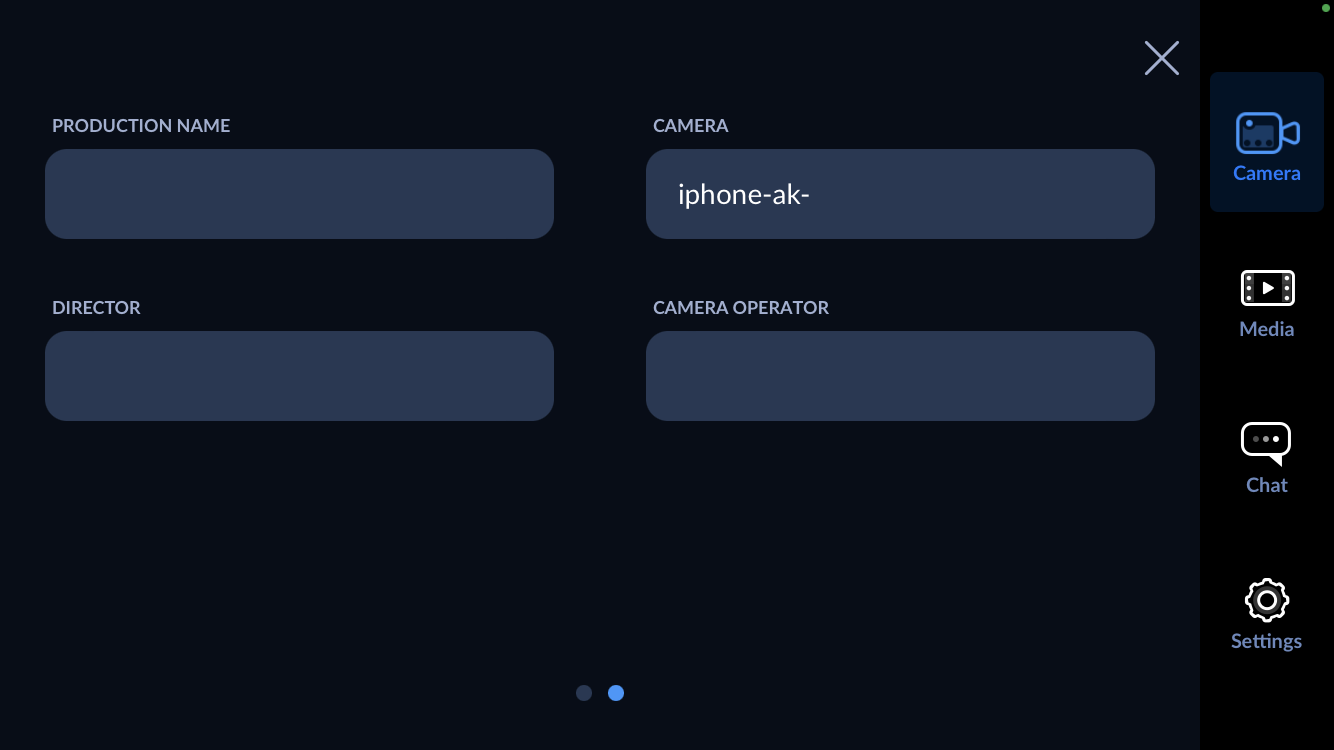 Set camera name.
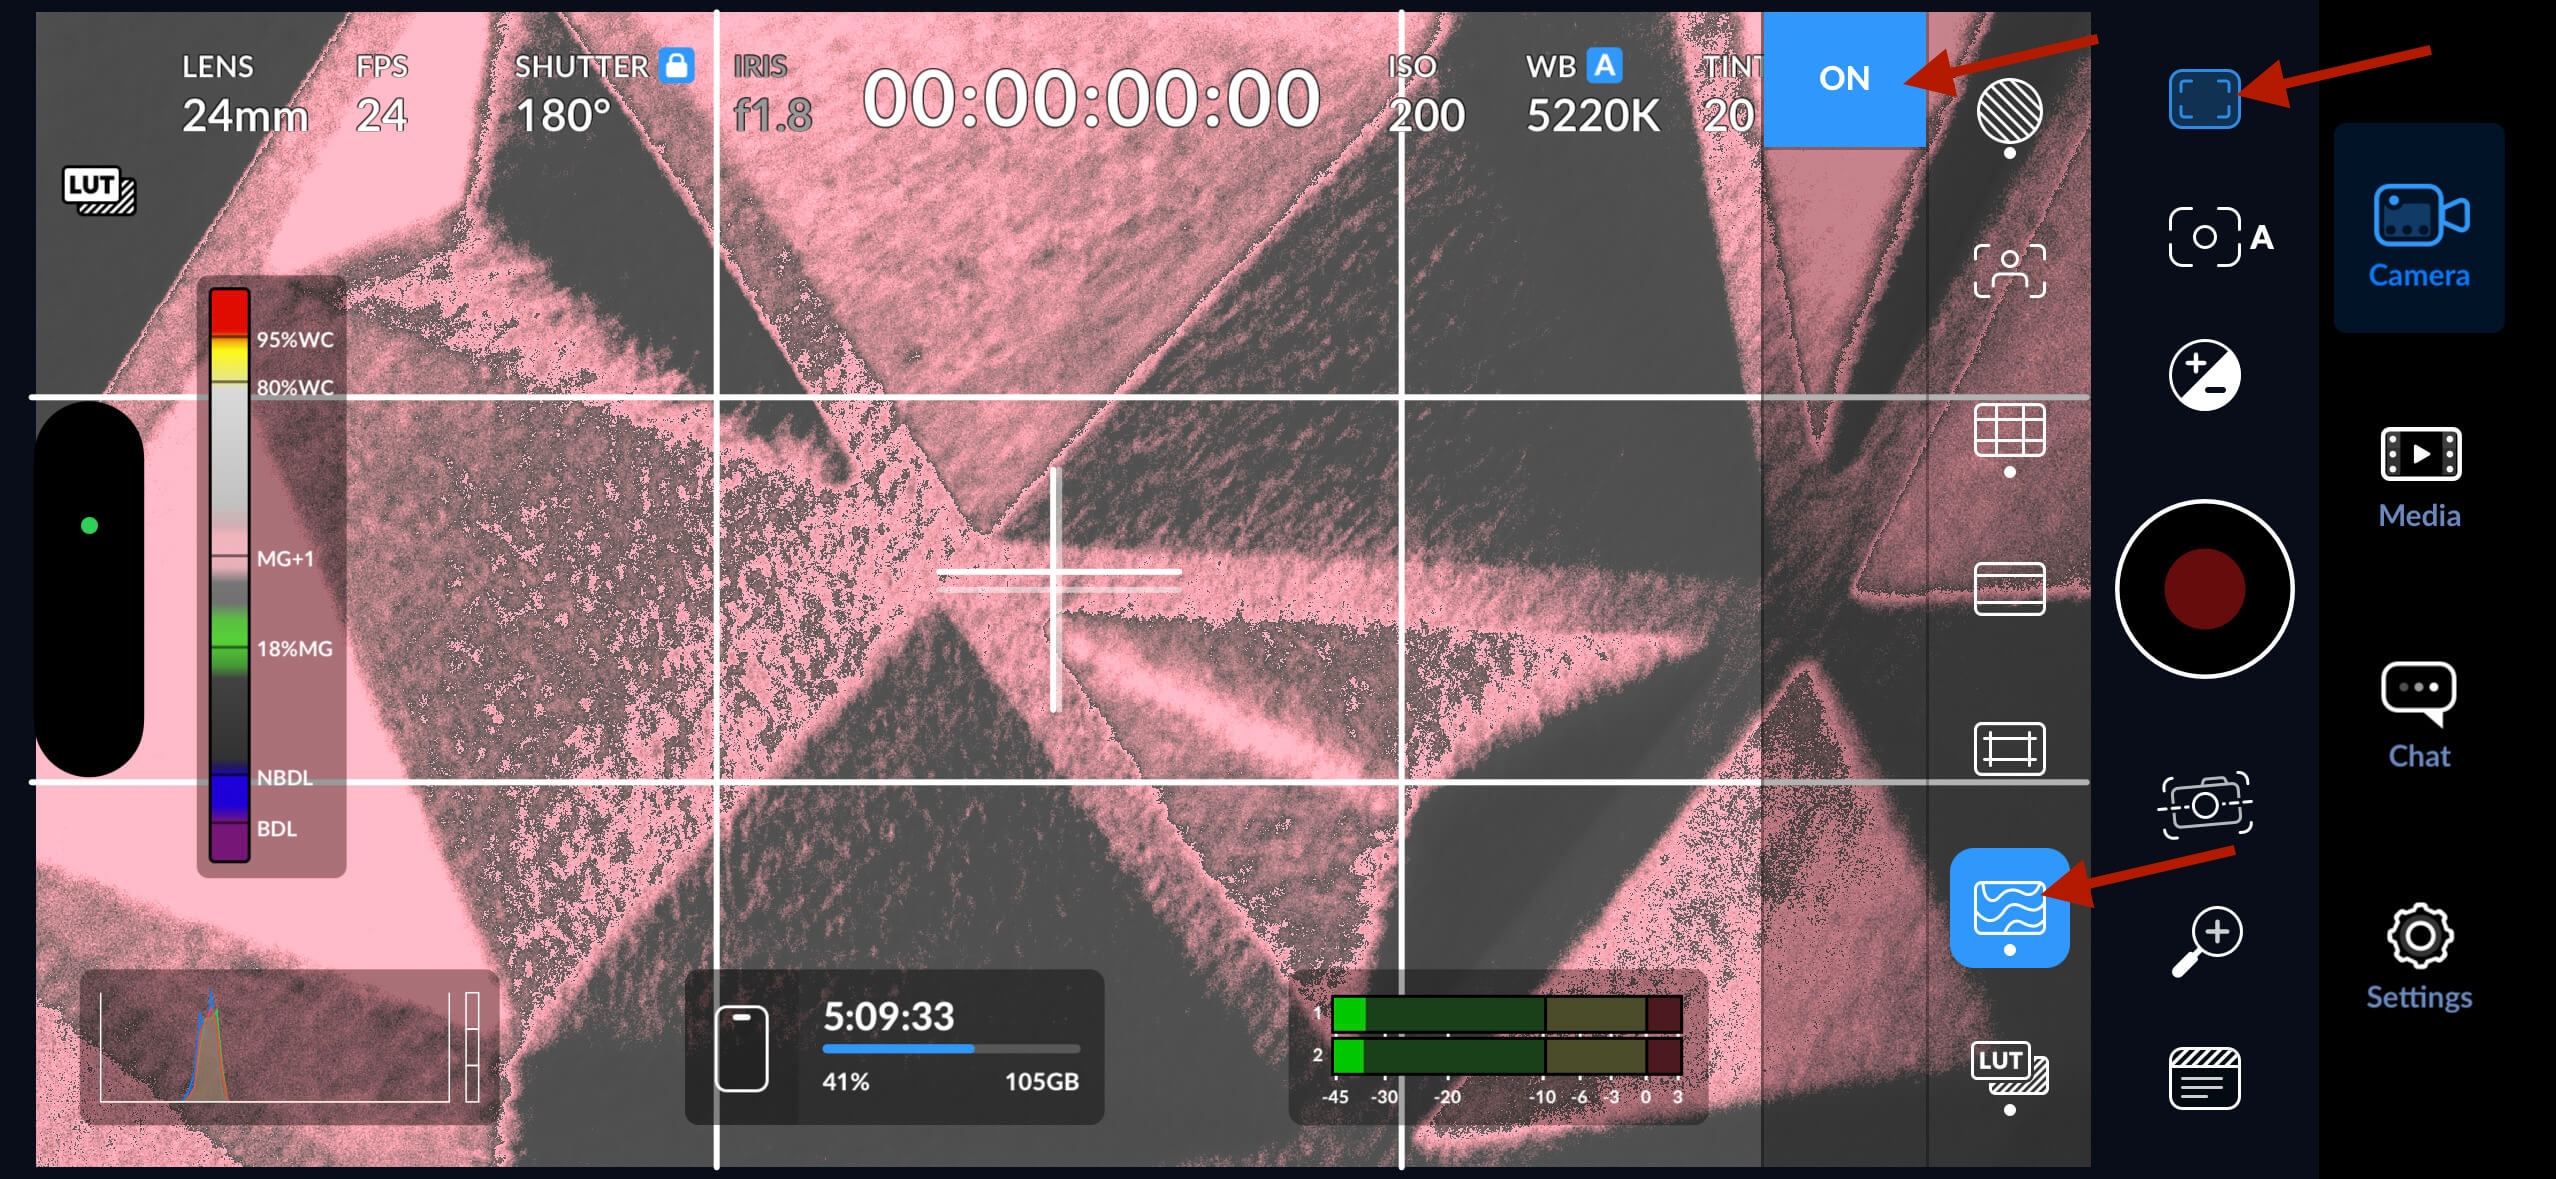
Blackmagic Camera iOS App False Color
It took me quite awhile to find this setting, so logging it here for future self…
Hit the top button in the left column of menus on the right side of the screen (Monitor Controls), the 6th button down (False Color), then change from Off to On:
Shooting with iOS Native Camera
Sometimes you can’t beat the ease / speed of getting to the native camera with a quick swipe from the home screen. Here are a few notes on the native camera app.
Tweak Default Settings
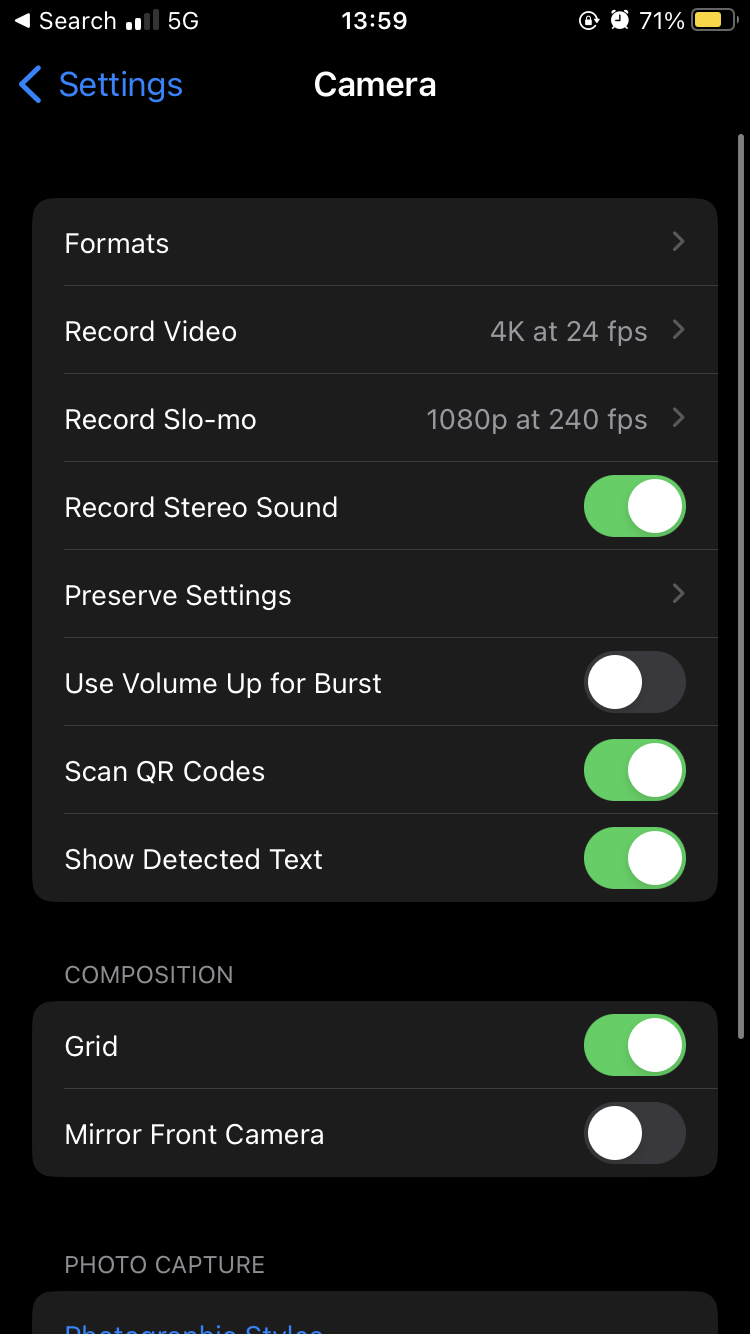
In the native Settings app, I set things like Record Video to 4k at 24 fps, Grid to On, etc:
Is it possible to disable autofocus feature in native video camera (low lit locations)
Q from twofoursixeight on this Apple forum thread.
A from bengamin:
Kinda. There is an option to lock the focus. If you aim at a subject and hold your finger on the screen the focus aid will flash and then lock your focus on your desired subject. This will also lock the exposure. When this happens you should have AE/AF Lock displayed on your screen. Hope this helps.