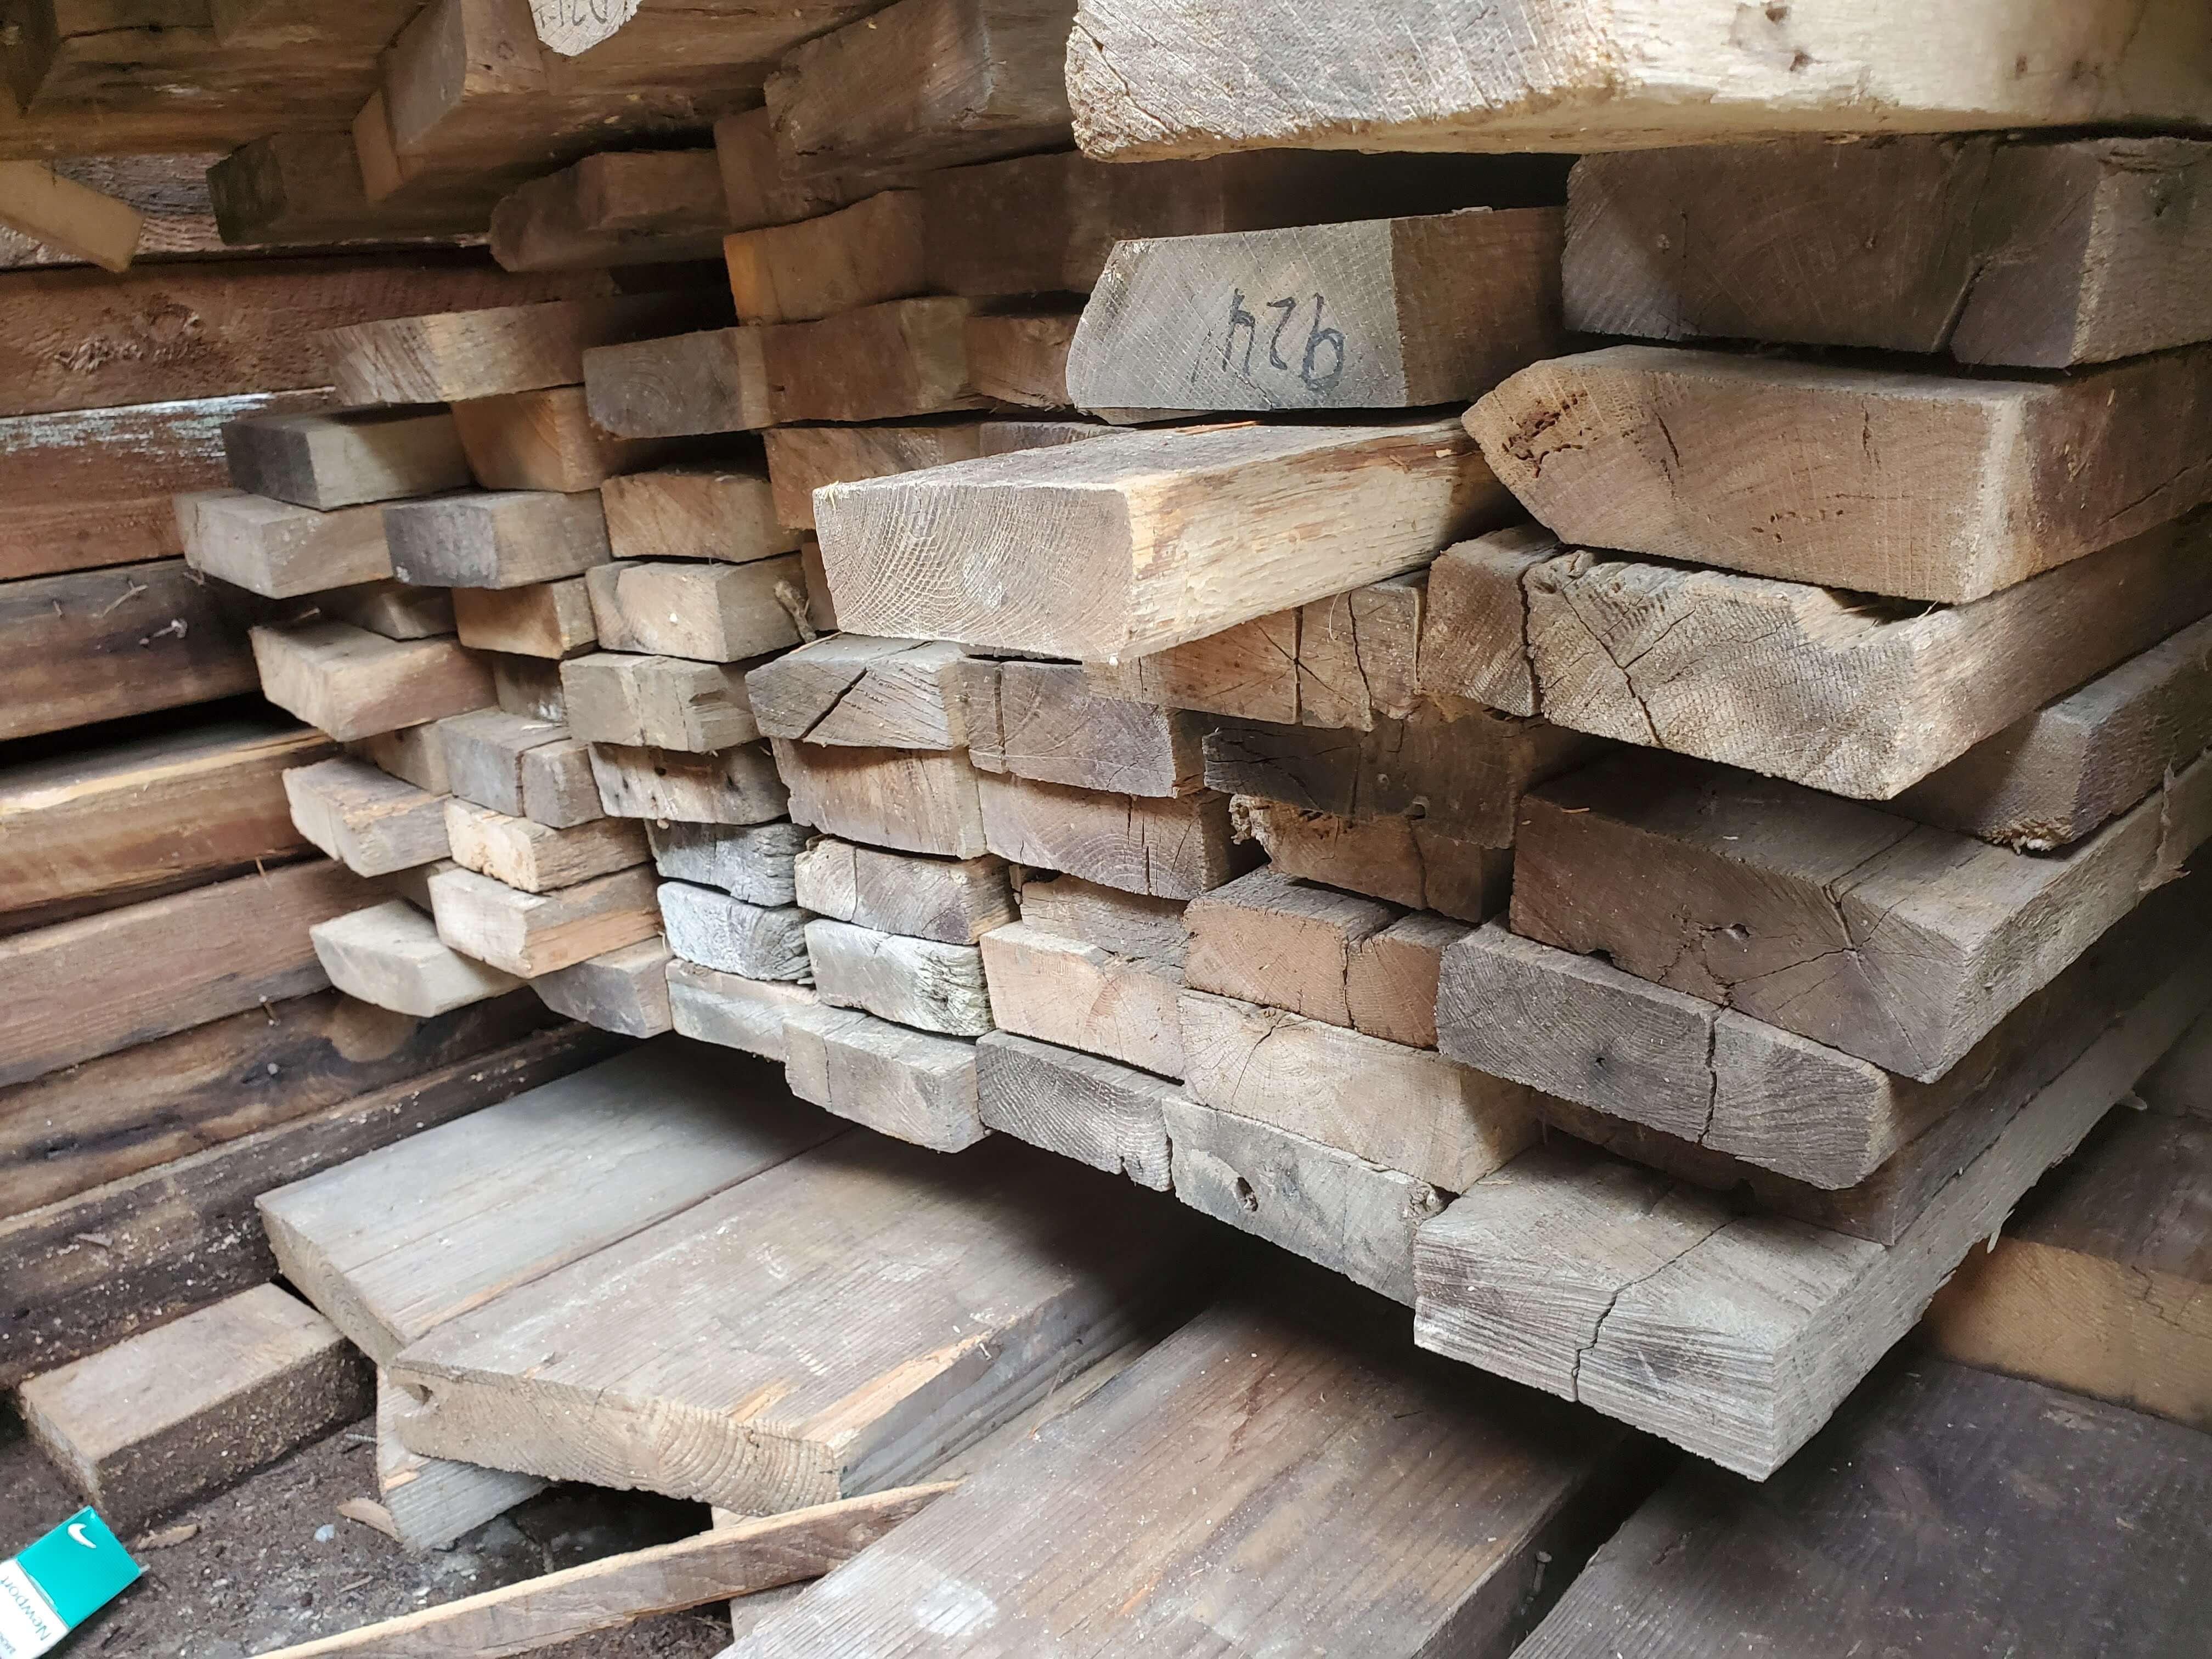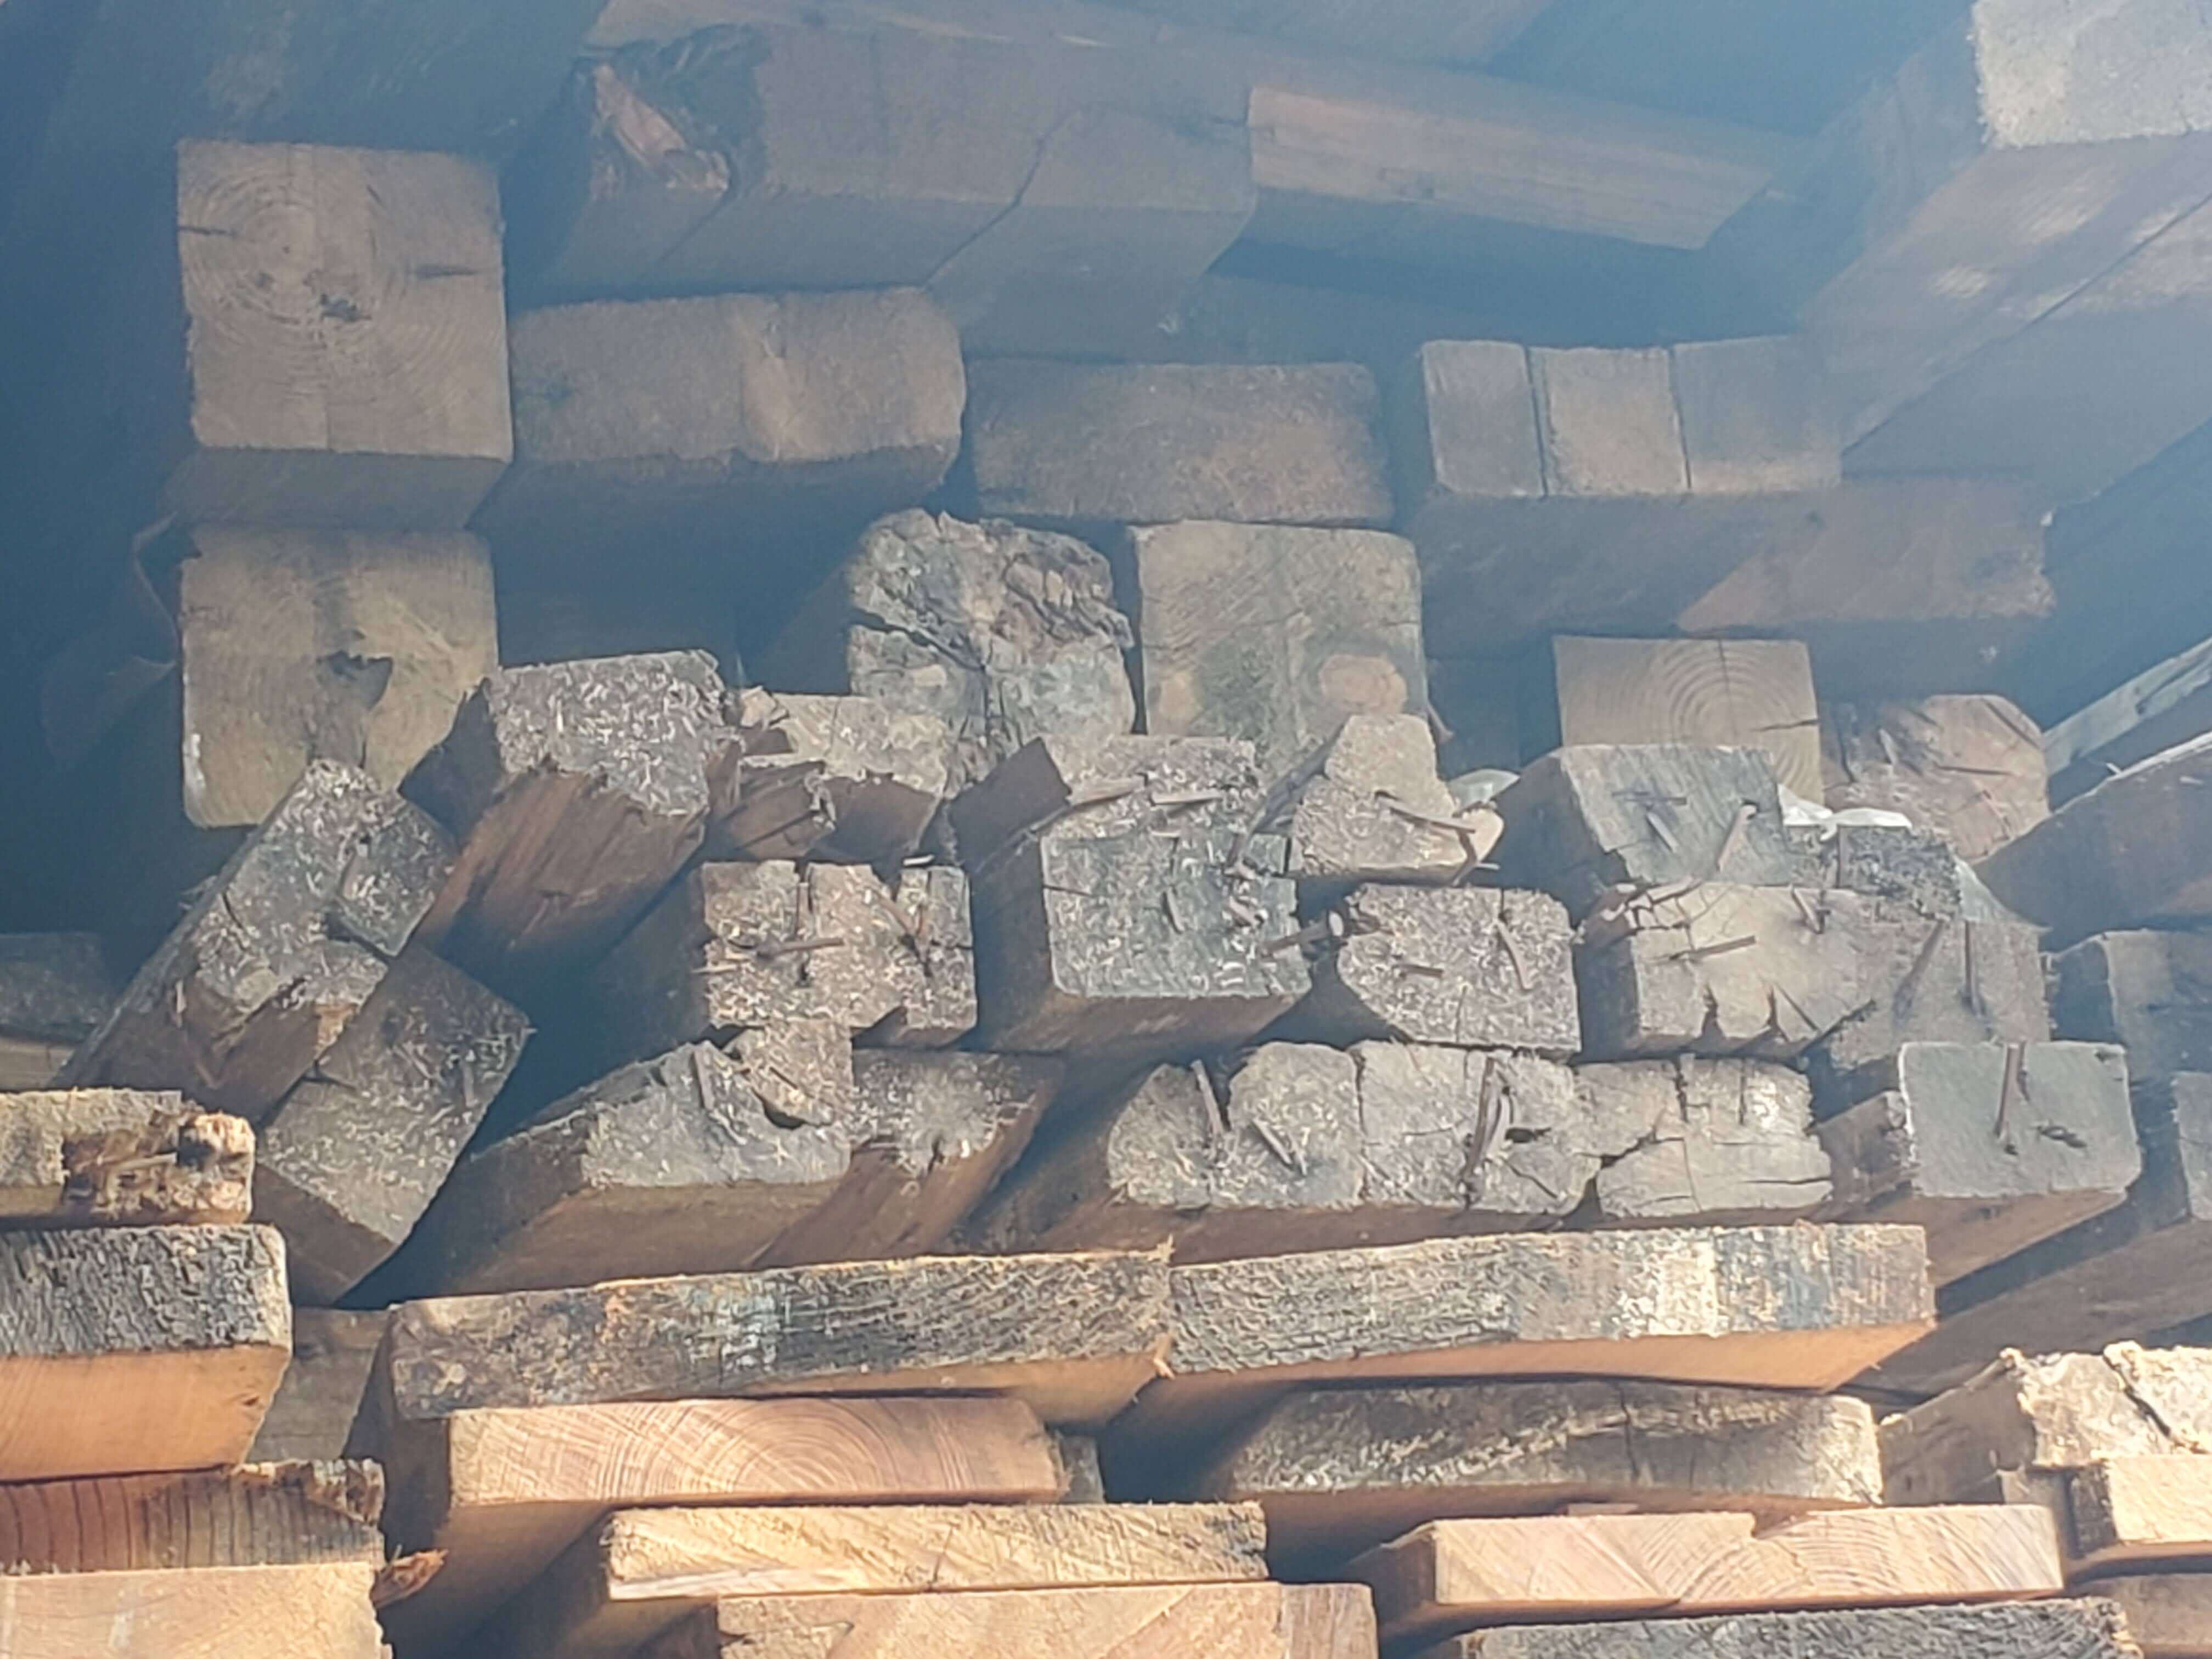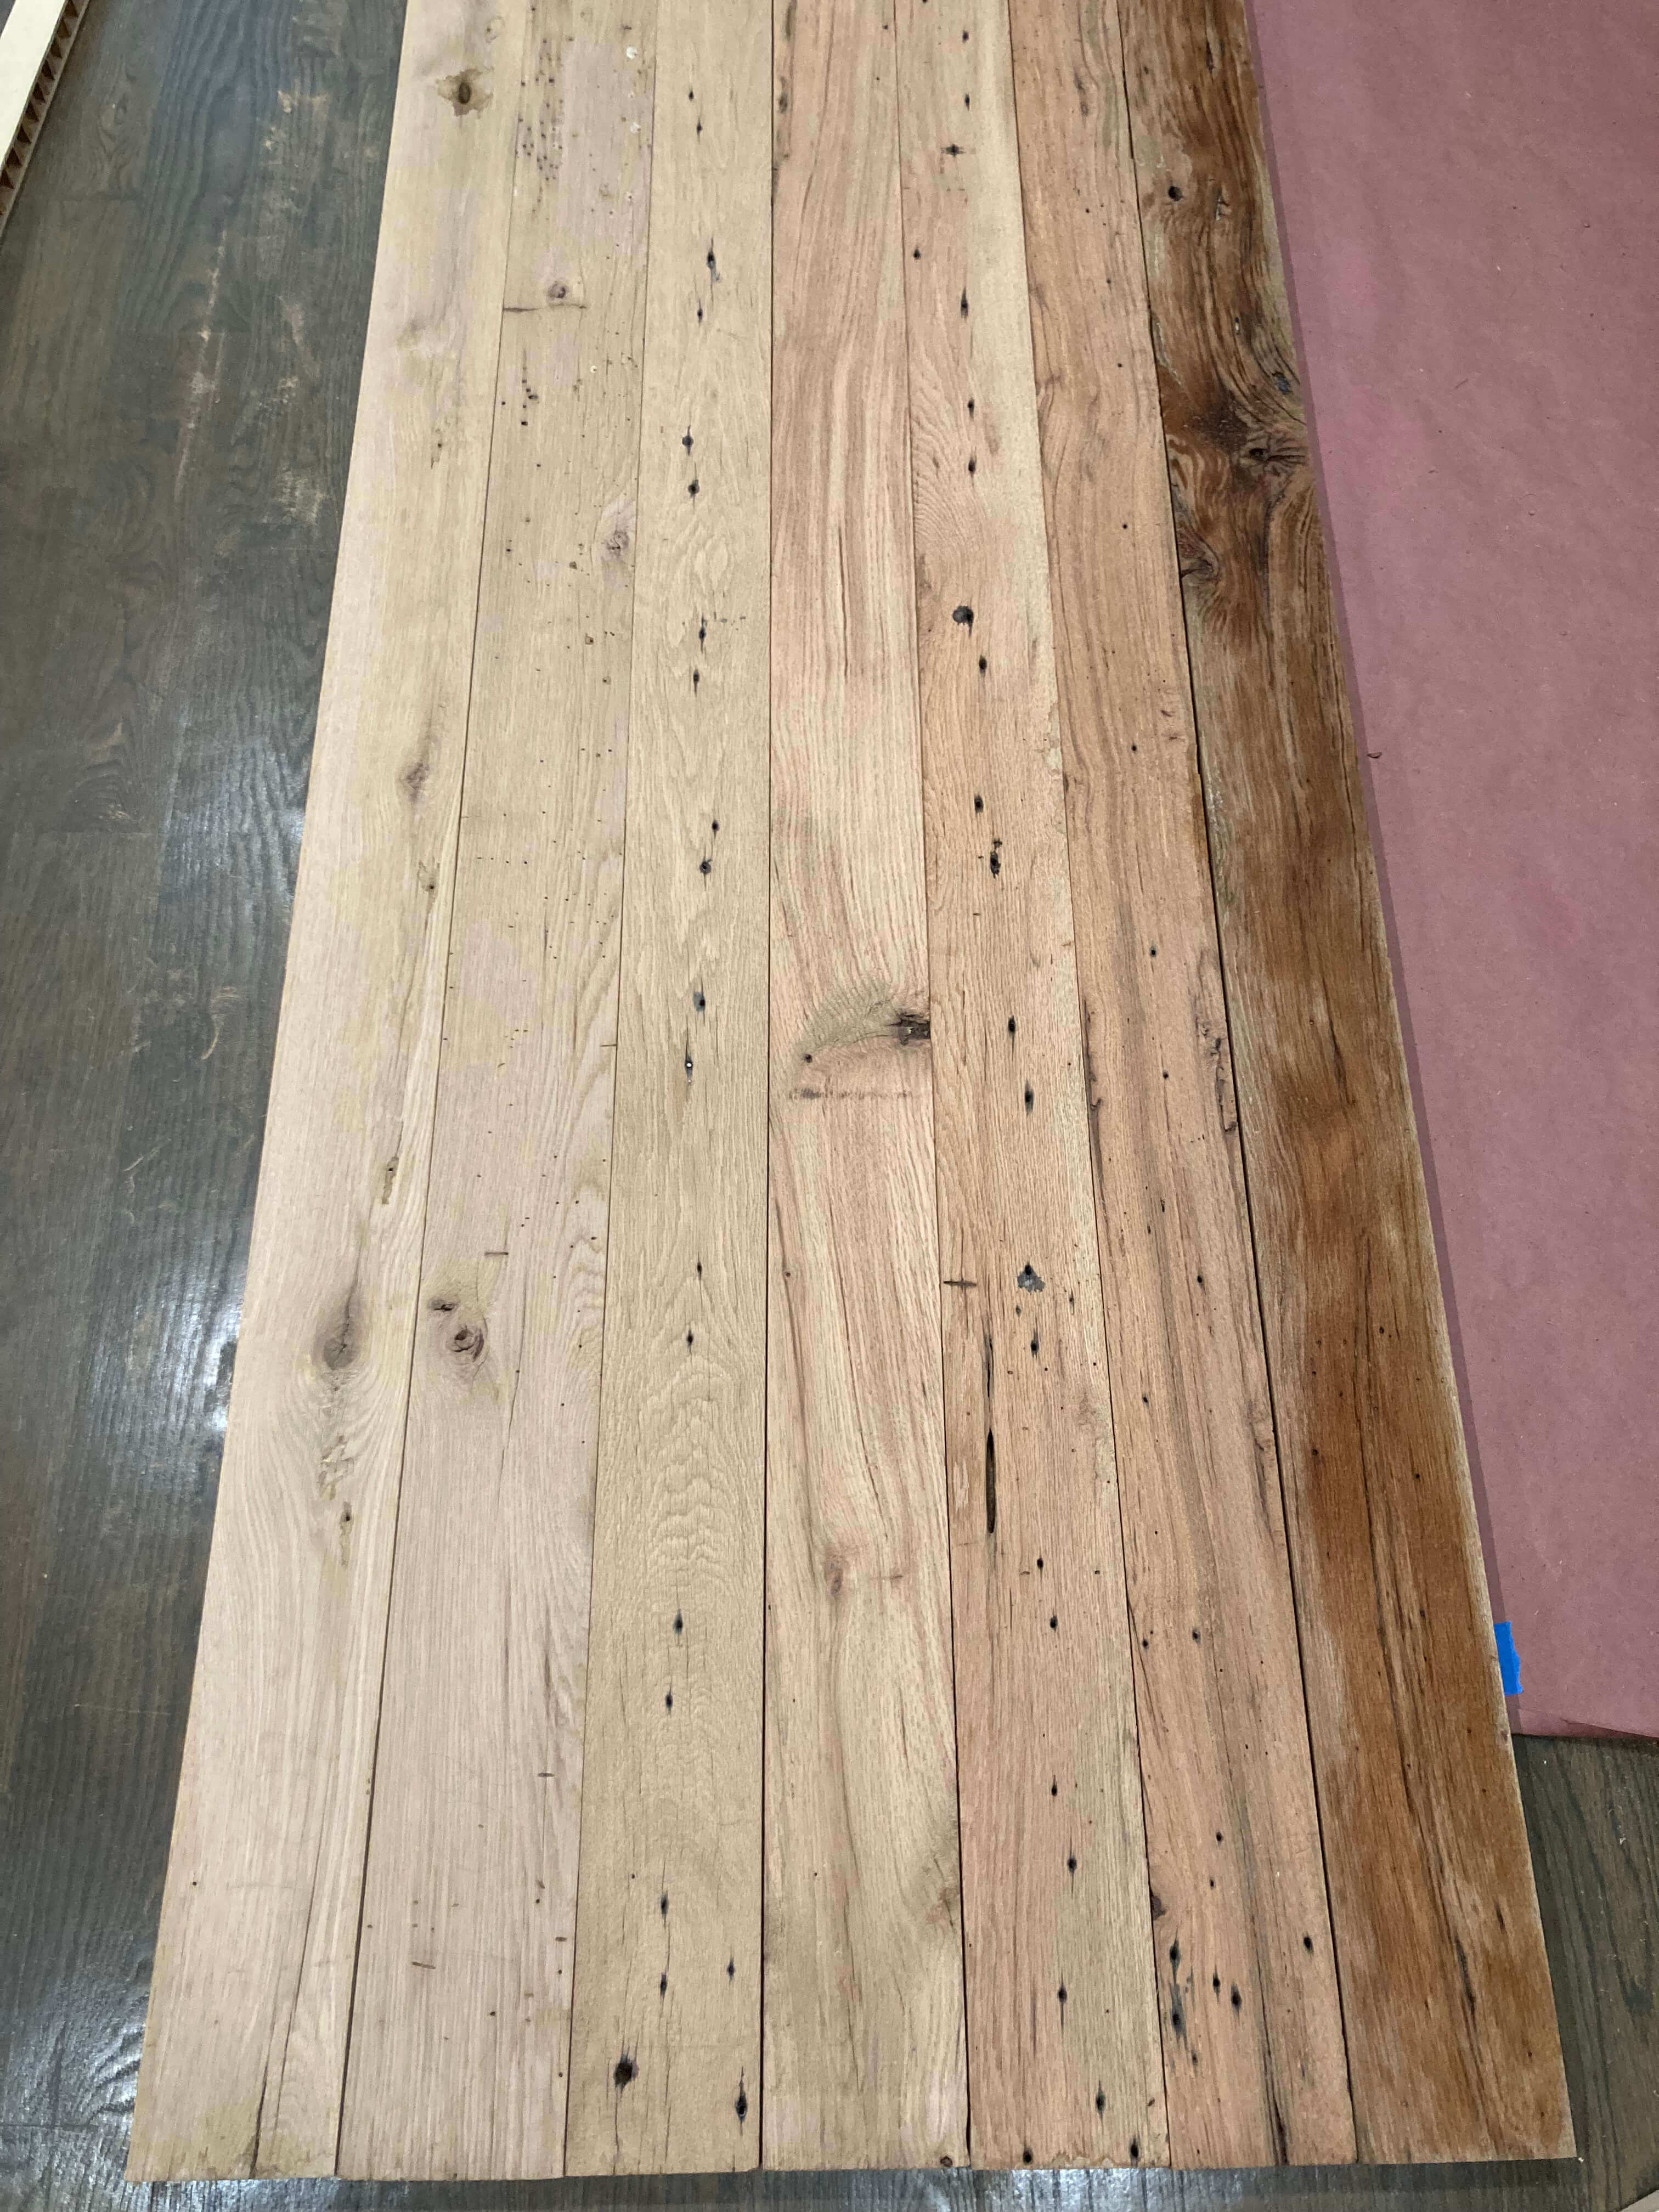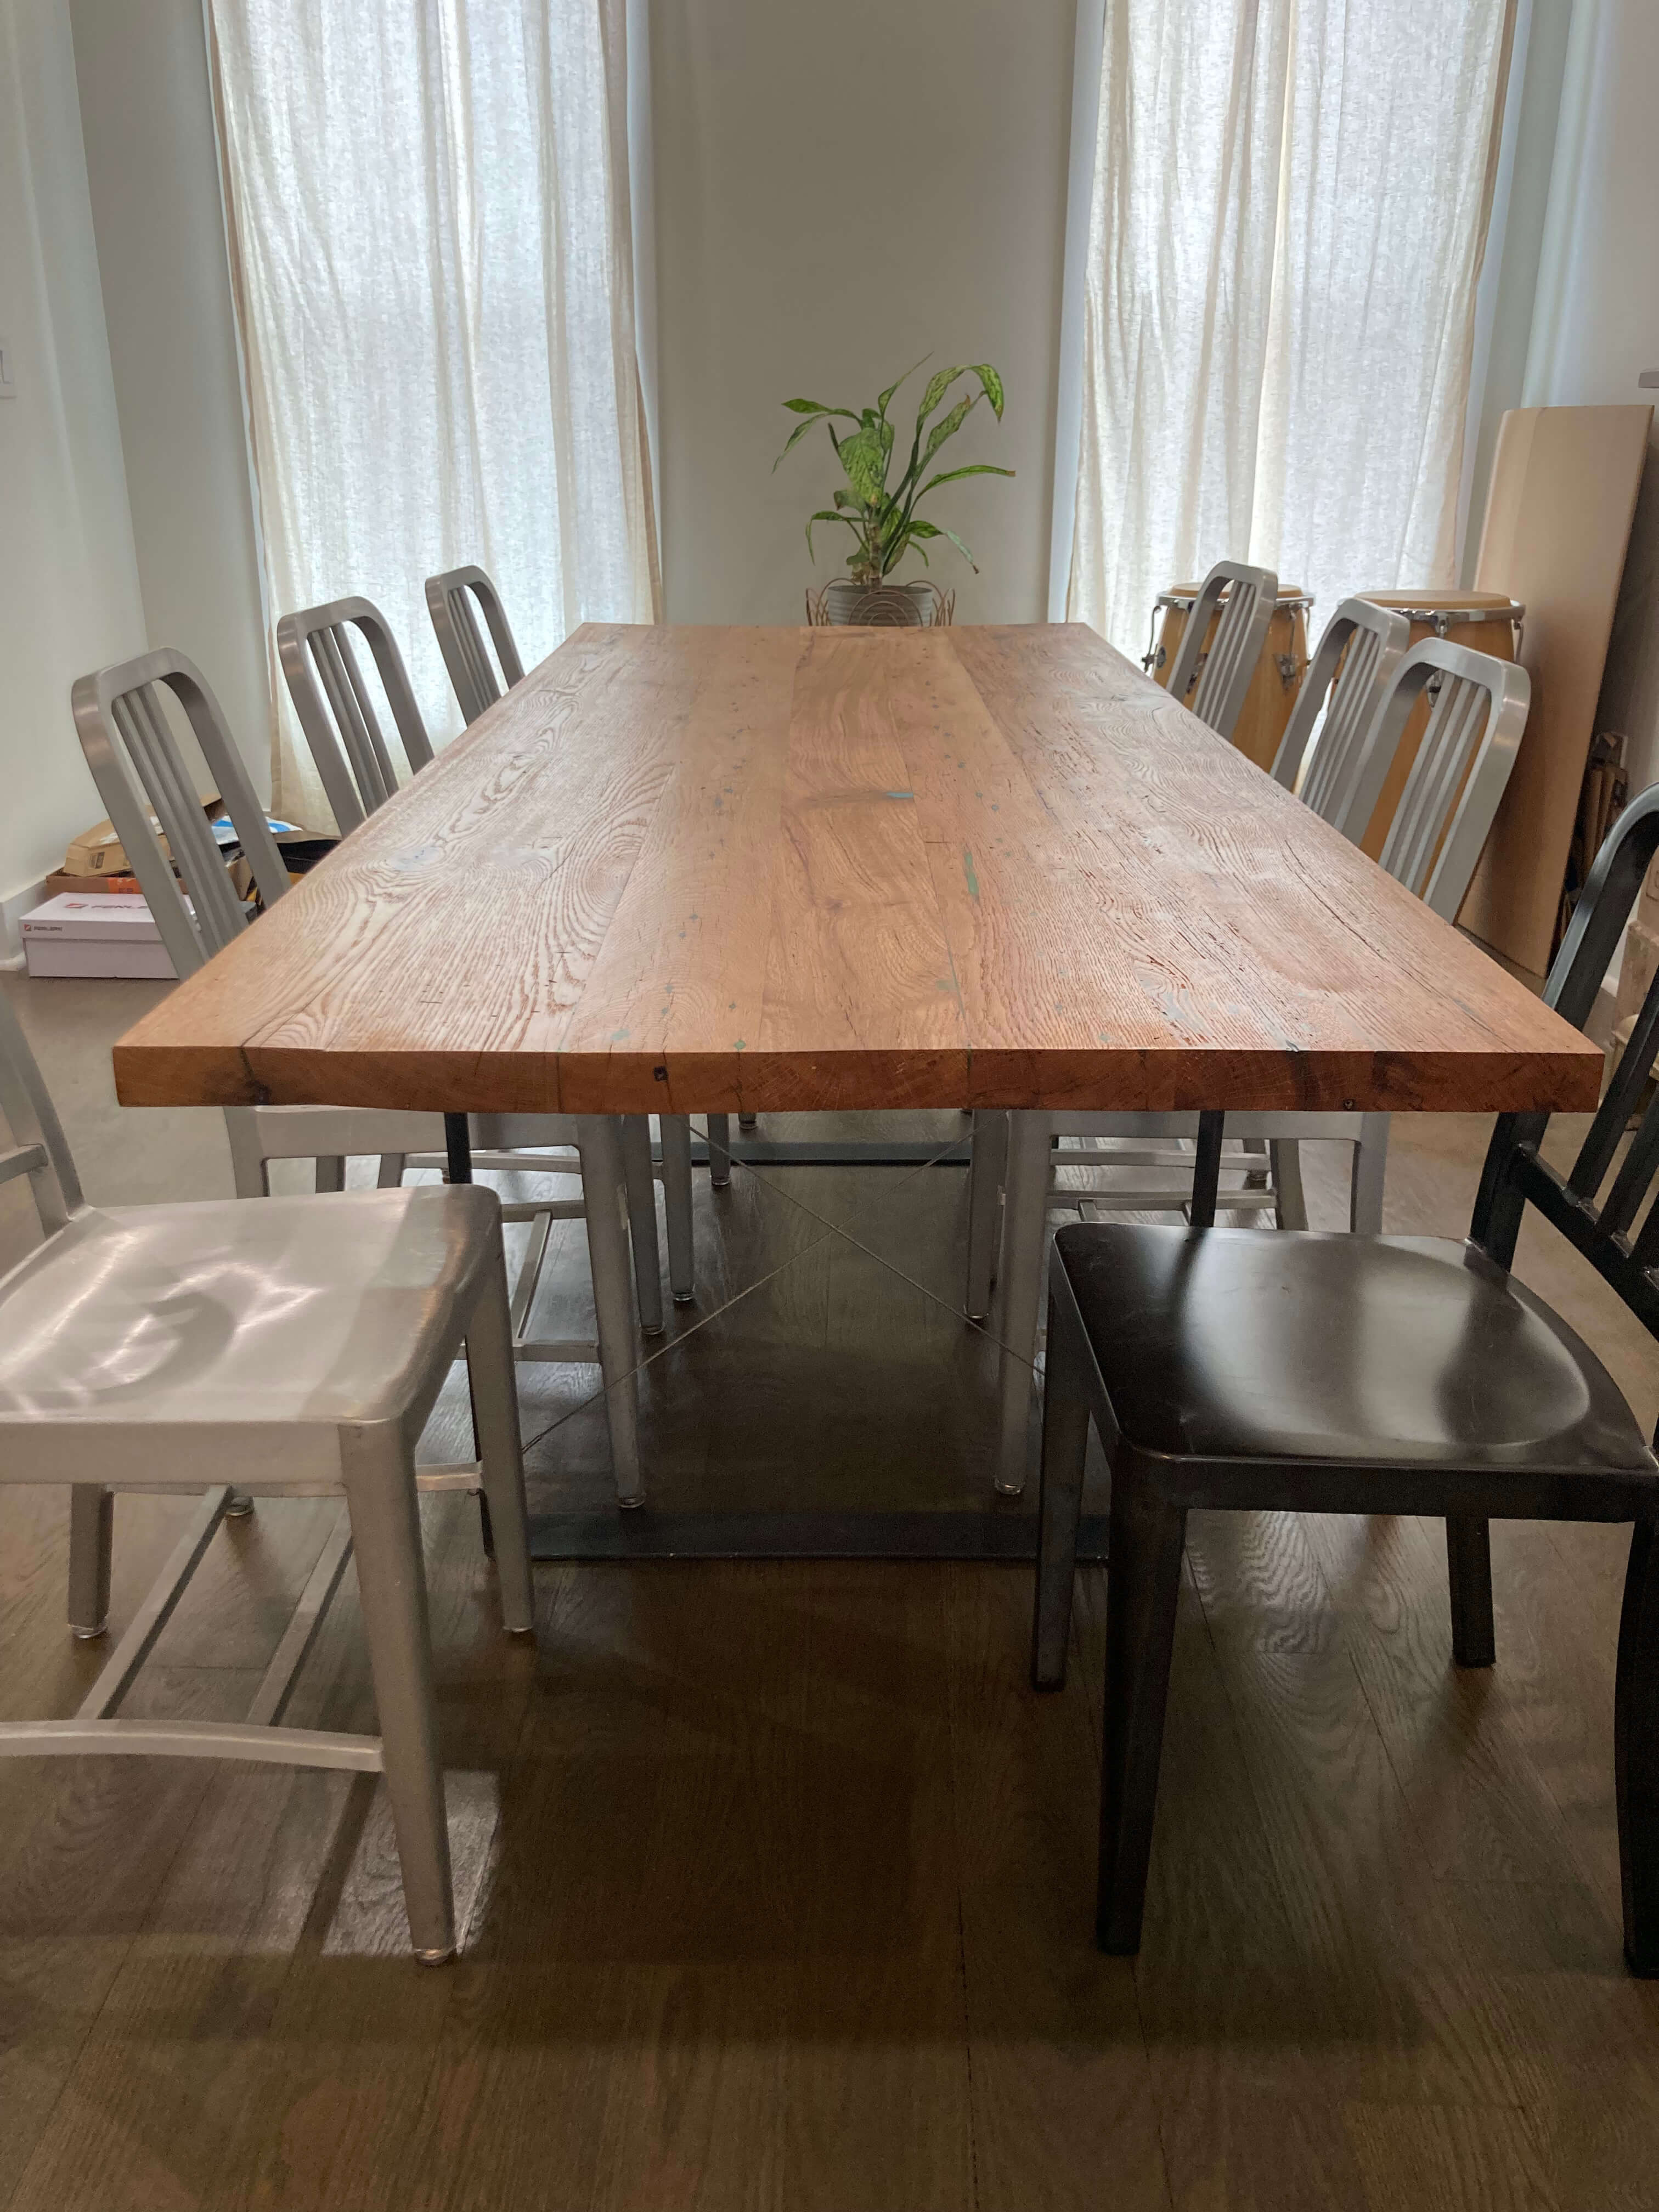
This is a dining table I built using some old oak planks I got from M Fine Lumber.
Rob, Jenny, and Jason helped a bunch with this project.
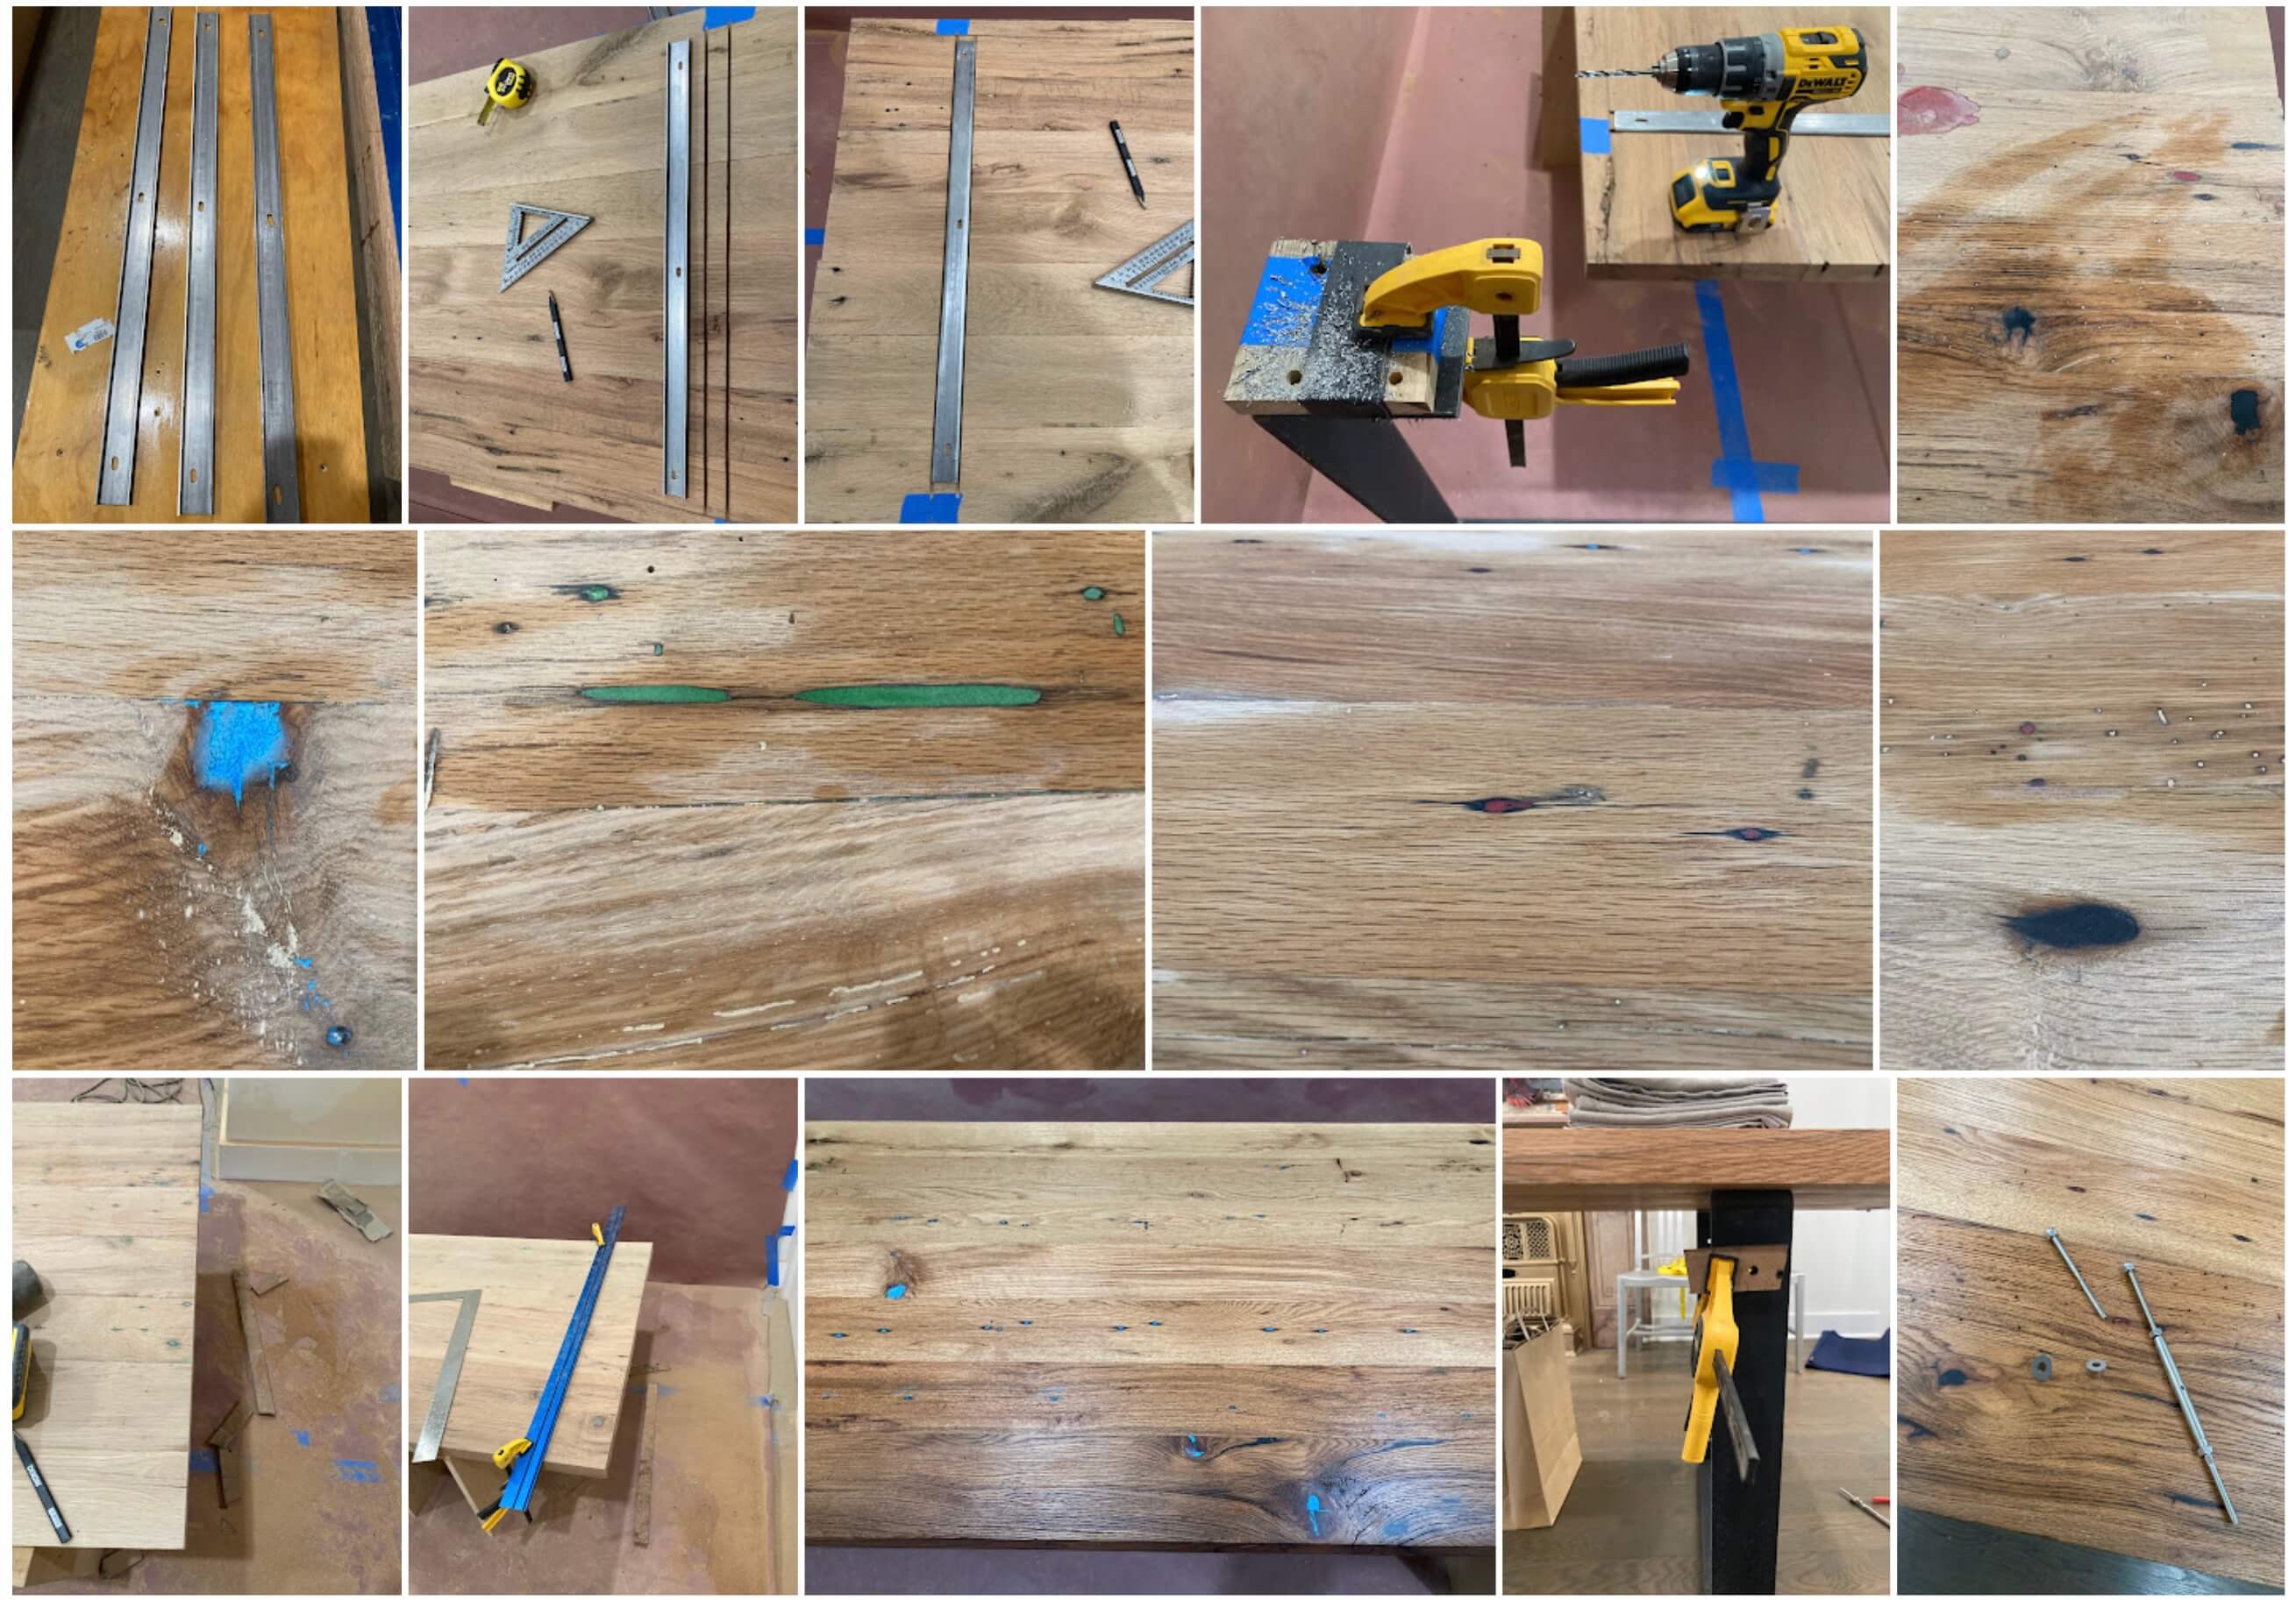
I’ve built some tables from solid slabs in the past, but this was the first time I have built one where I had to do some joinery.
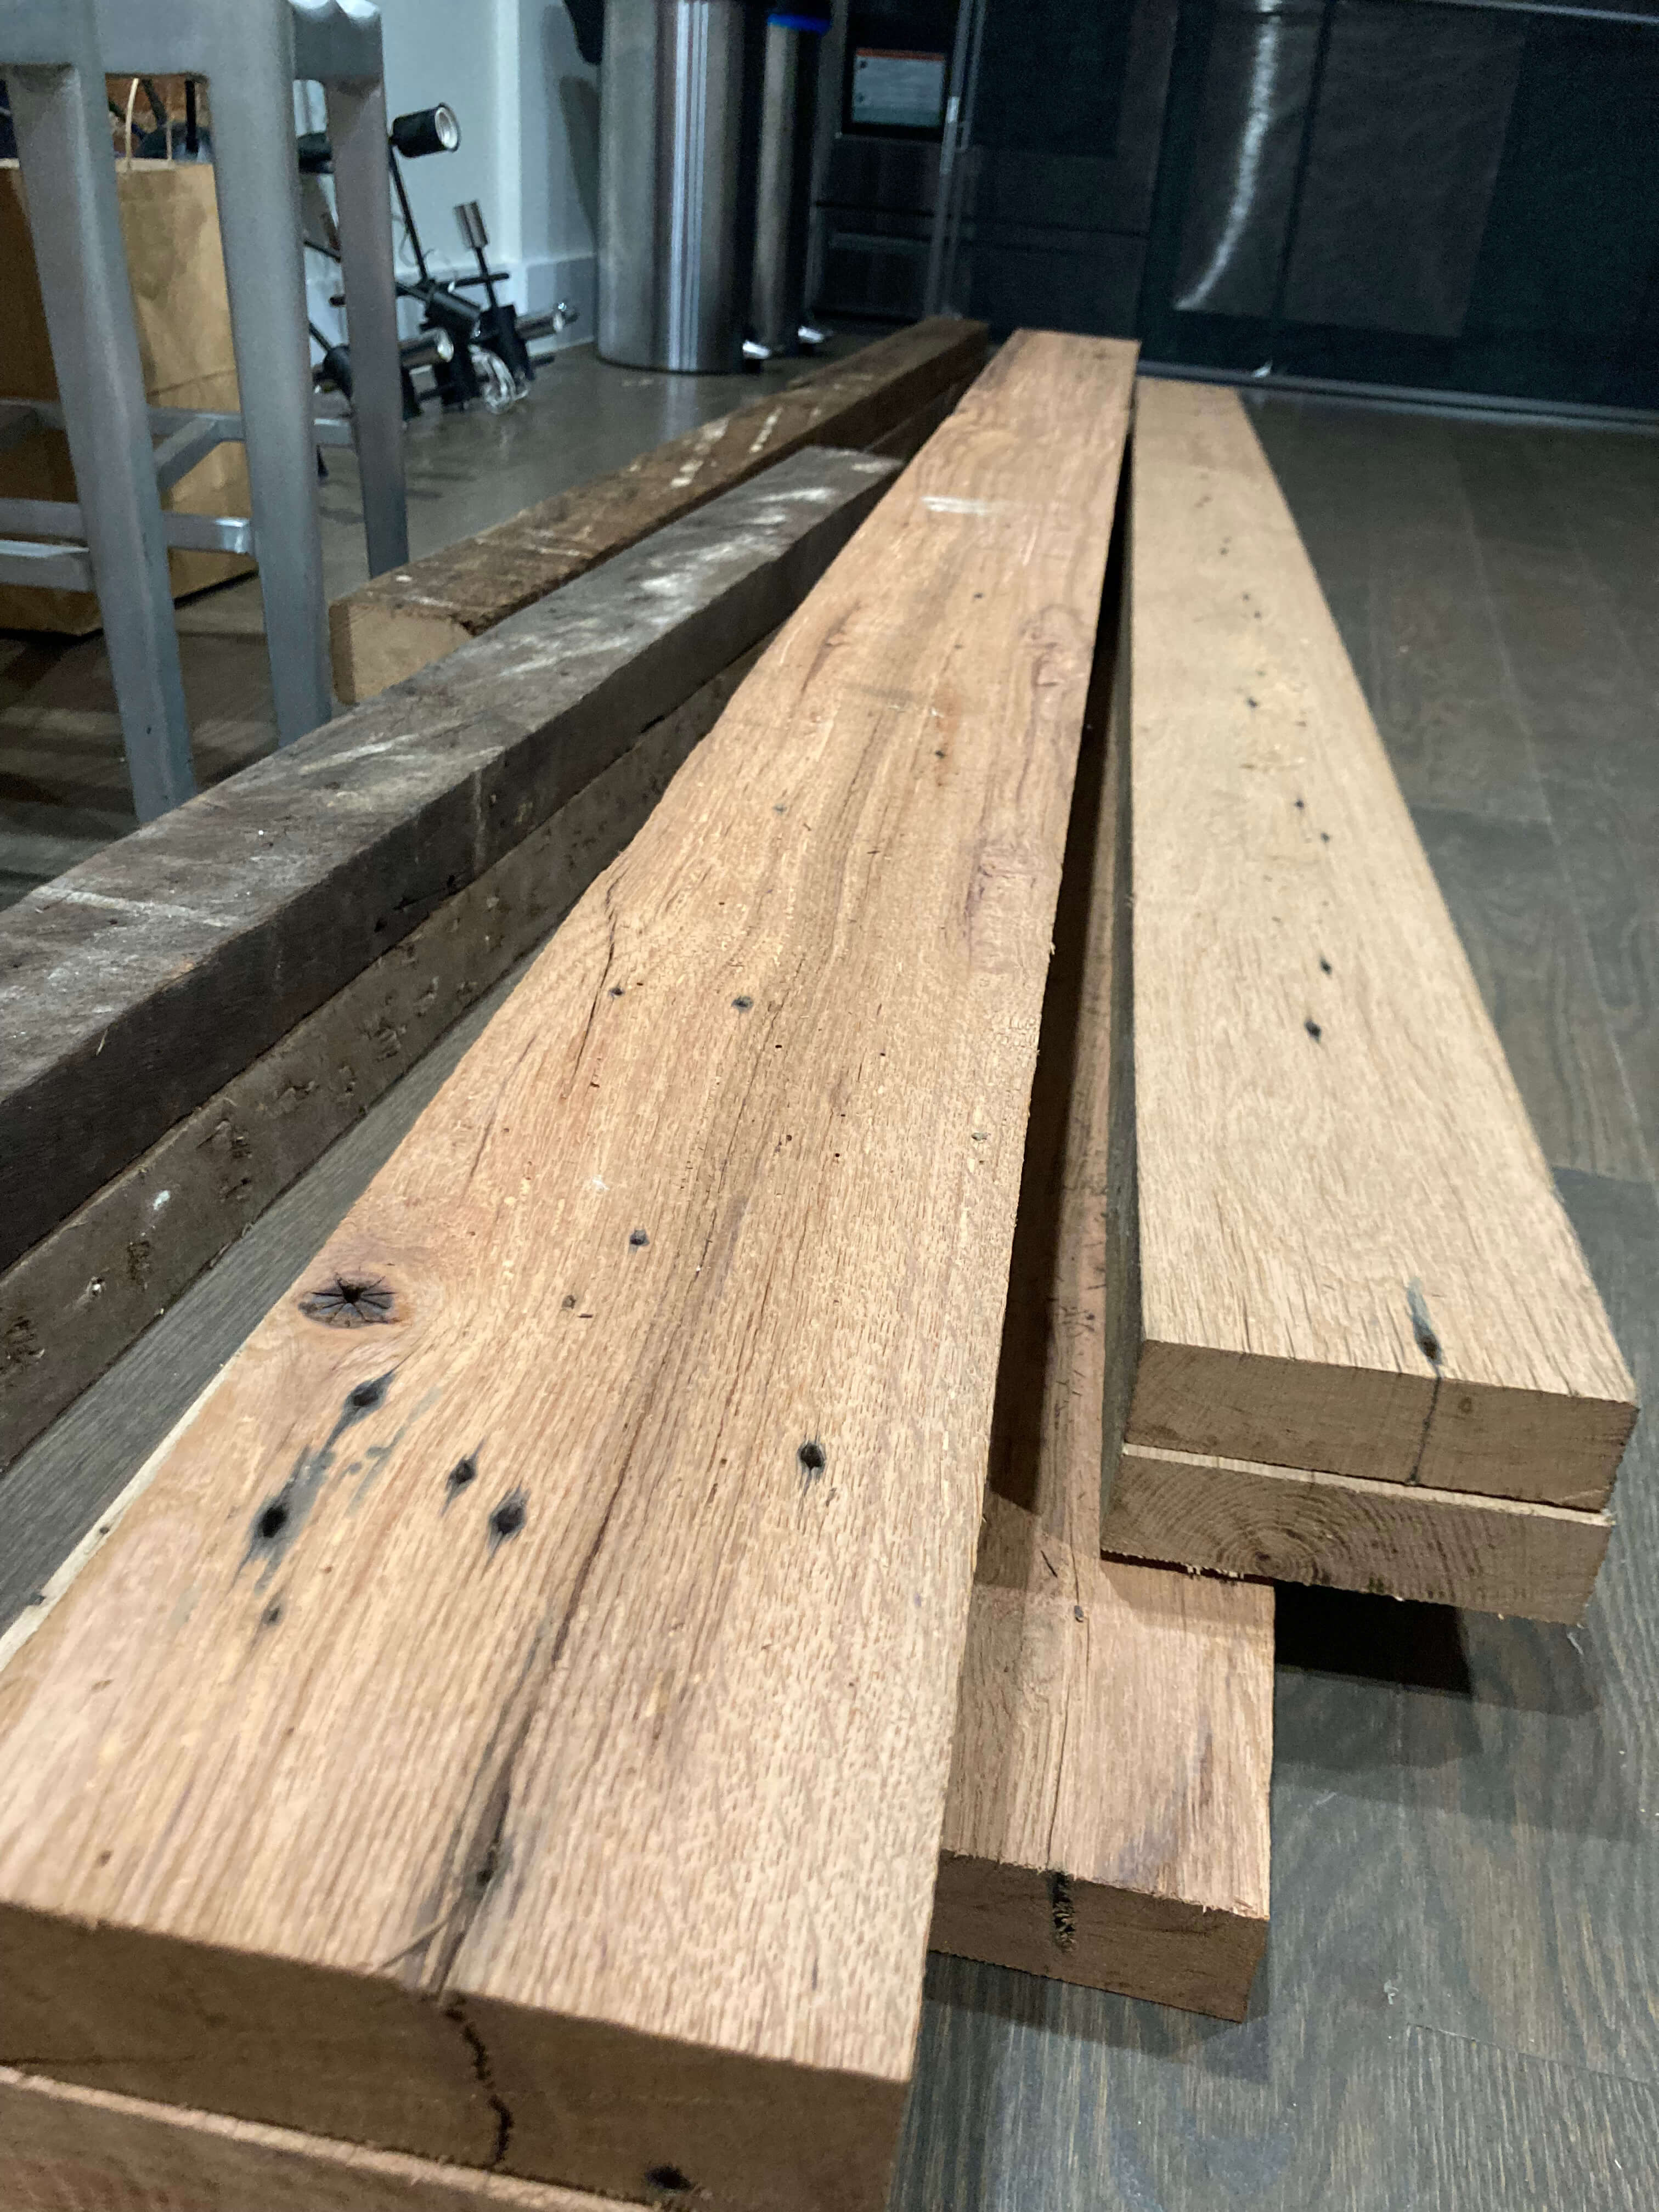
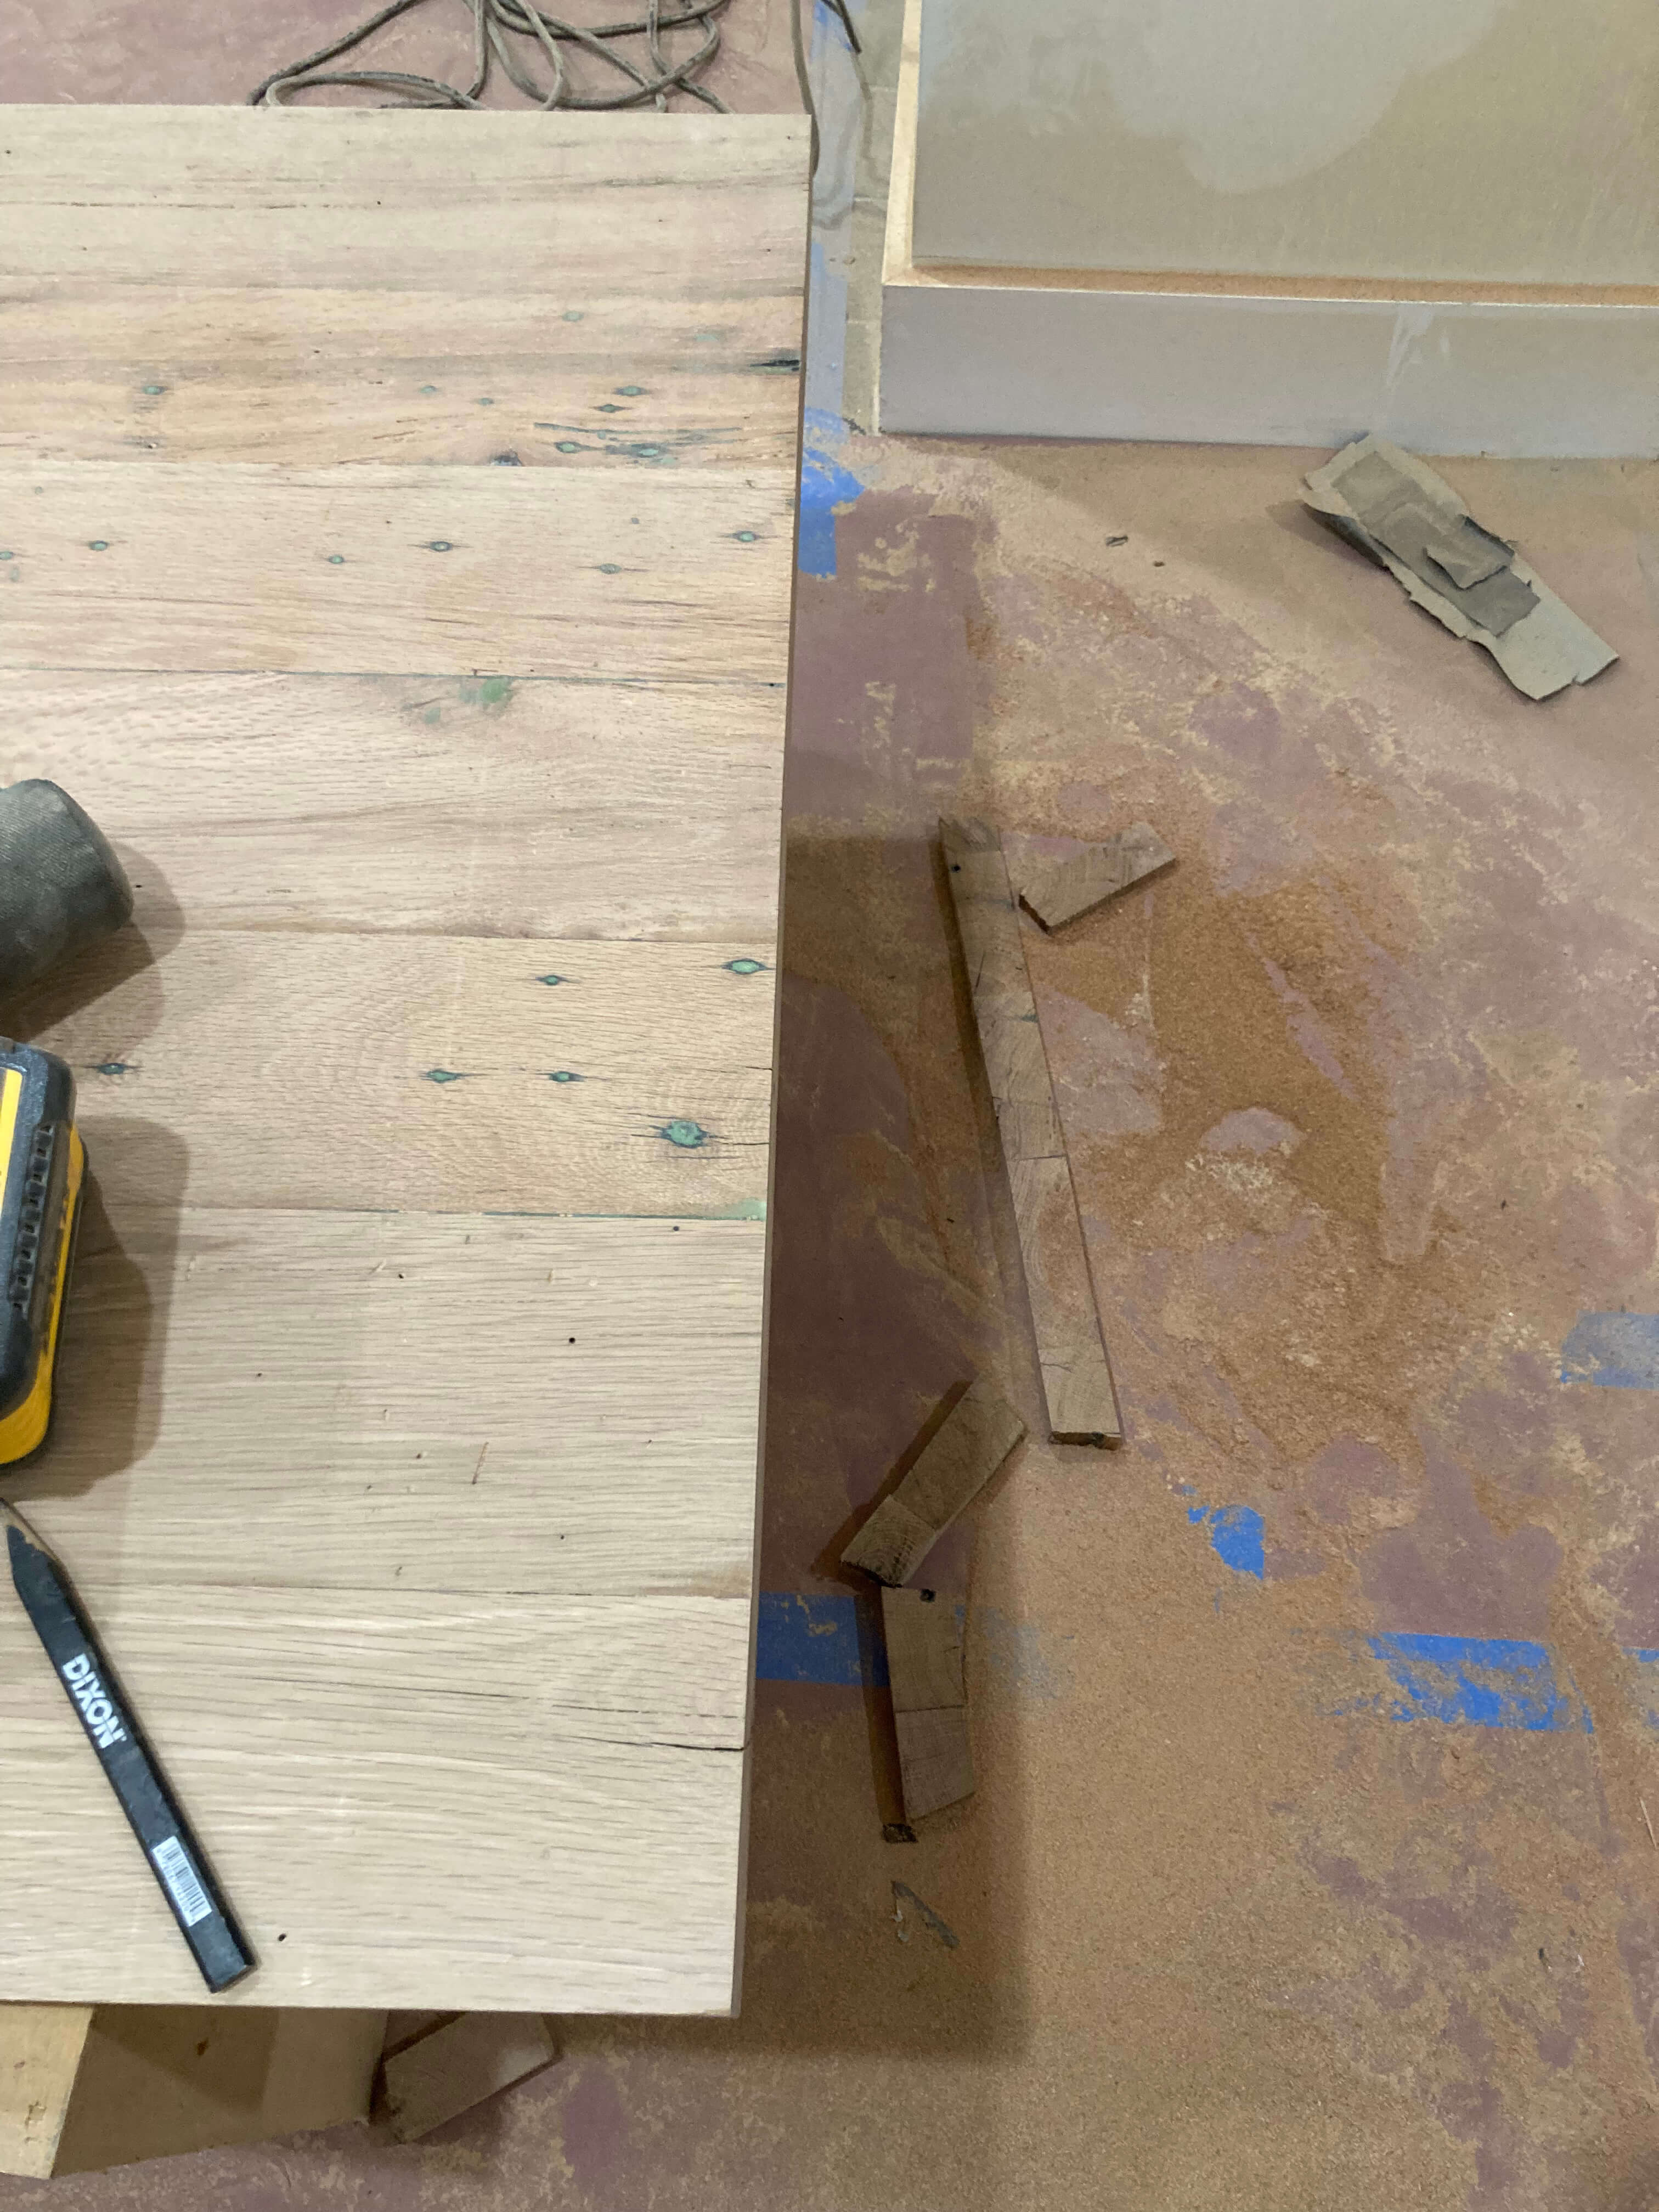
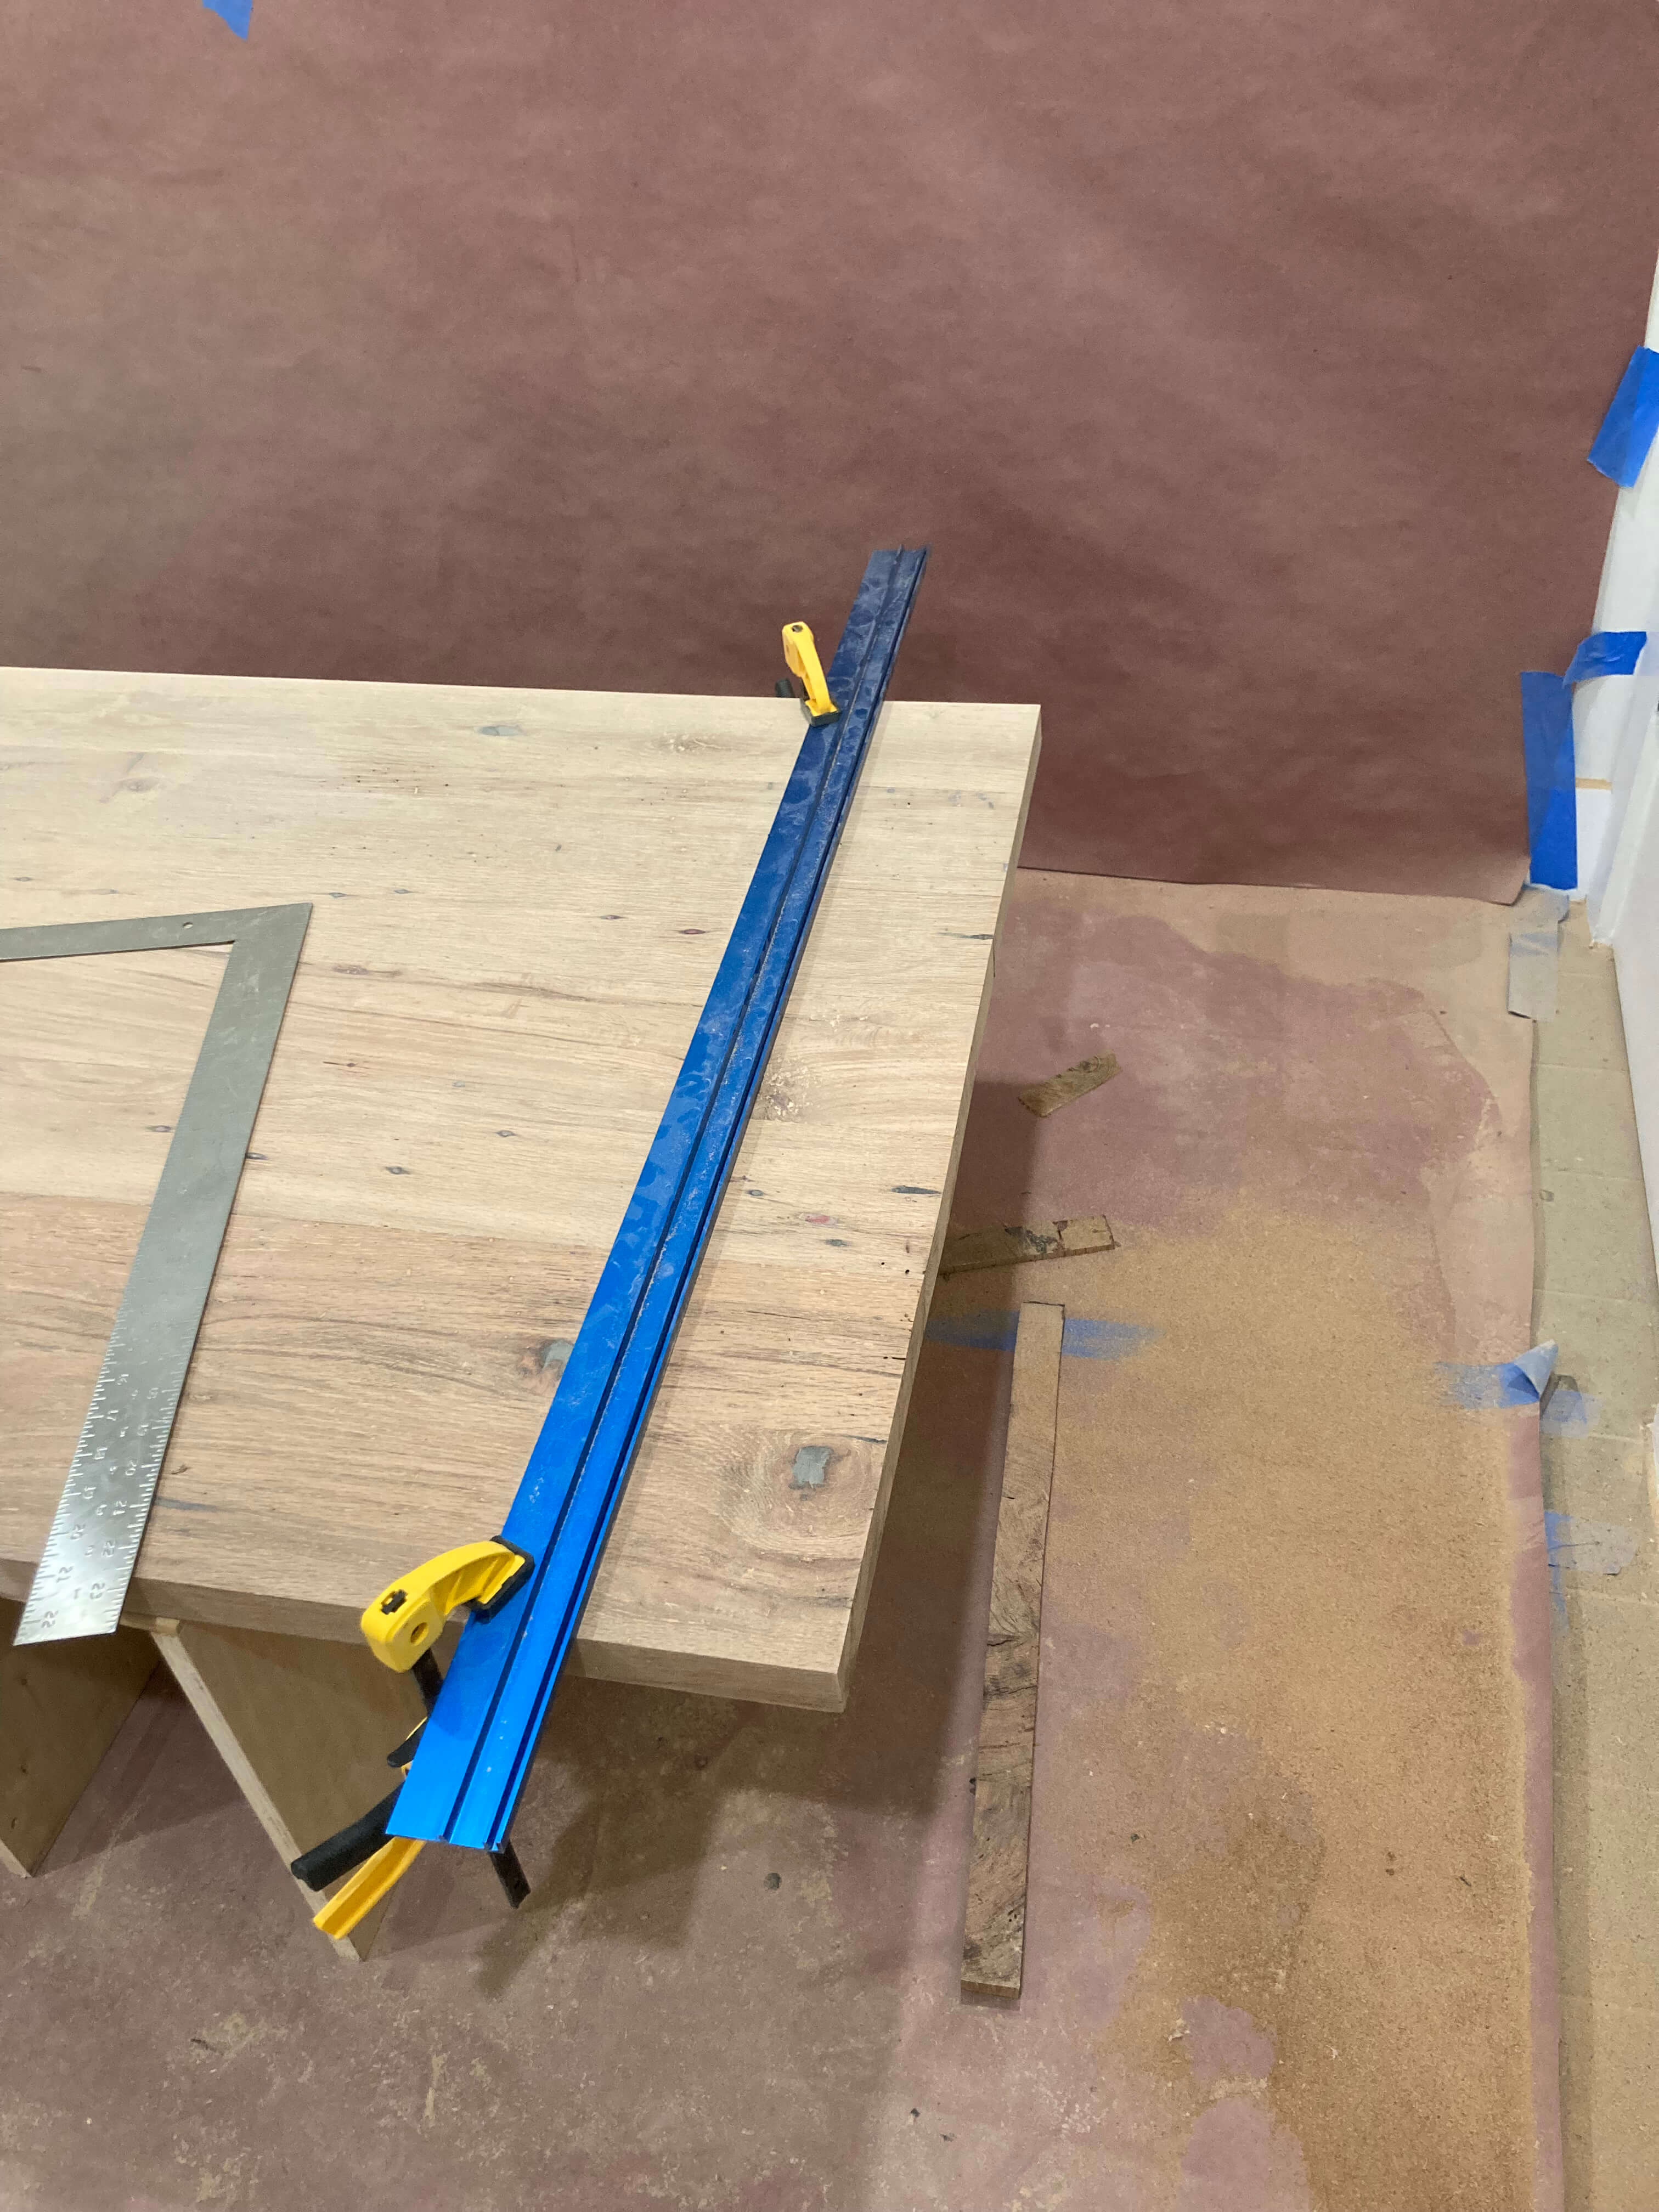
Prepping the boards for joining proved difficult with a skill saw. Rob and I tried several ways to make a jig for the long rips, but ultimately I took up a guy I met at Sawkill on his offer to prep the boards for joining at his workshop.
Once the boards were prepped, joining them with a biscuit joiner (size 20 biscuits) I borrowed from my Uncle was pretty straightforward.
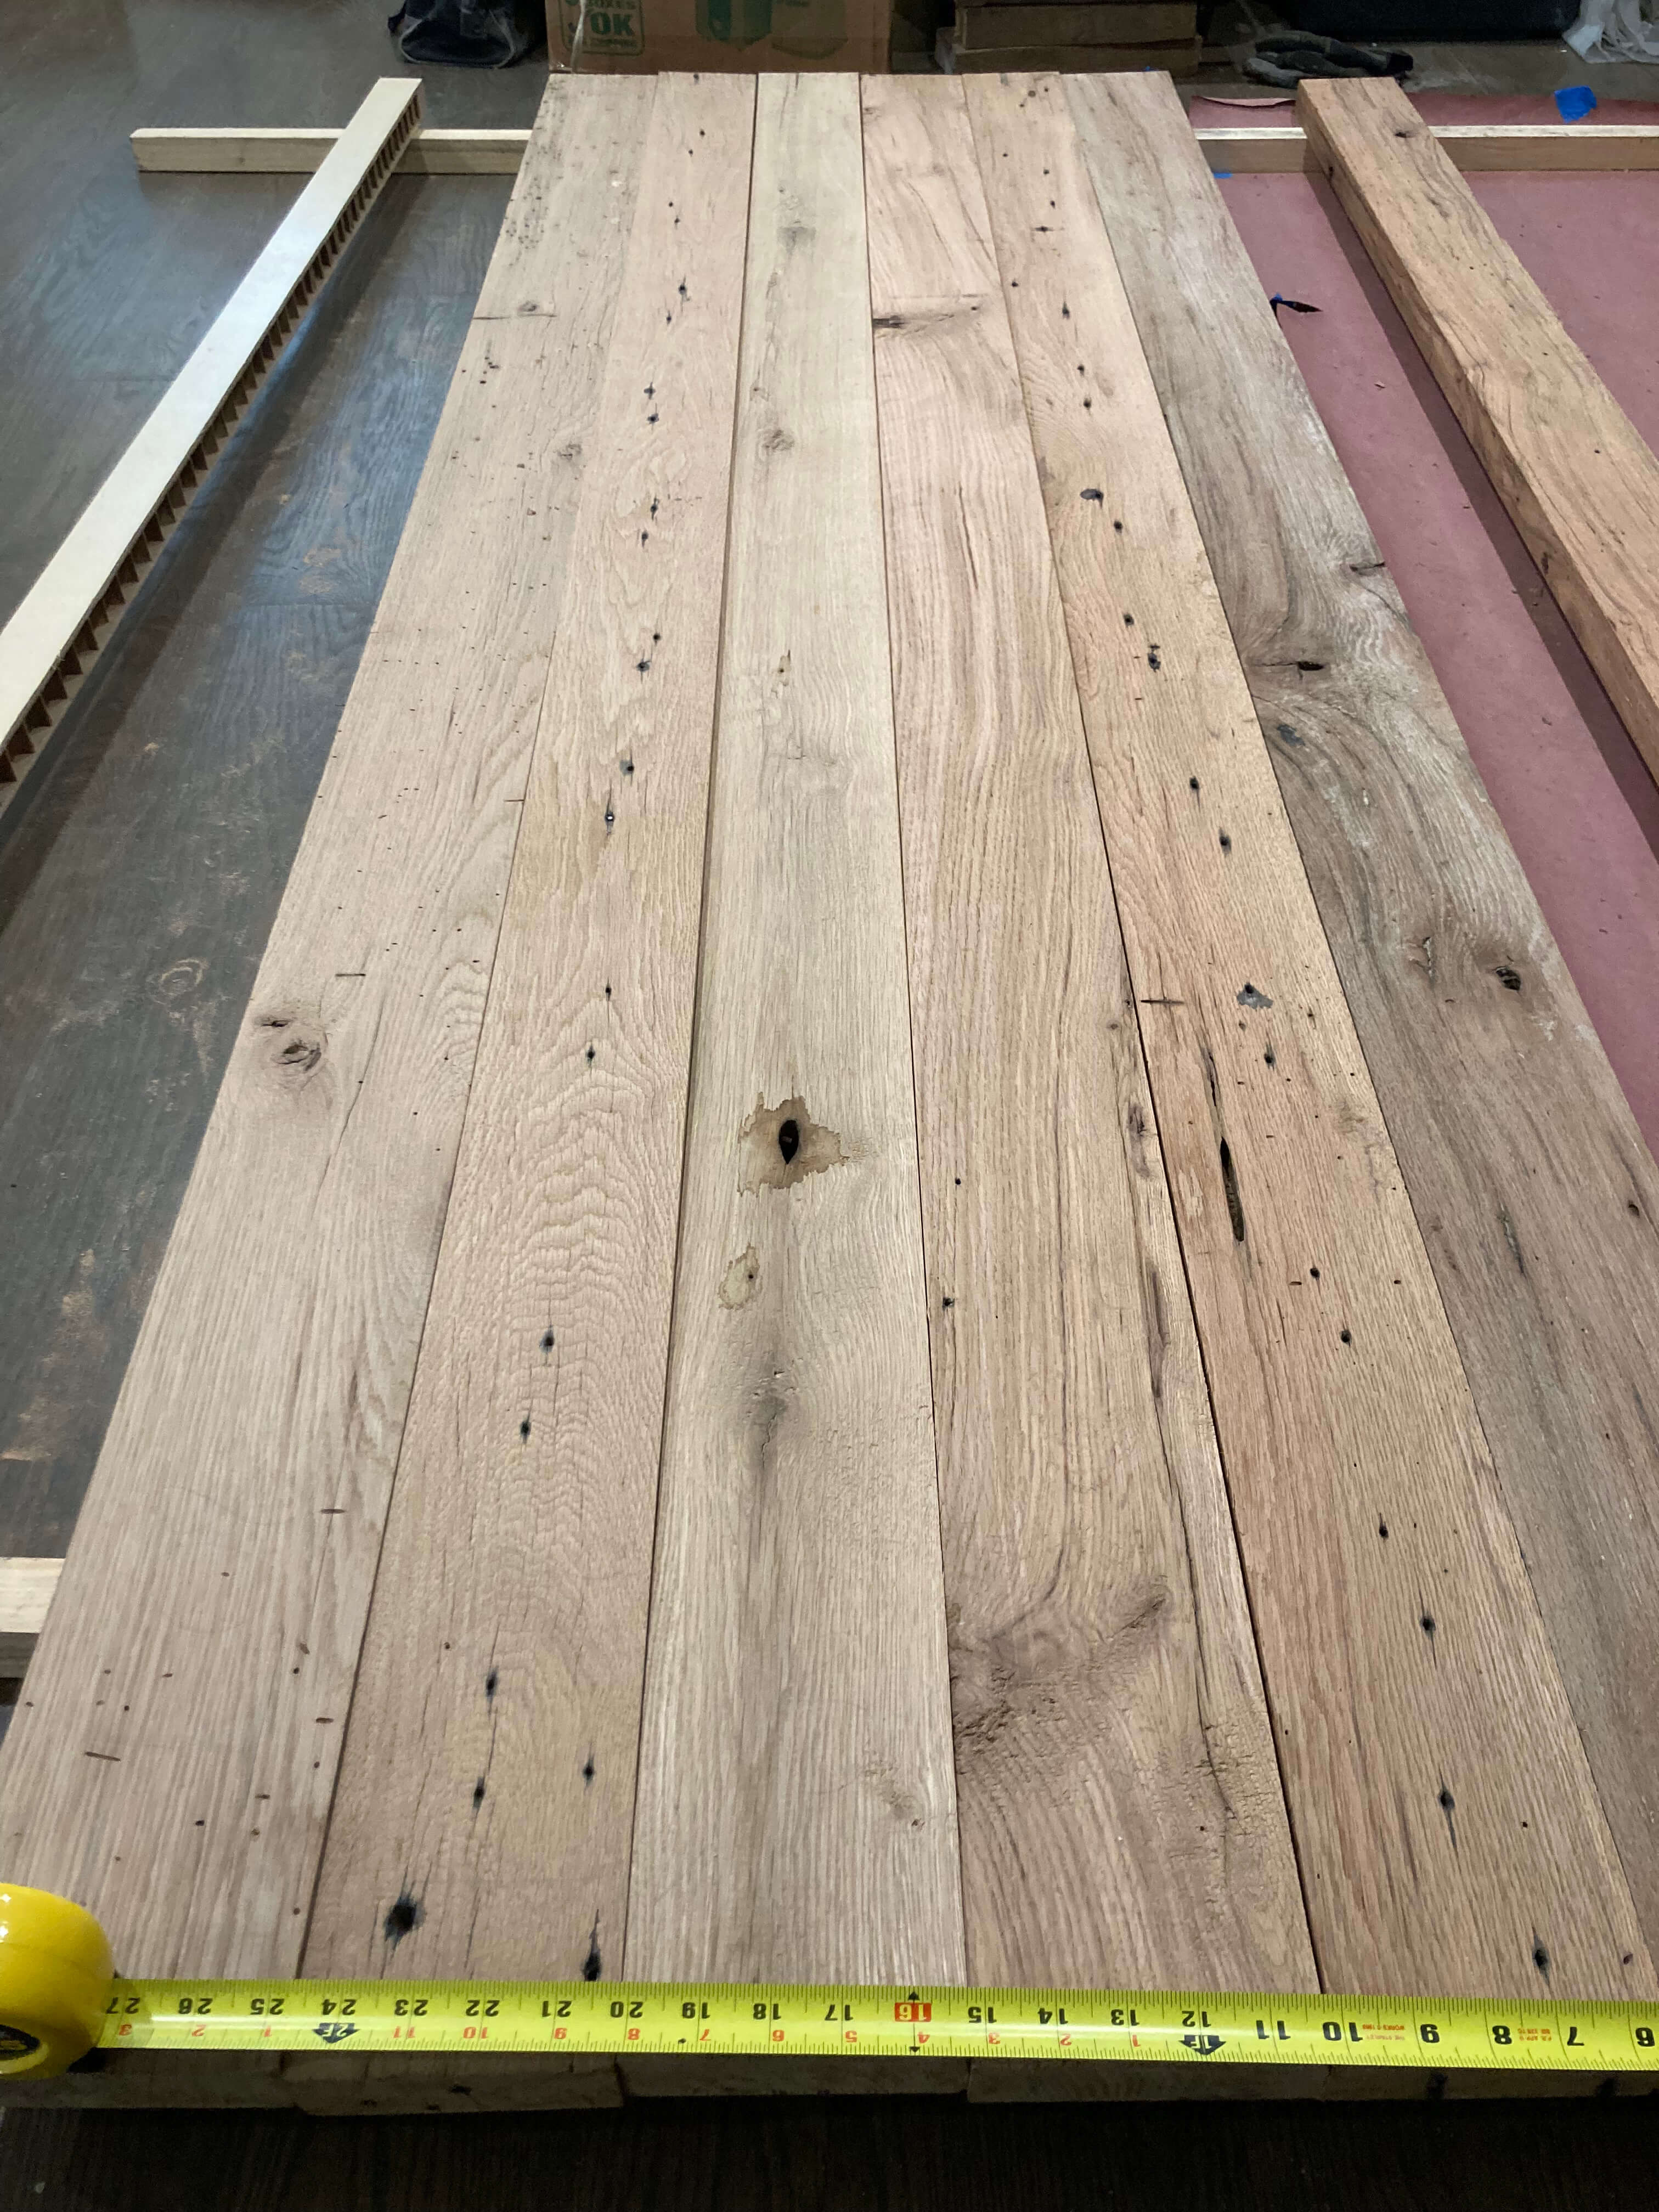
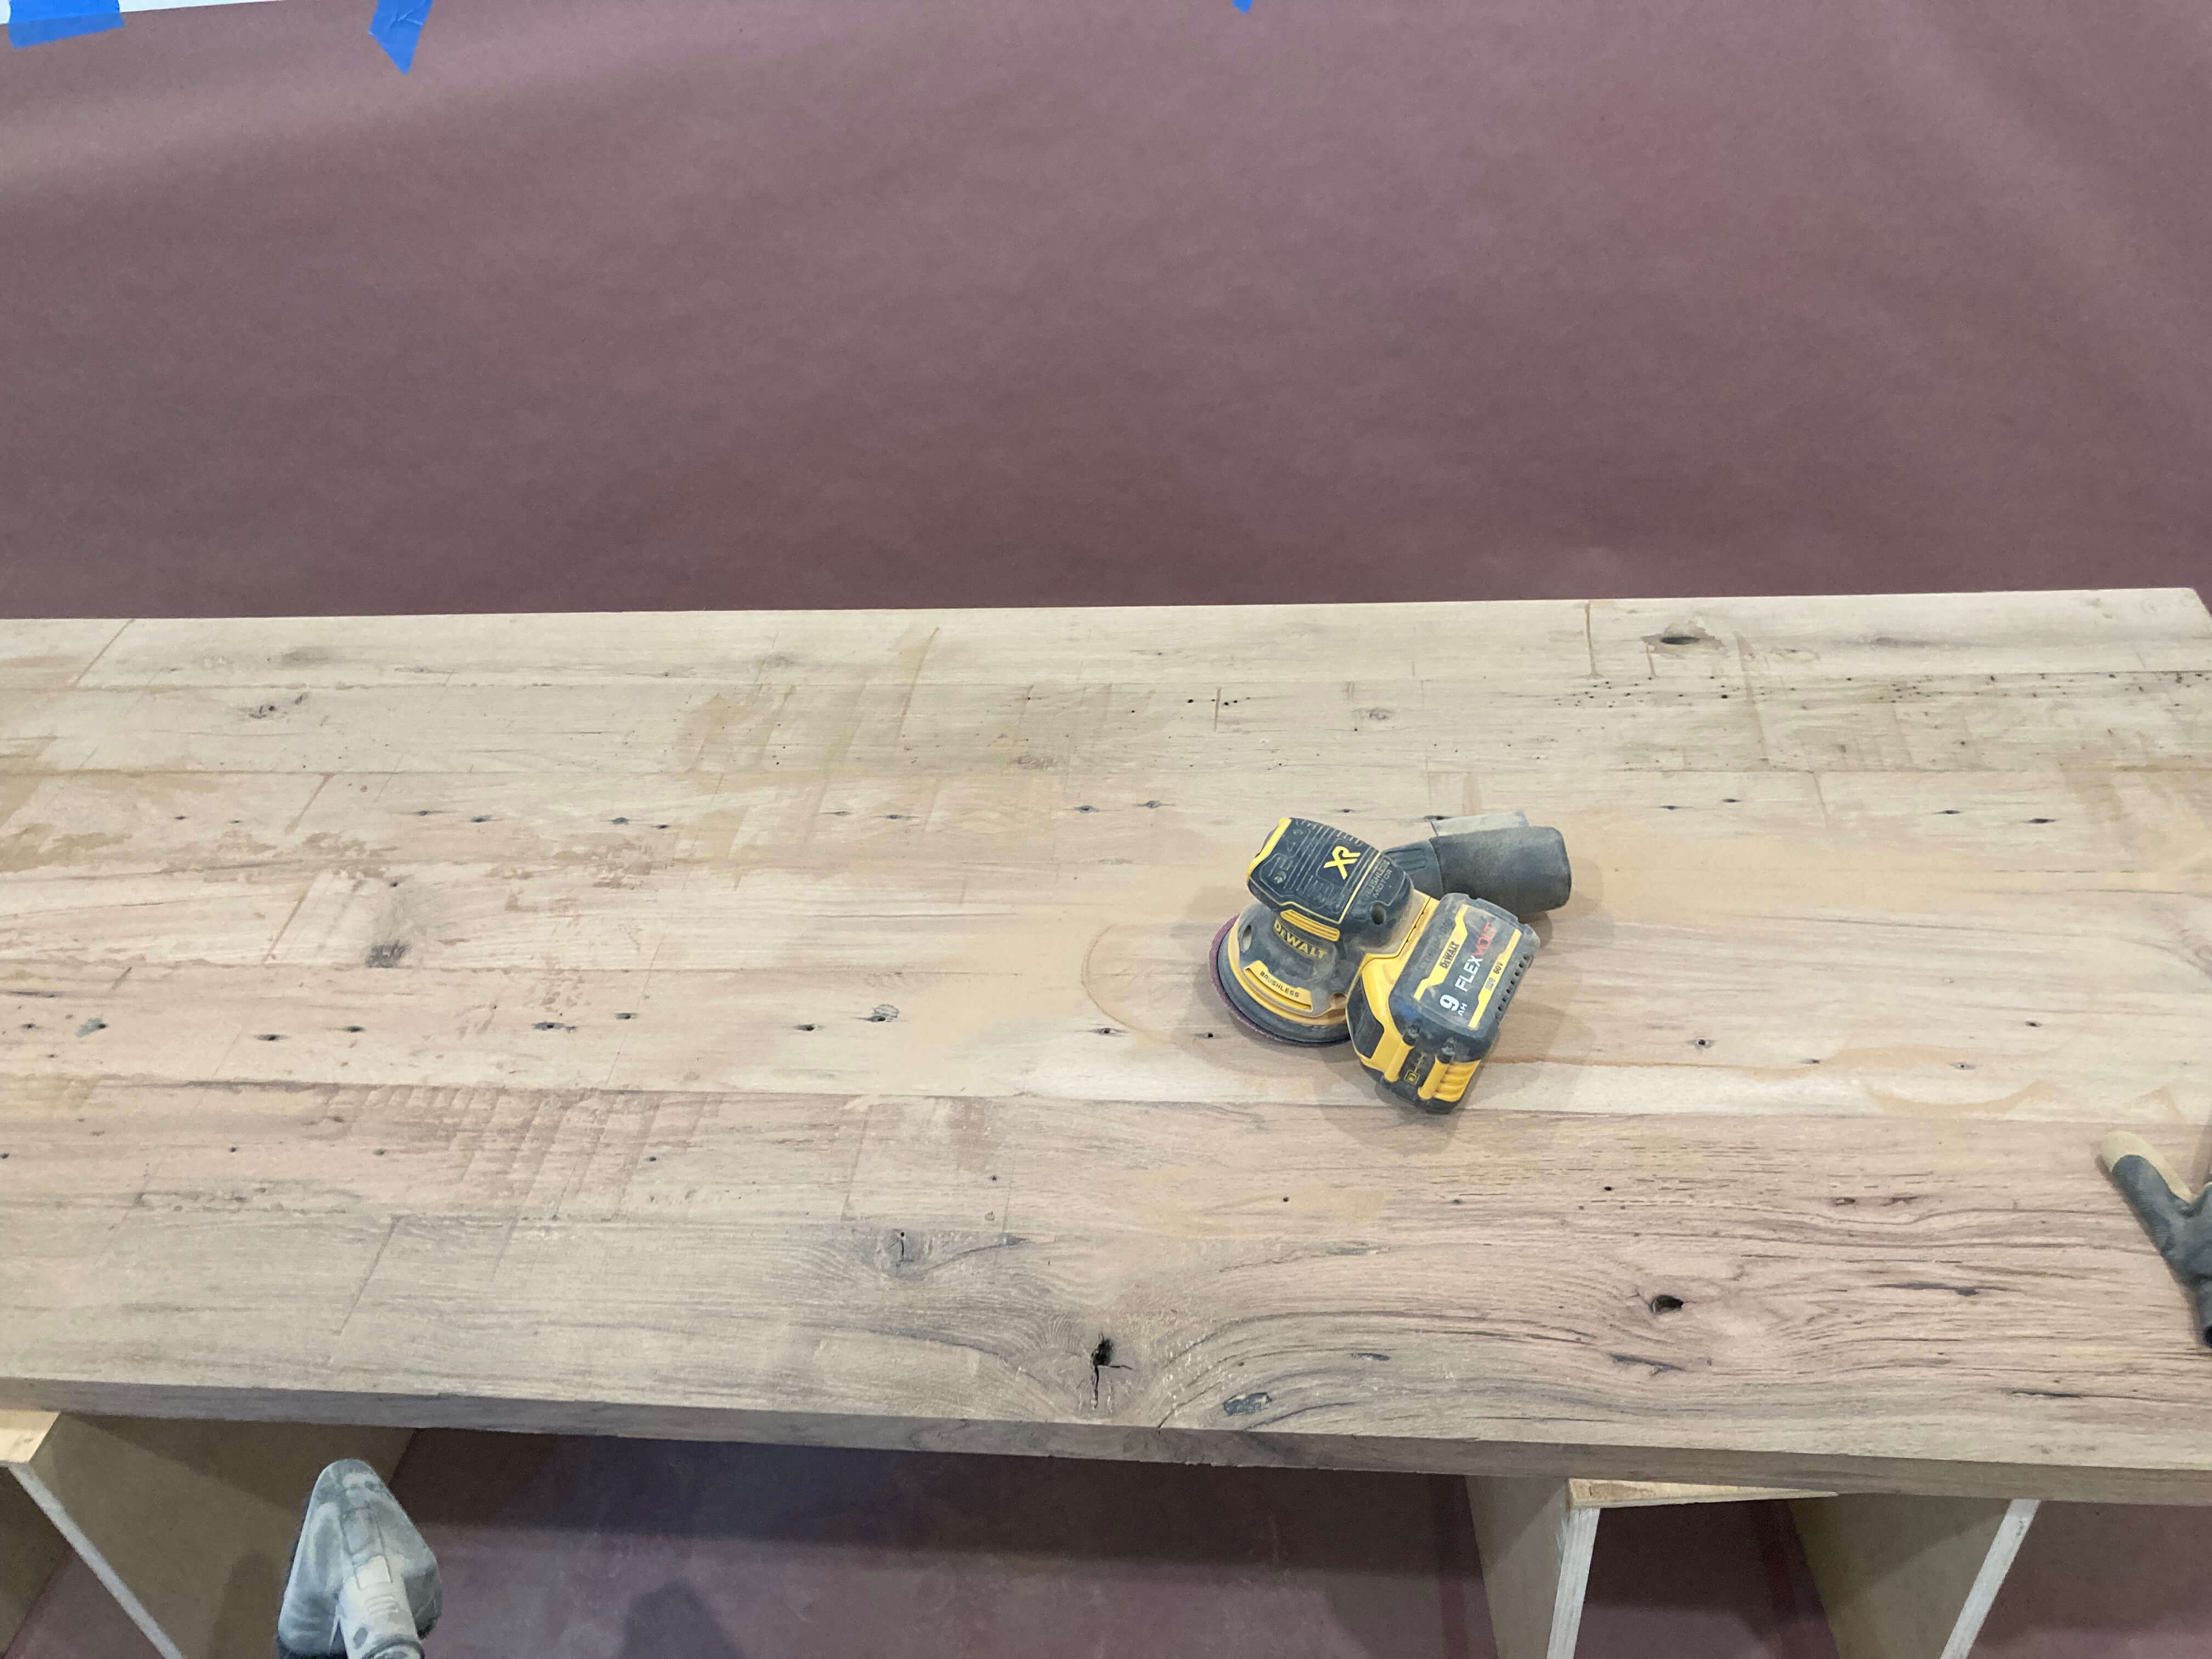
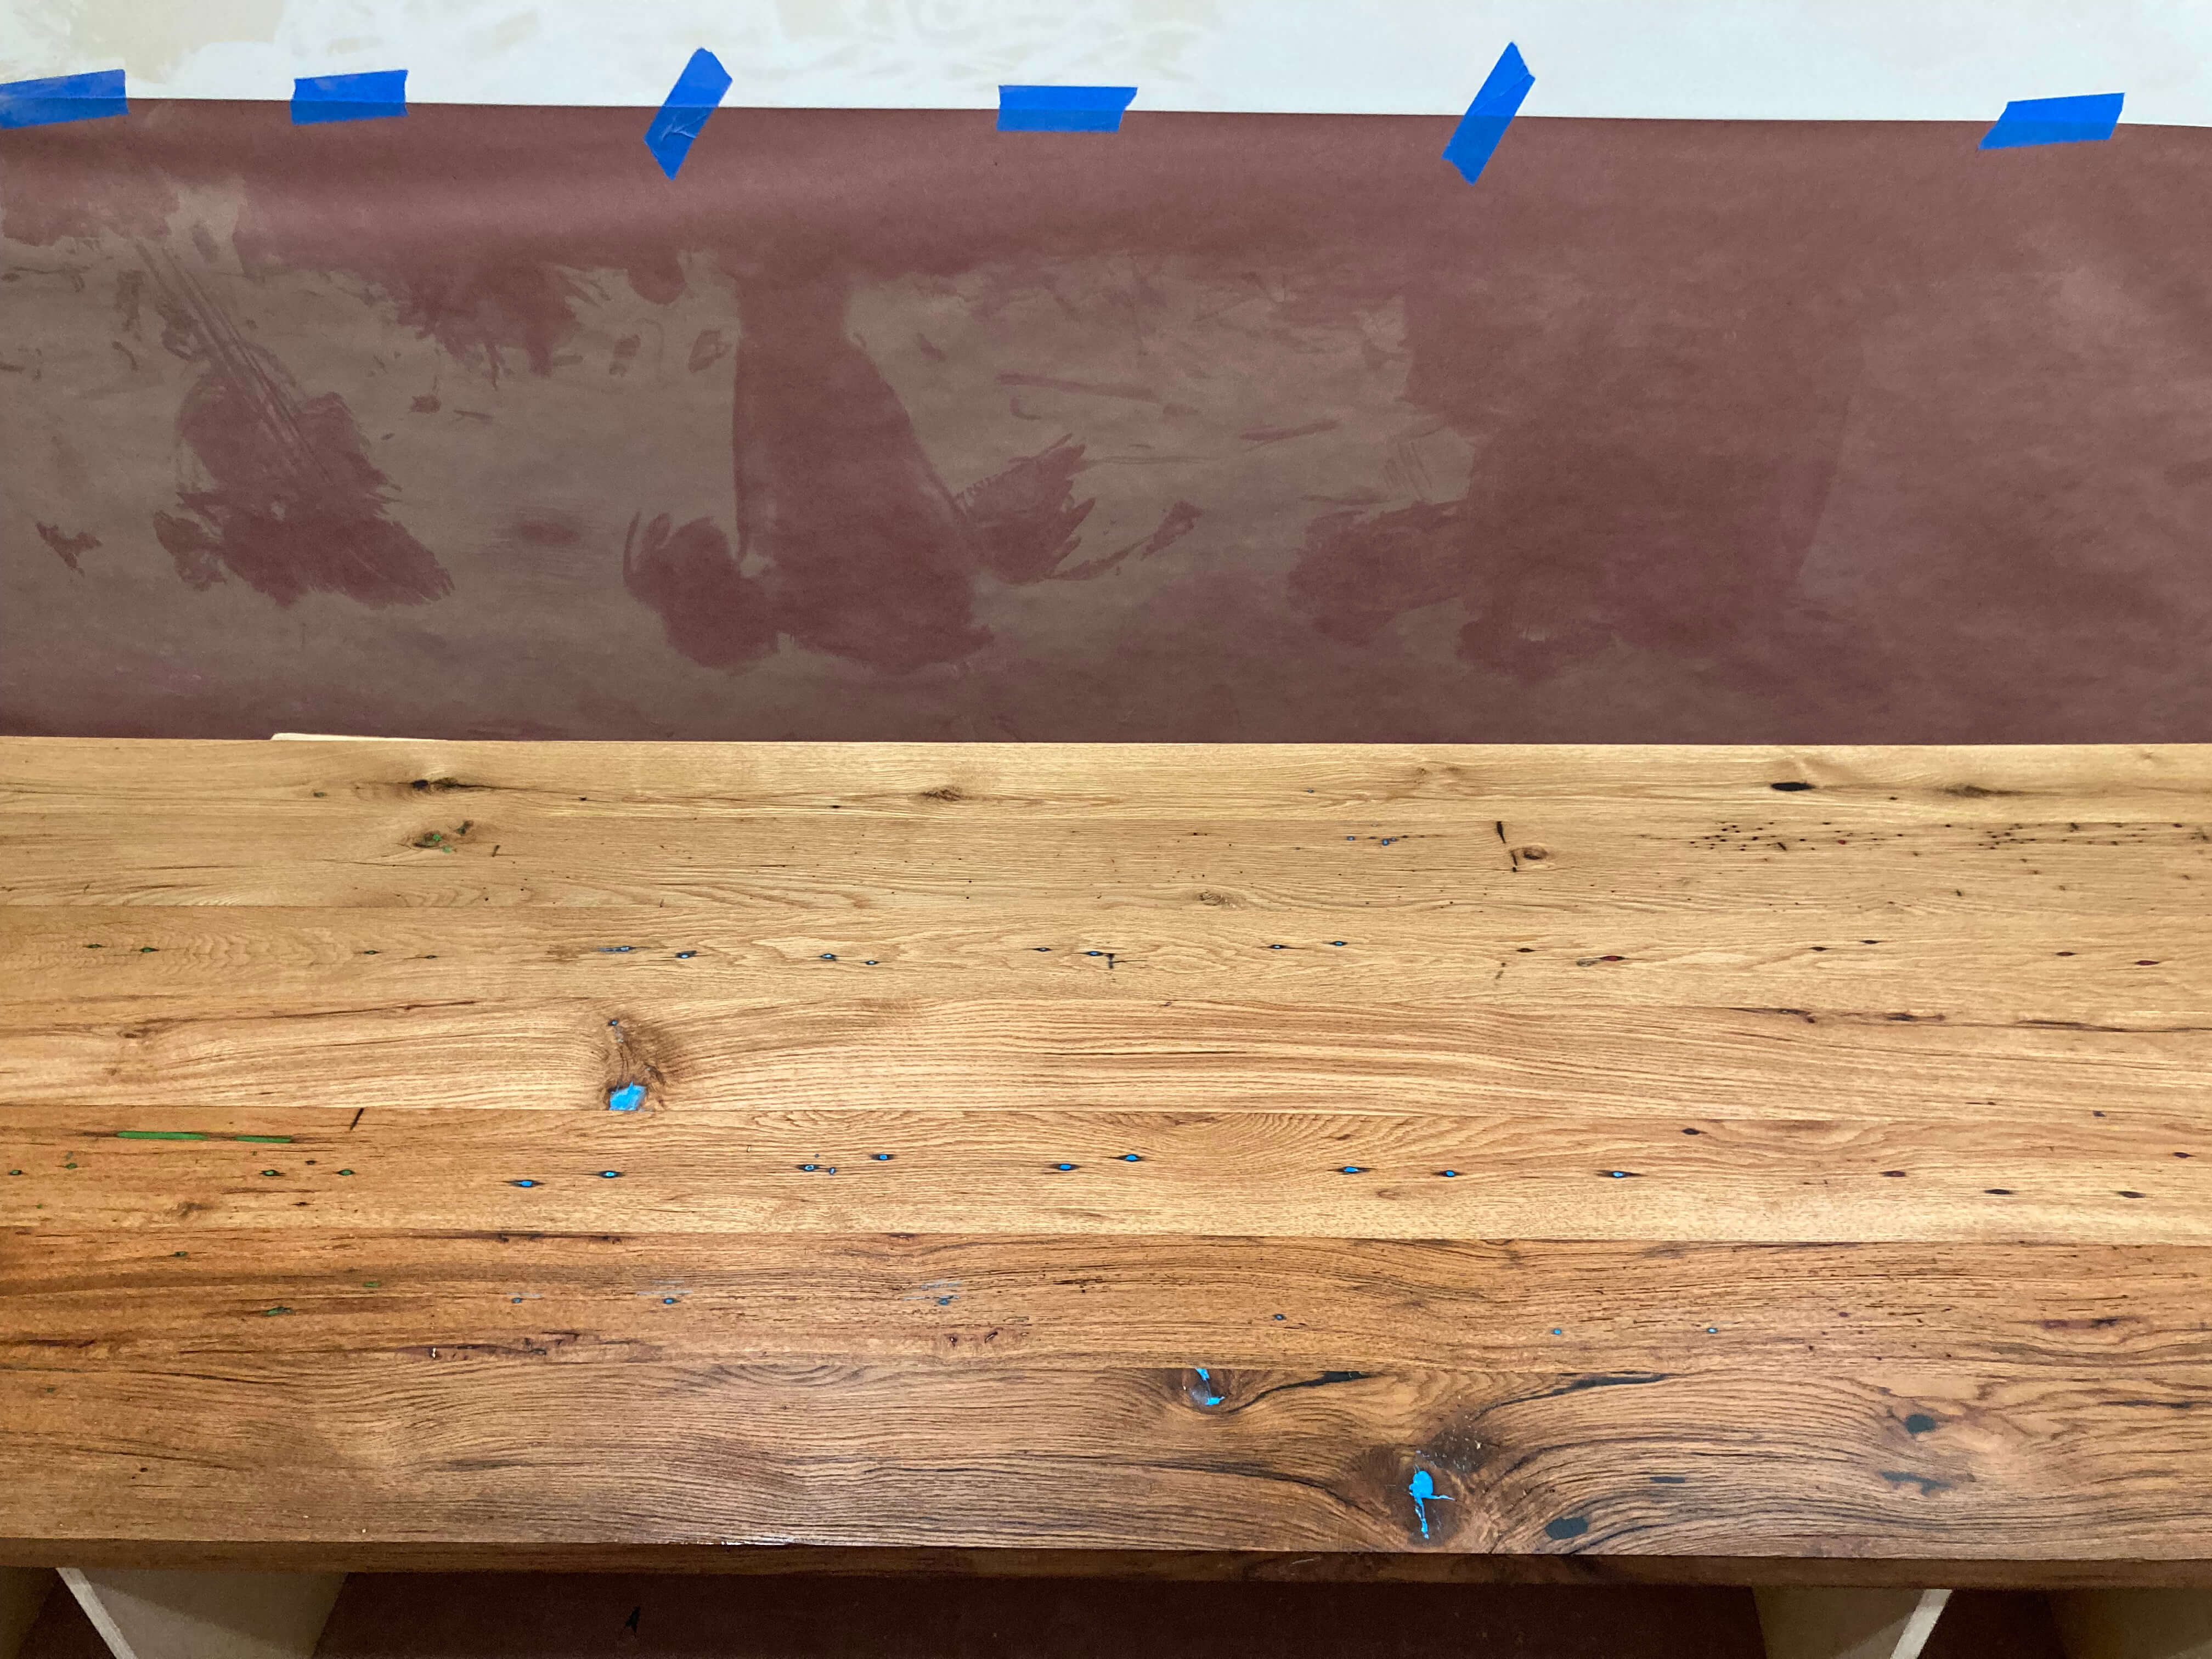
Where I wasted several afternoons on this project was sanding the boards. I was using an orbital sander, and had run out of coarse grit sandpaper when I started, so I spent several sessions sanding with 100 grit paper, which just didn’t really cut it with the very hard oak. I ended up buying a 50-pack of 60 grit paper, and I wish I had done this sooner, because it would have saved me several afternoons.
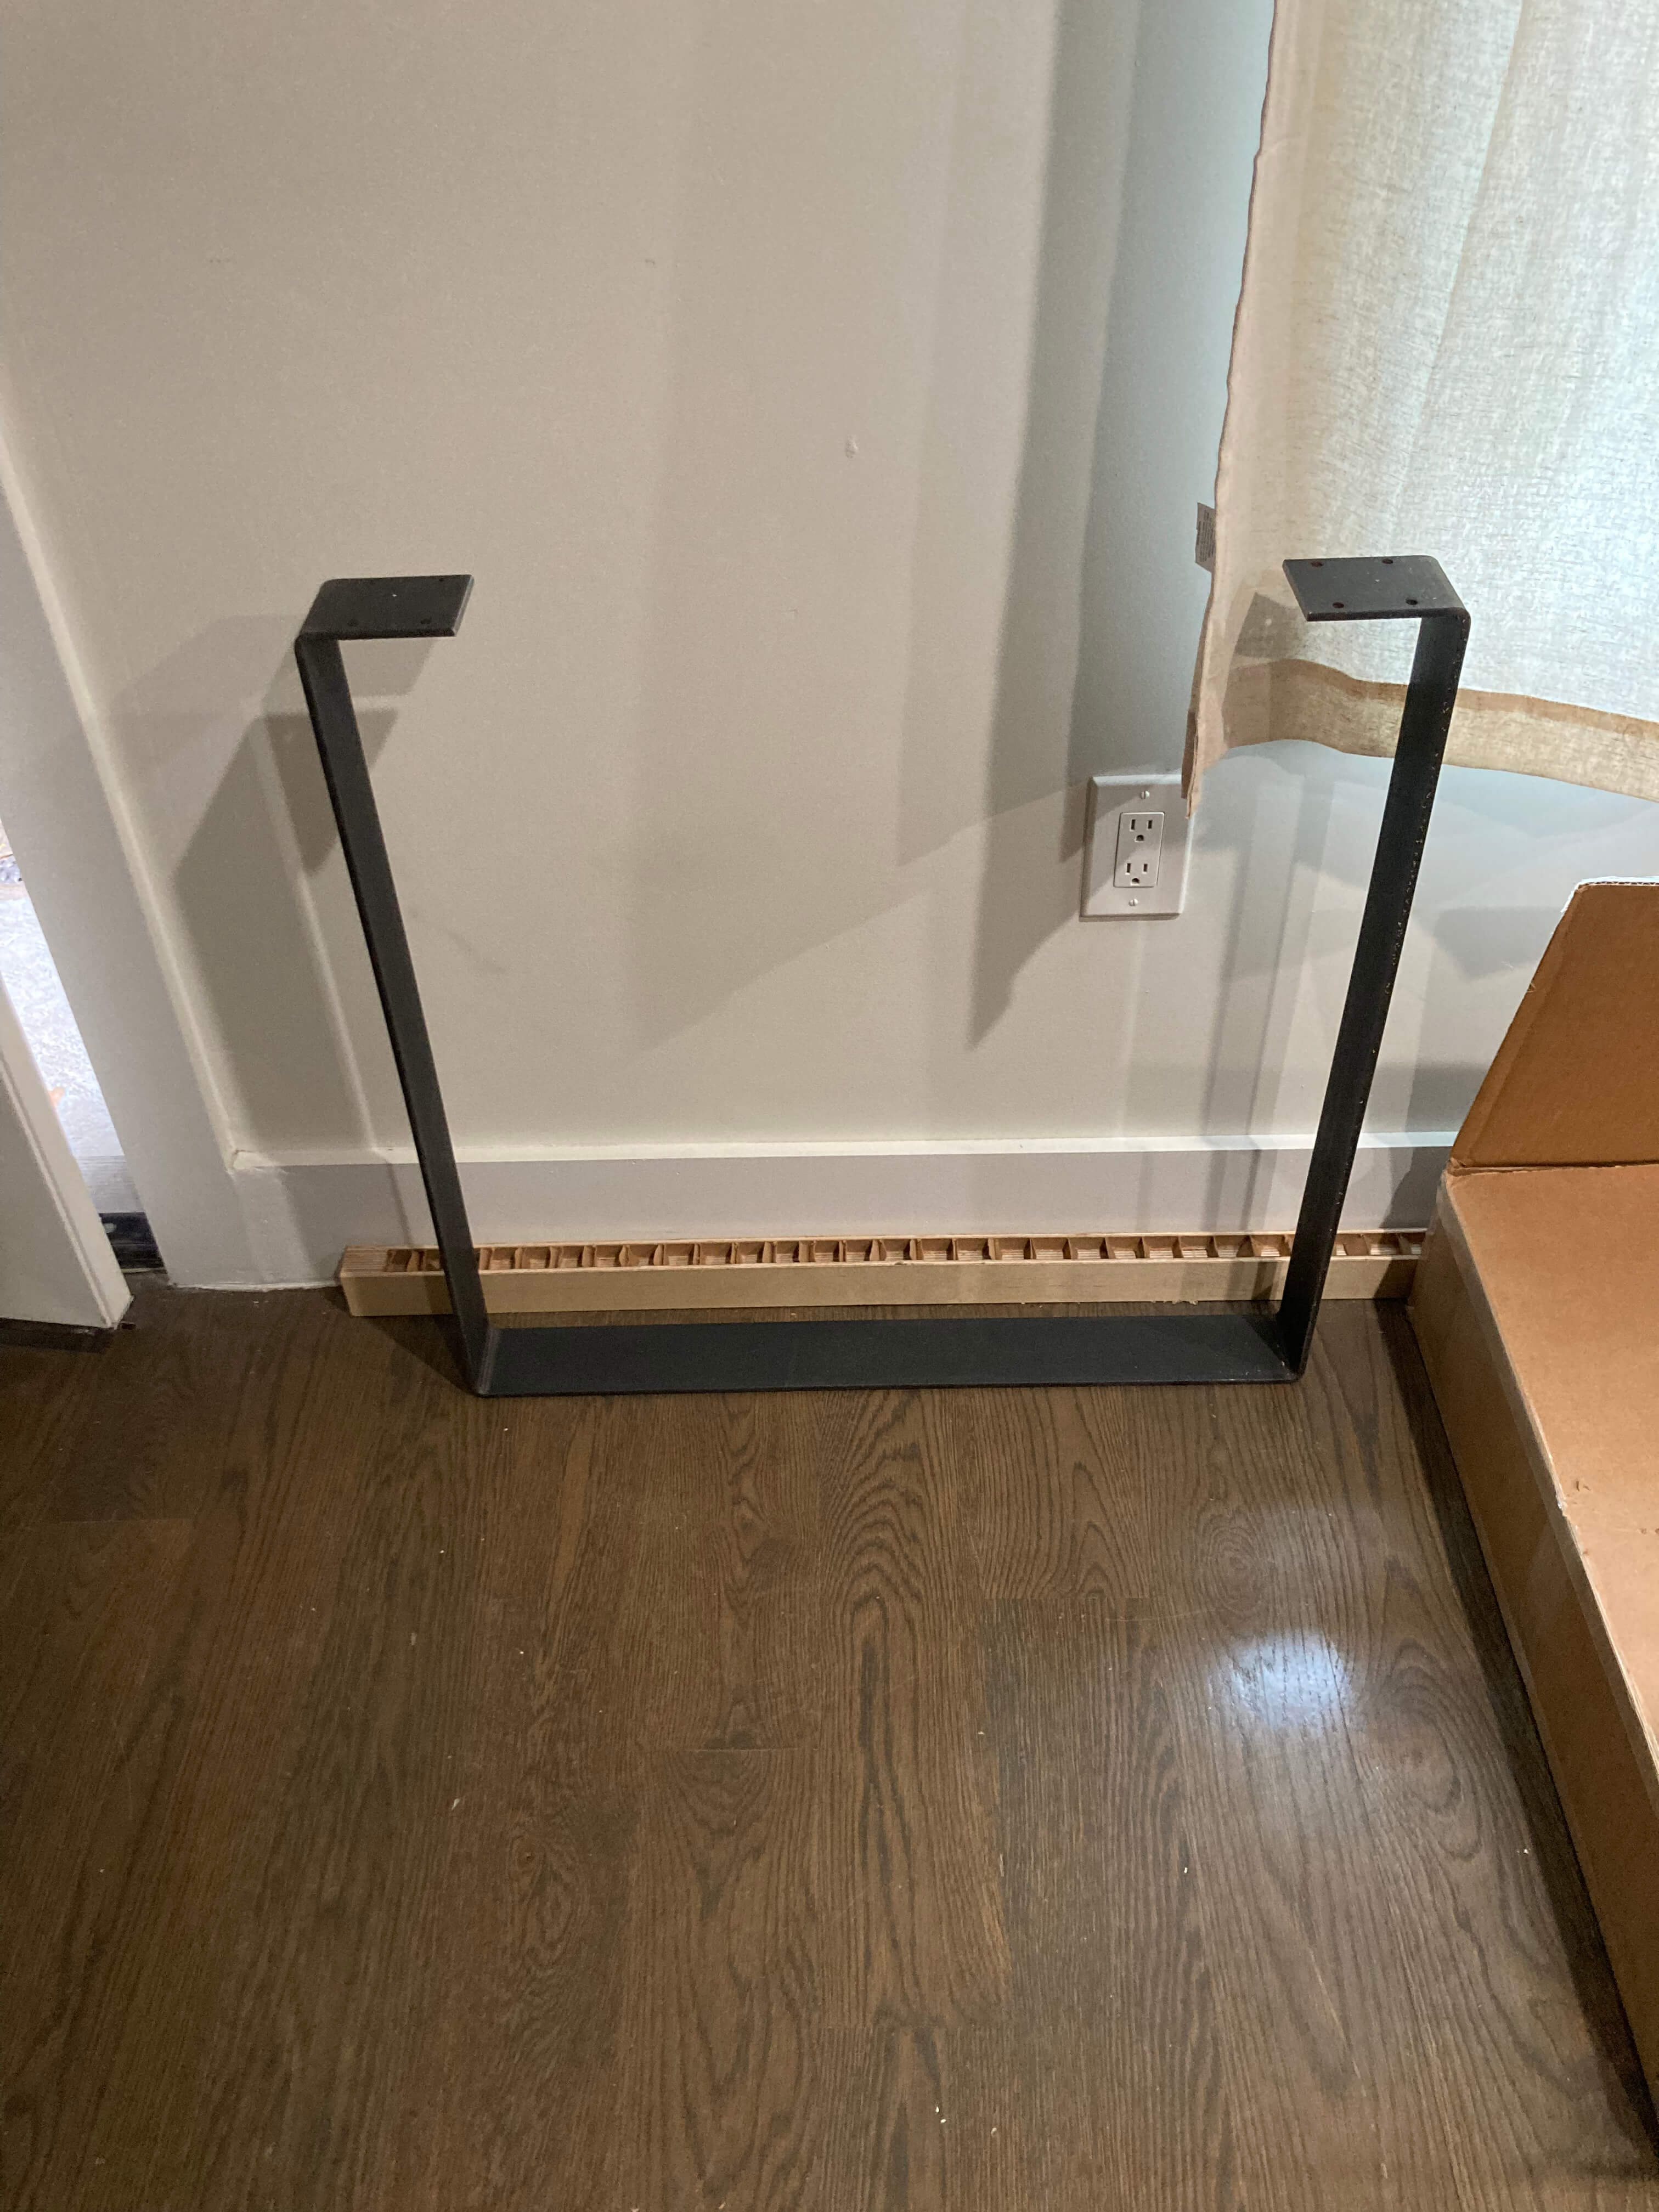
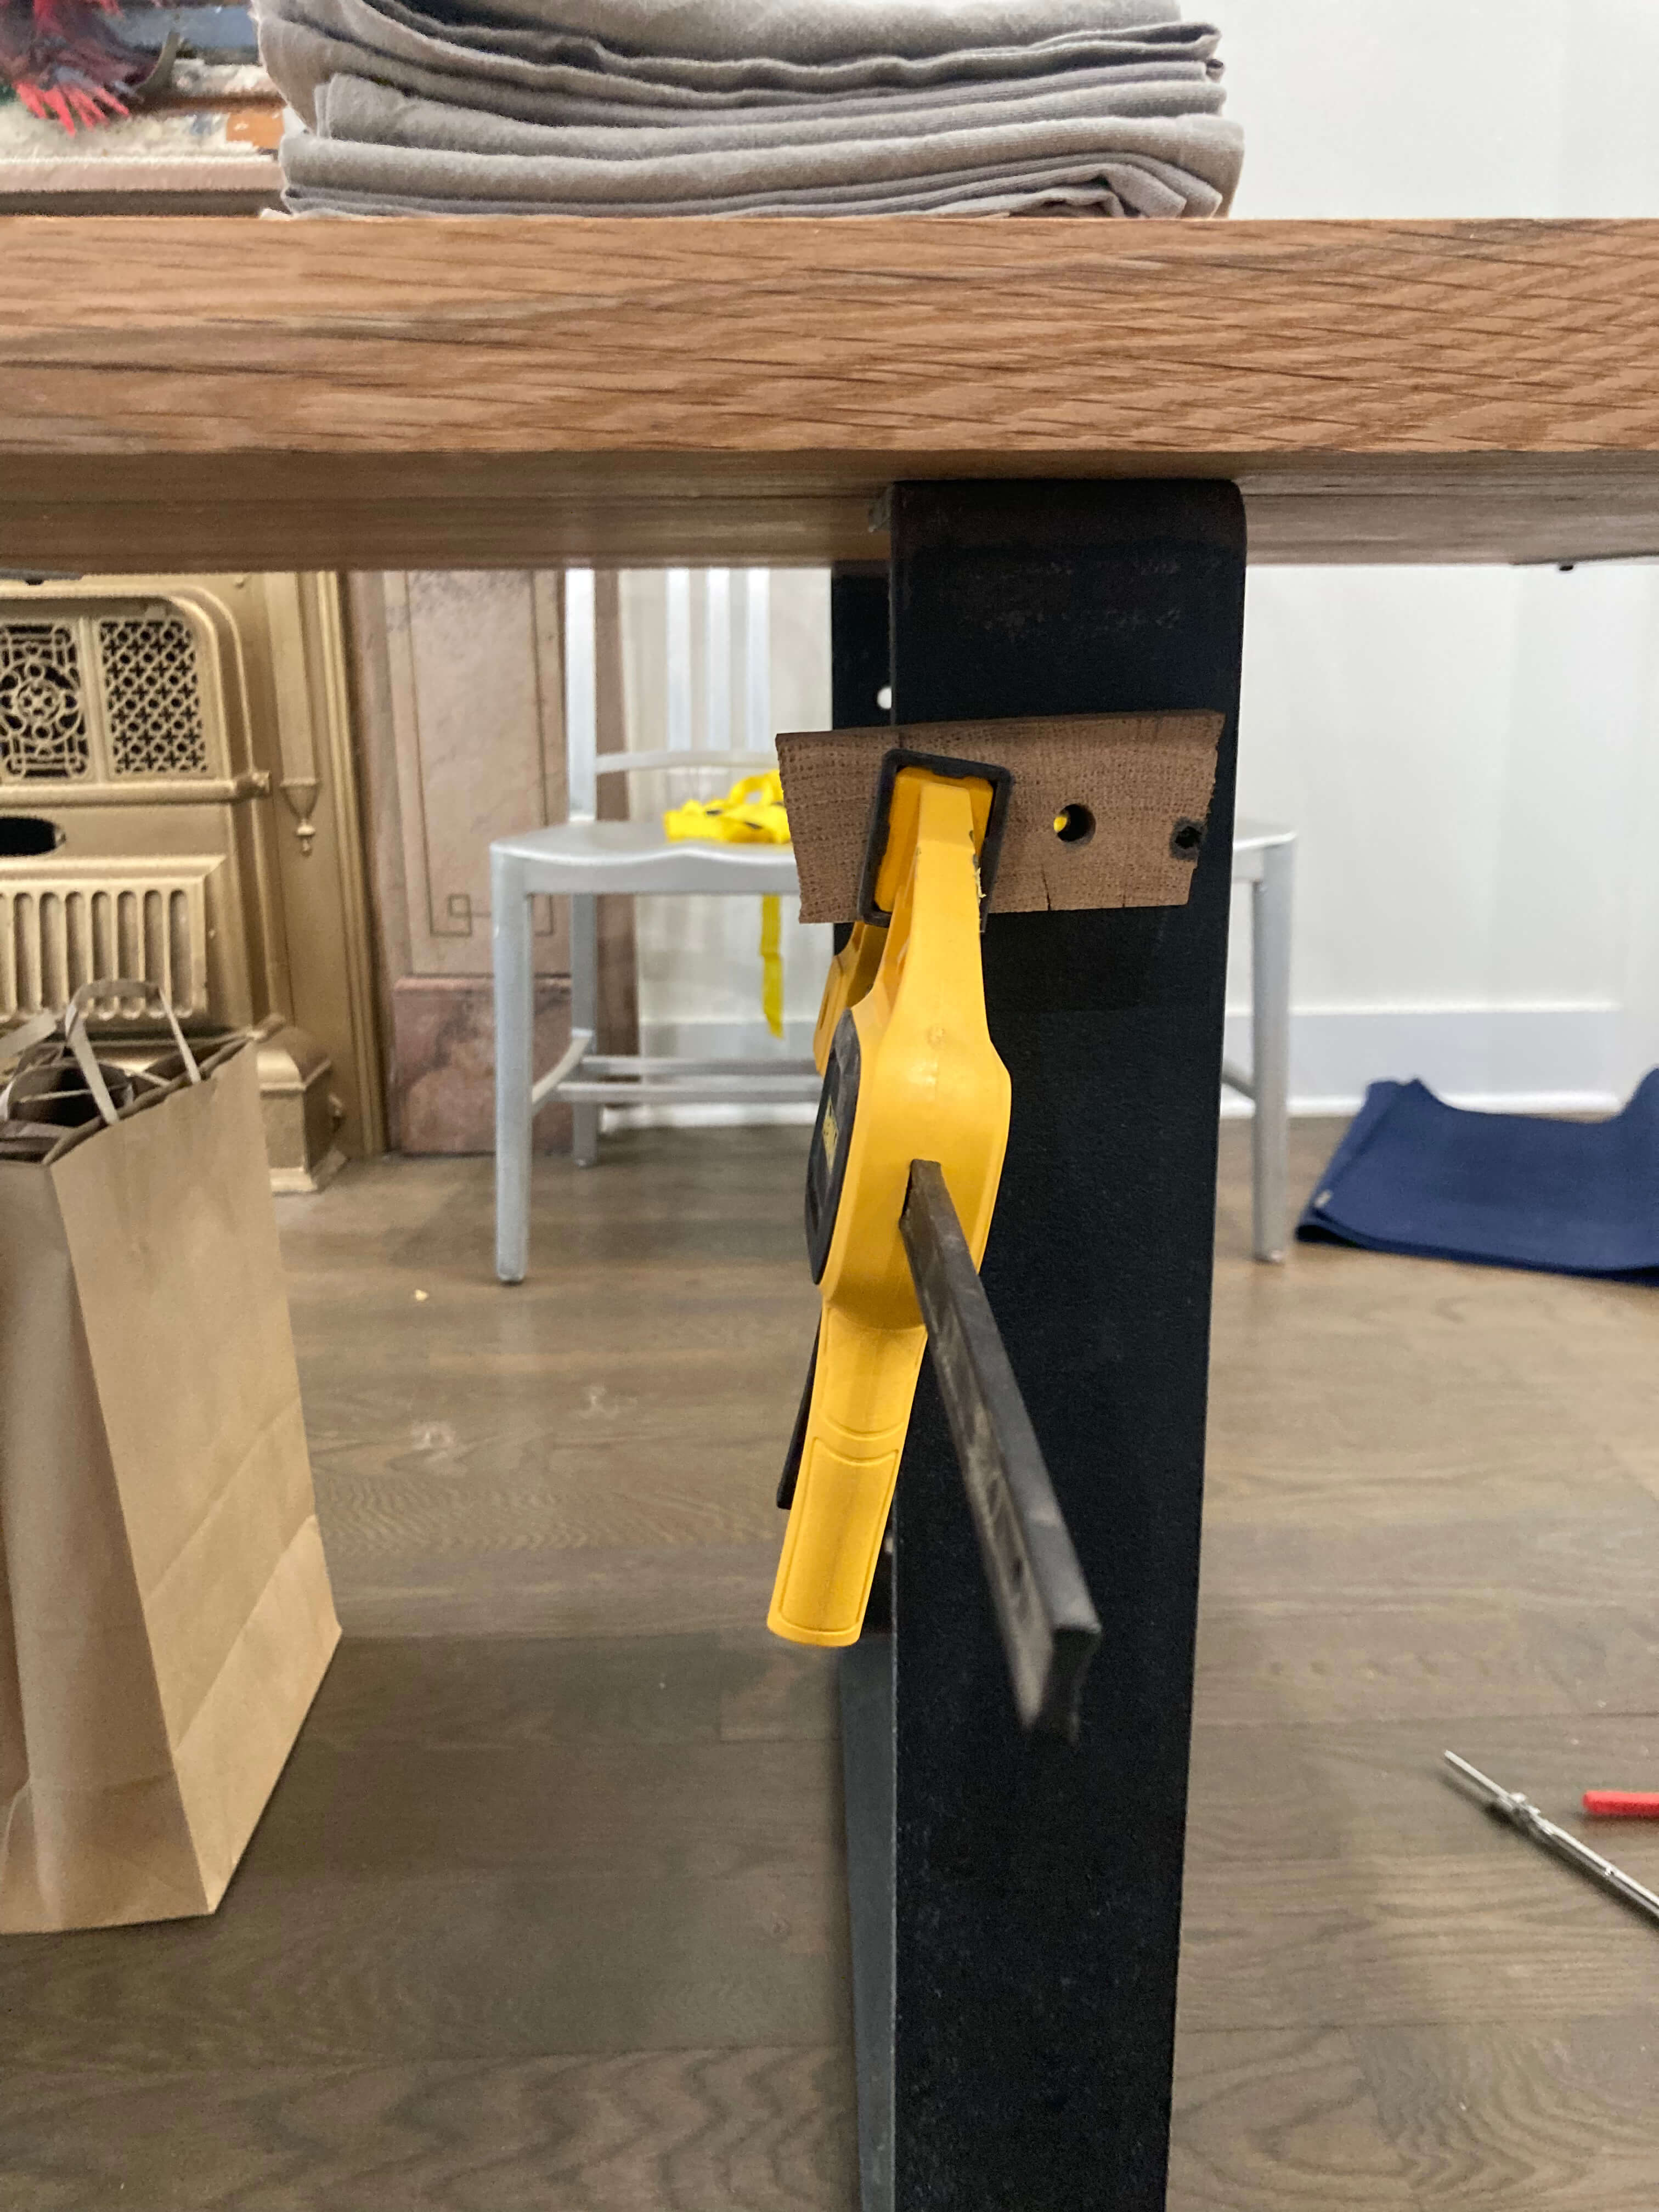
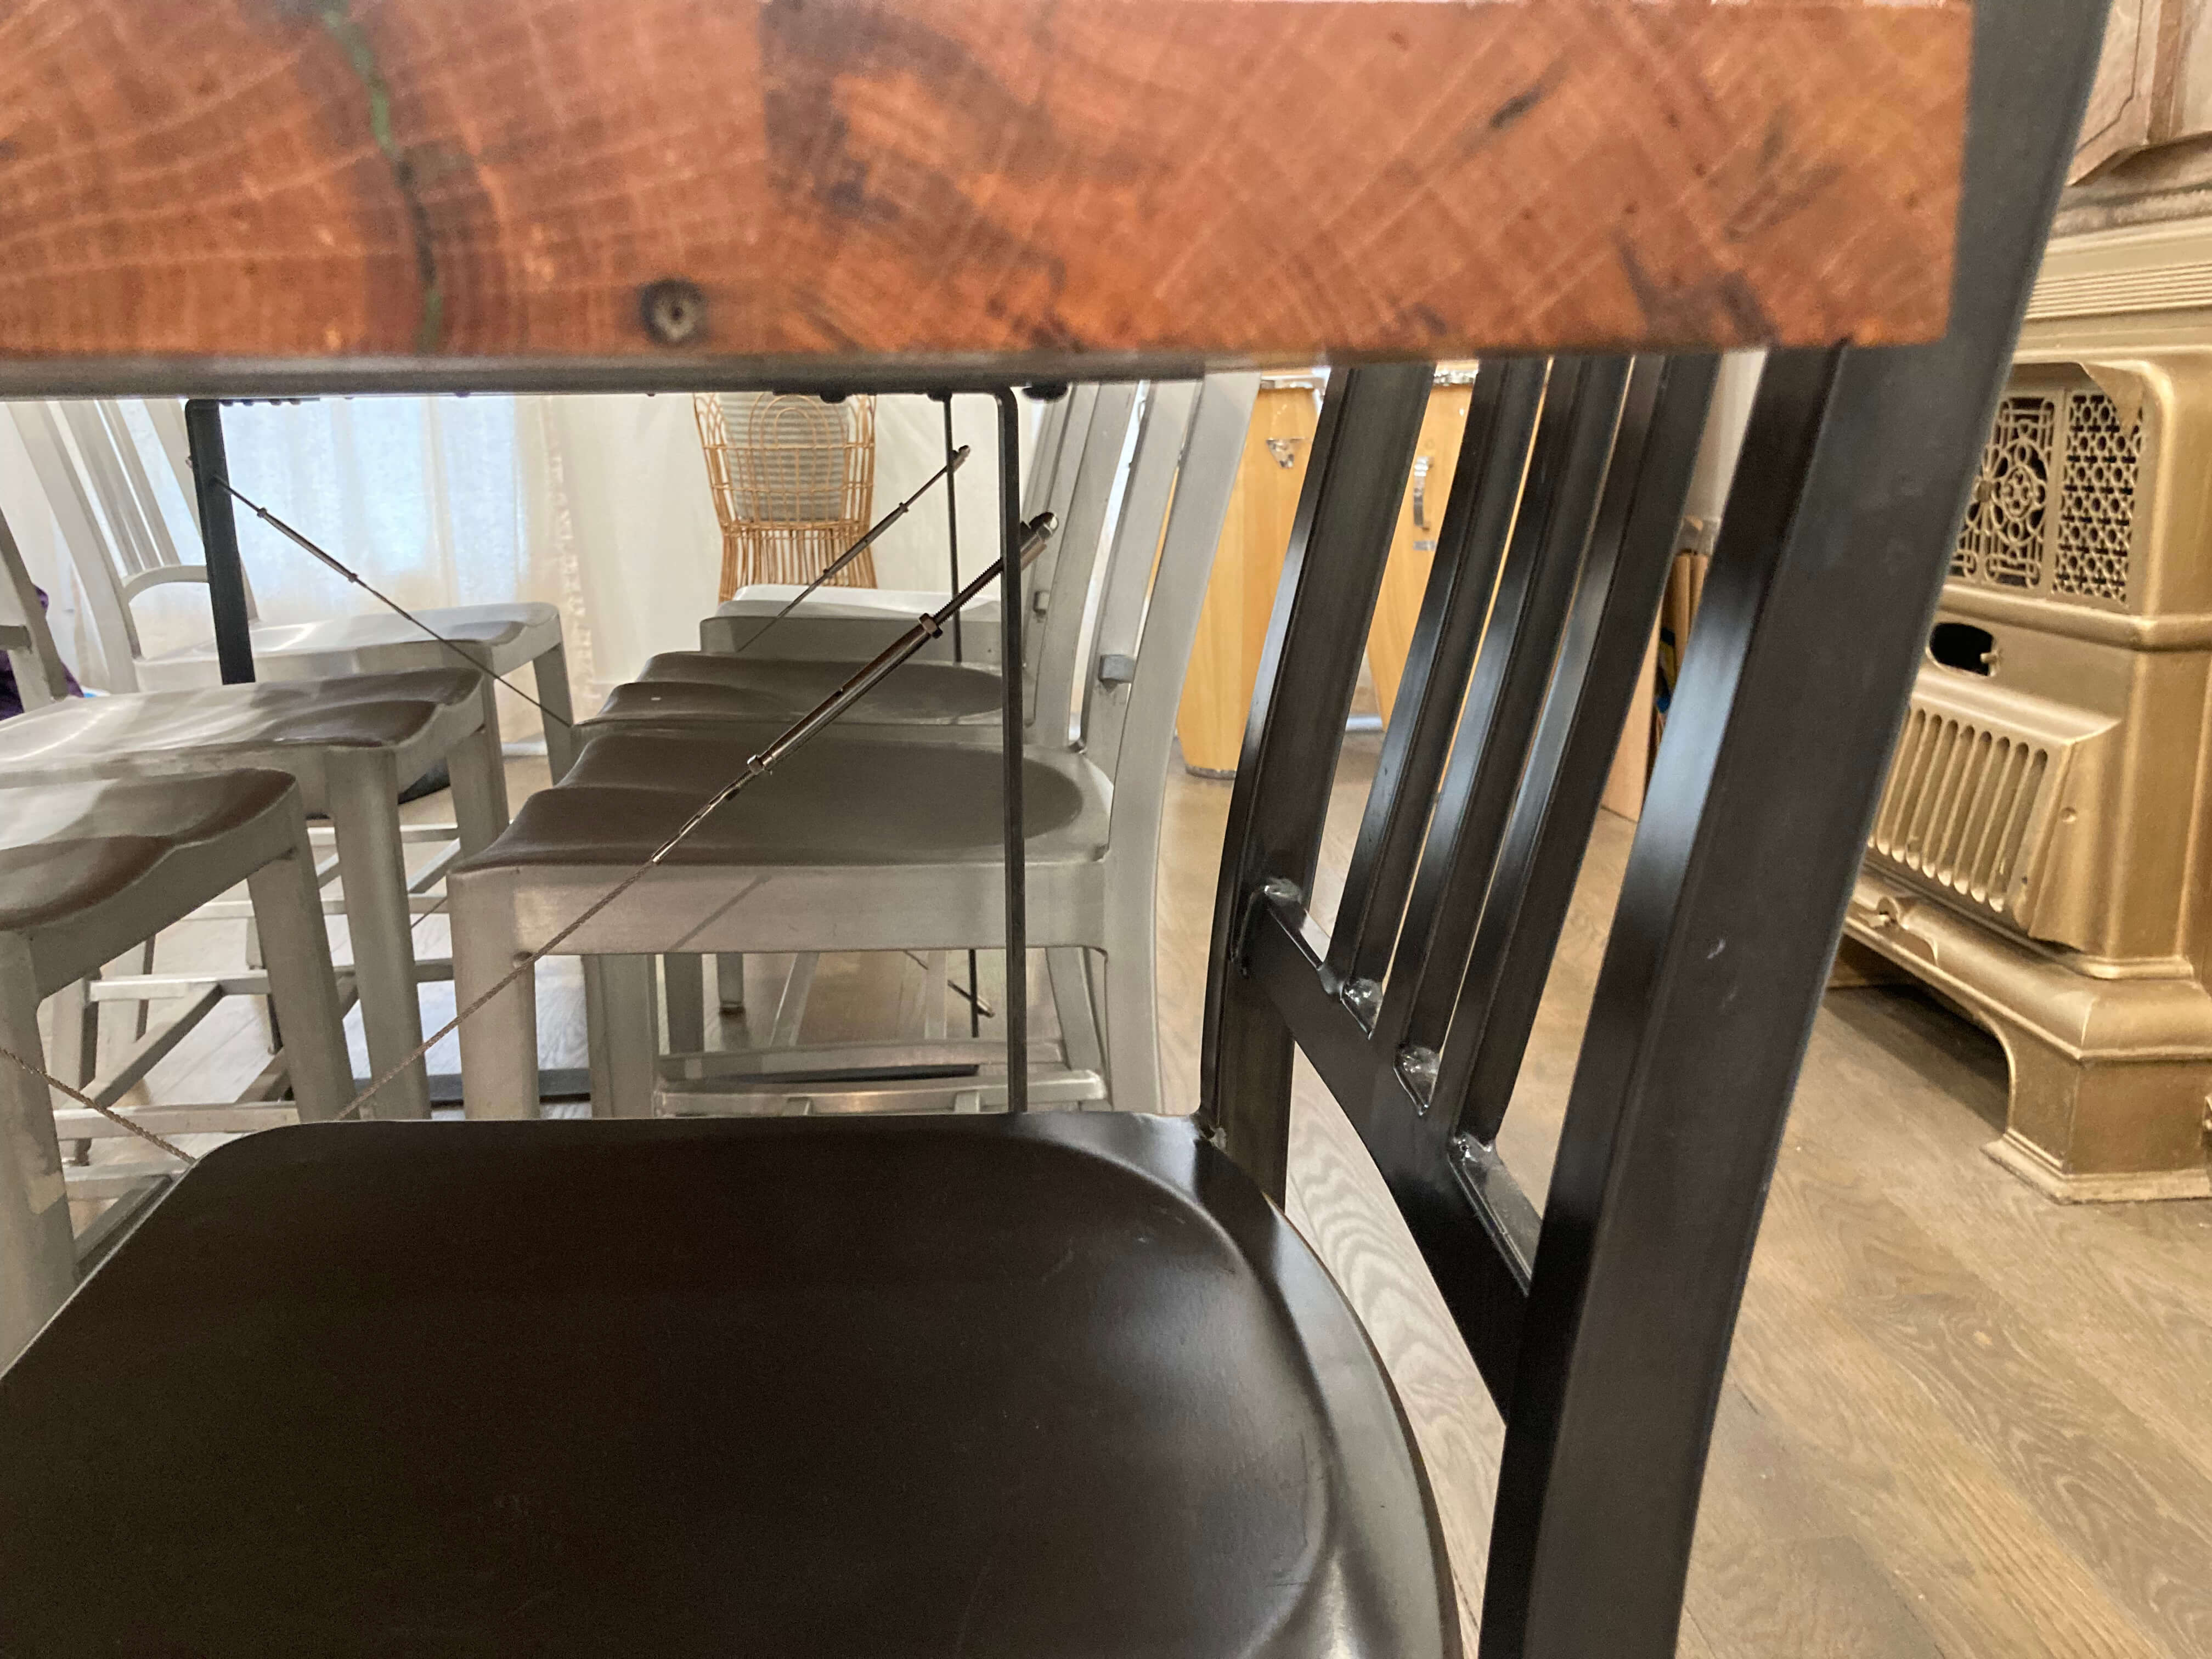
I used these metal legs I found on Etsy for the table, but once I had it assembled there was a SERIOUS wobble width-wise, because the top of the table is very heavy and was able to bend the metal legs side to side, even though they were quite thick.
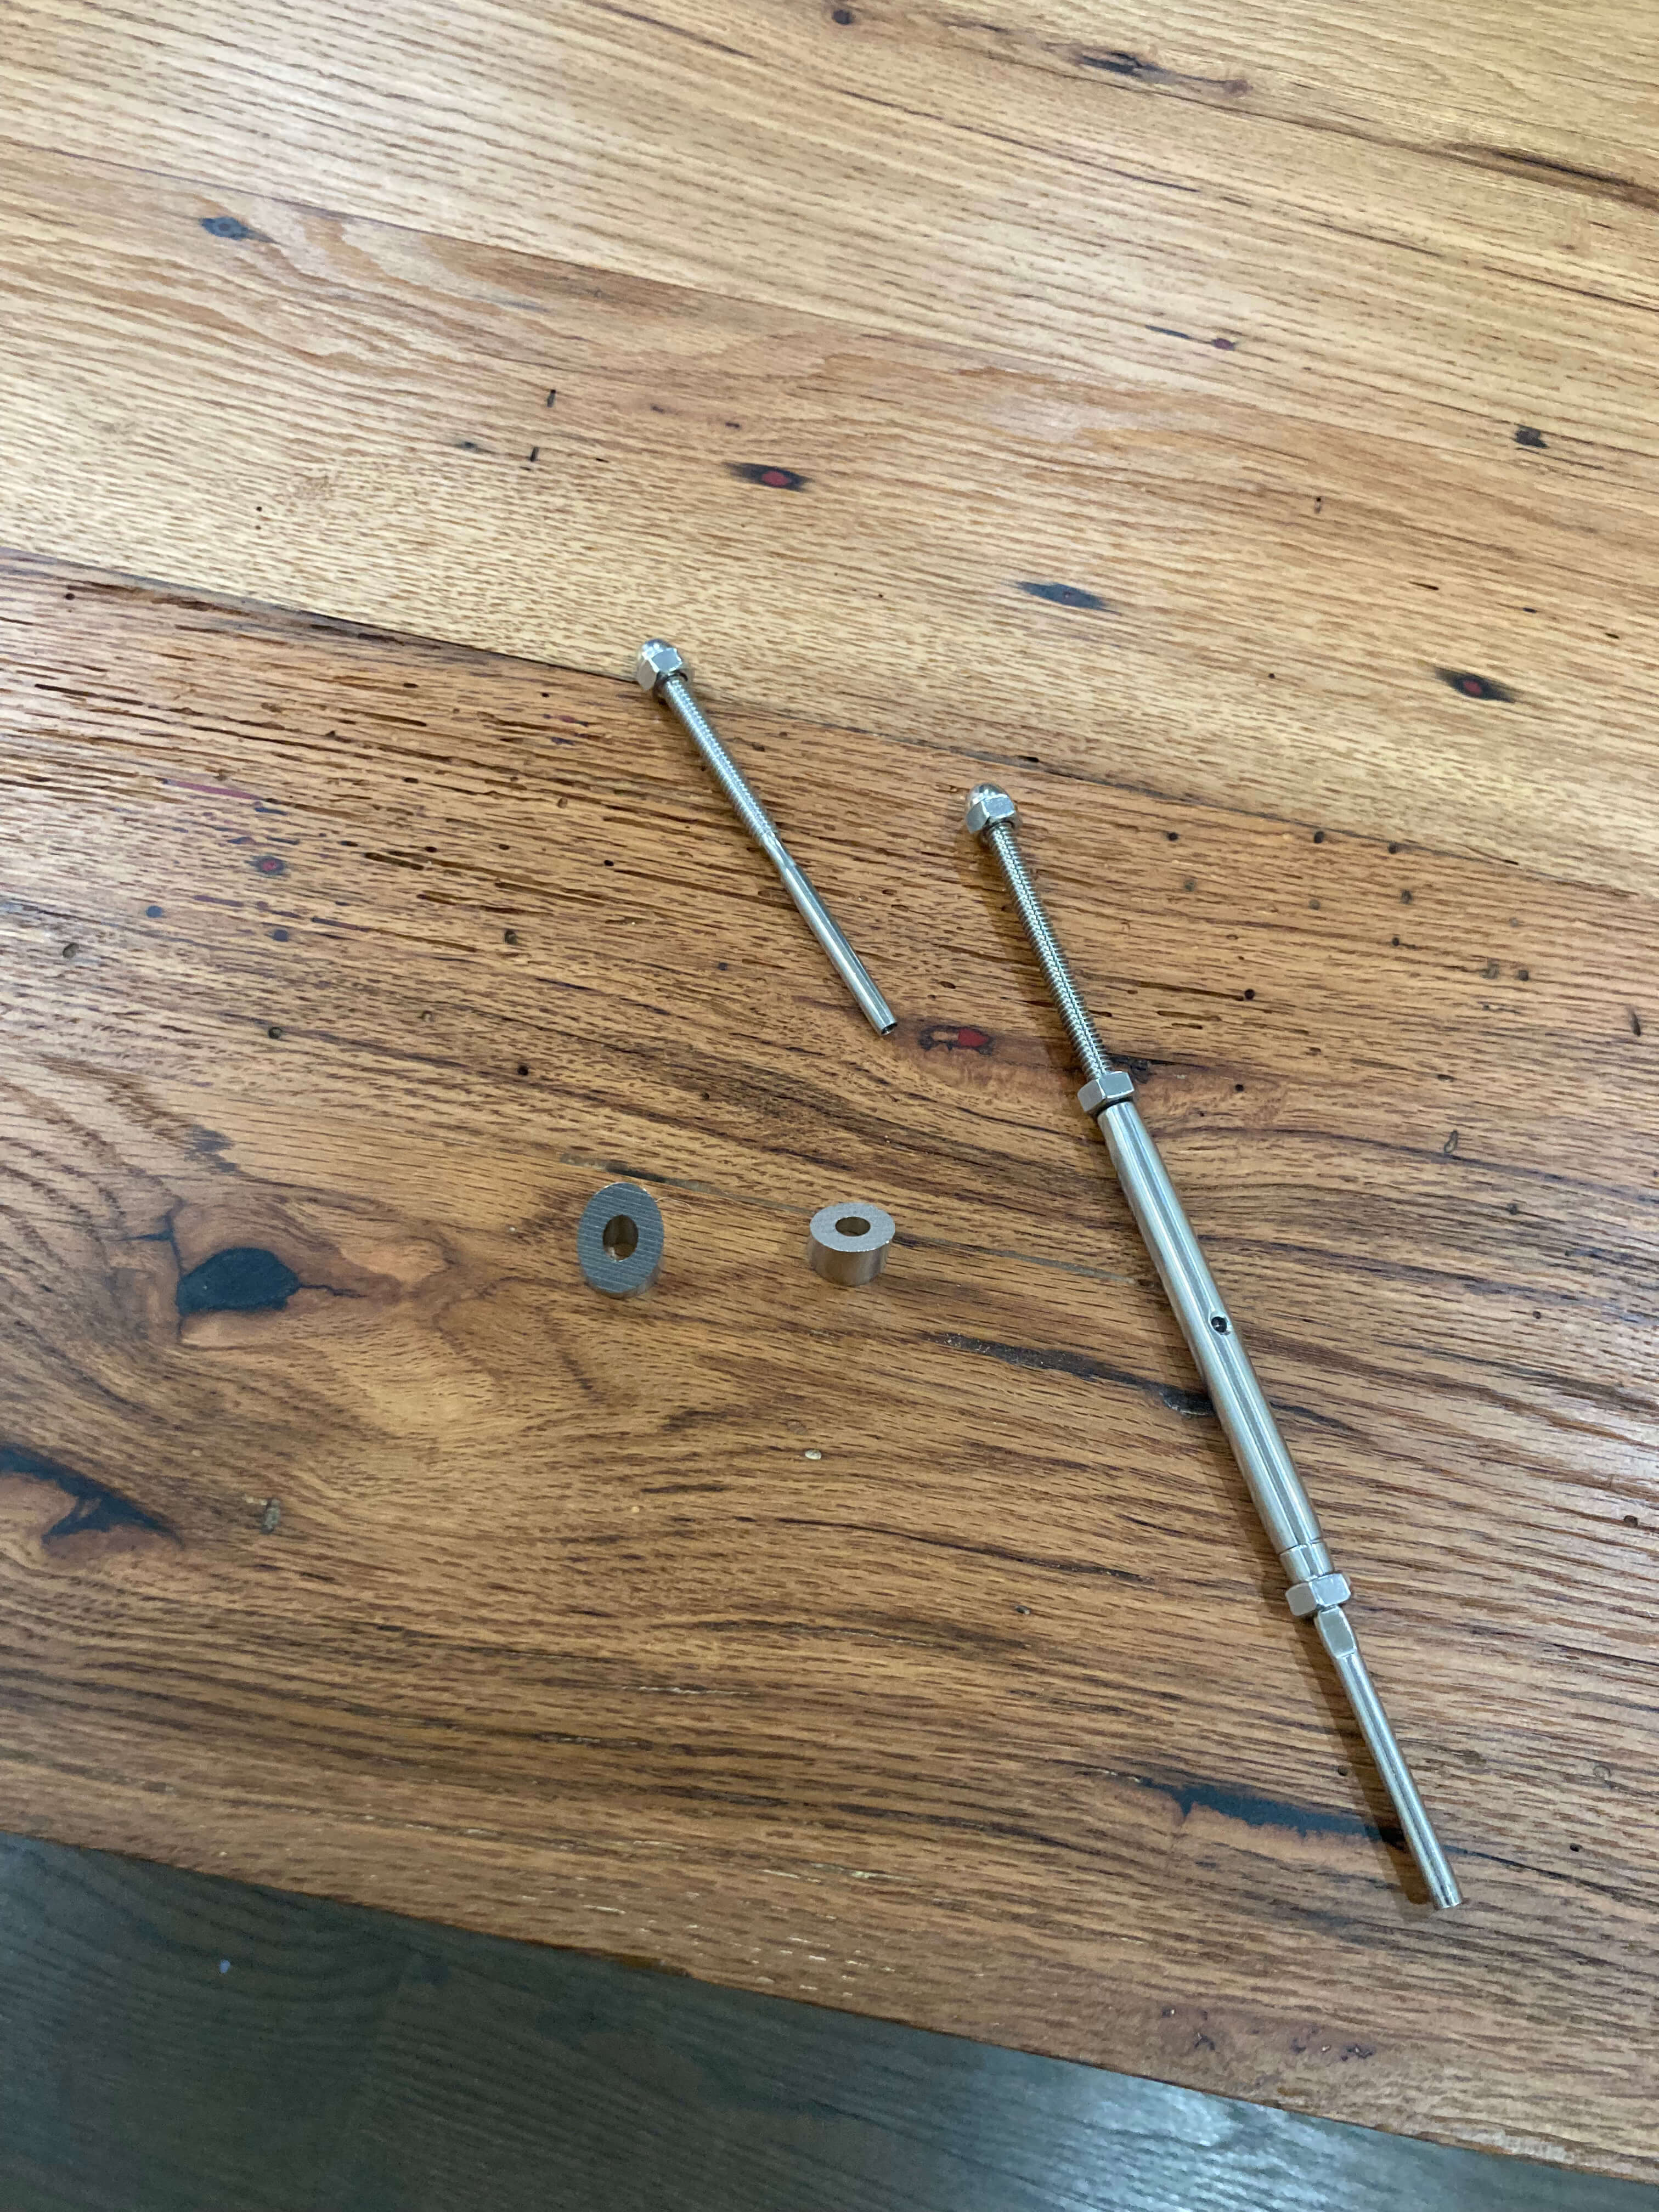
I was thinking about spot welding cross supports, but consulted Jason and he suggested using cables and turnbuckles. It took me a long time to grasp the physics of how only the forces of the cables pulling towards the center (and no outward forces) would solve this problem, but eventually kind of grasped the idea (which has to do with the x-shape of the cables creating equal forces which don’t allow either leg to bend outwards at all). Anyway, this ended up being rock solid and looks pretty cool, too.
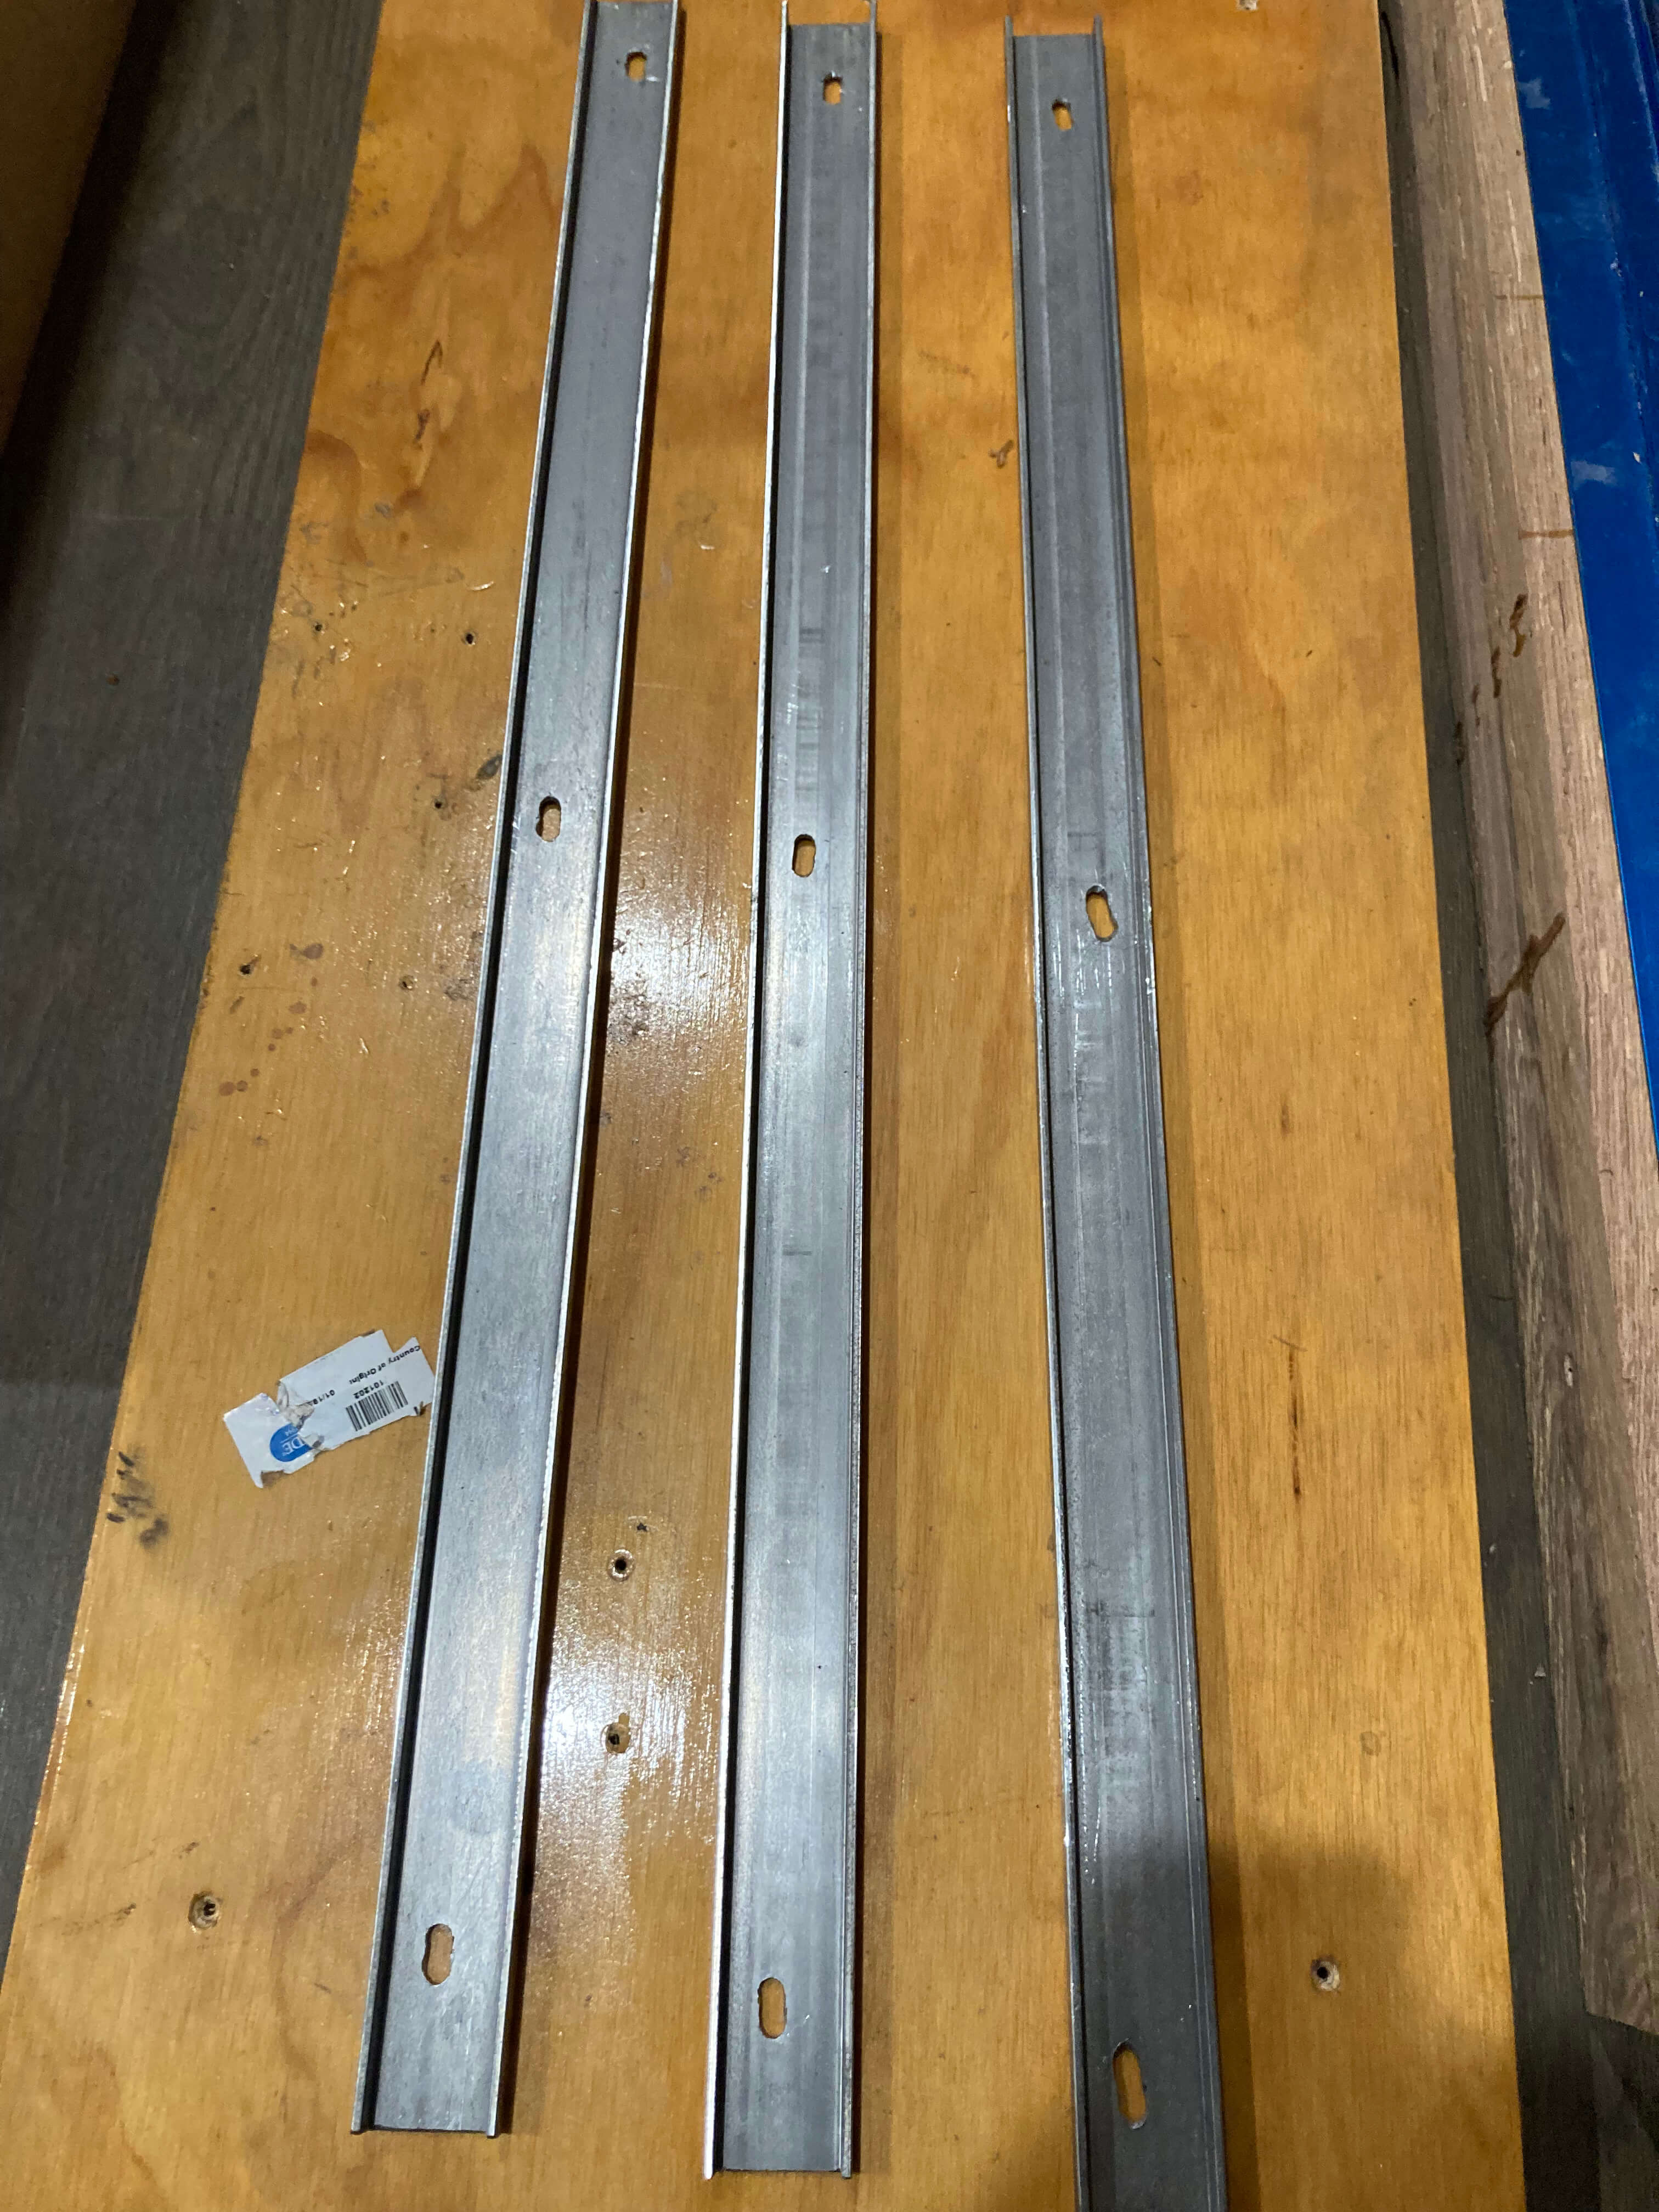
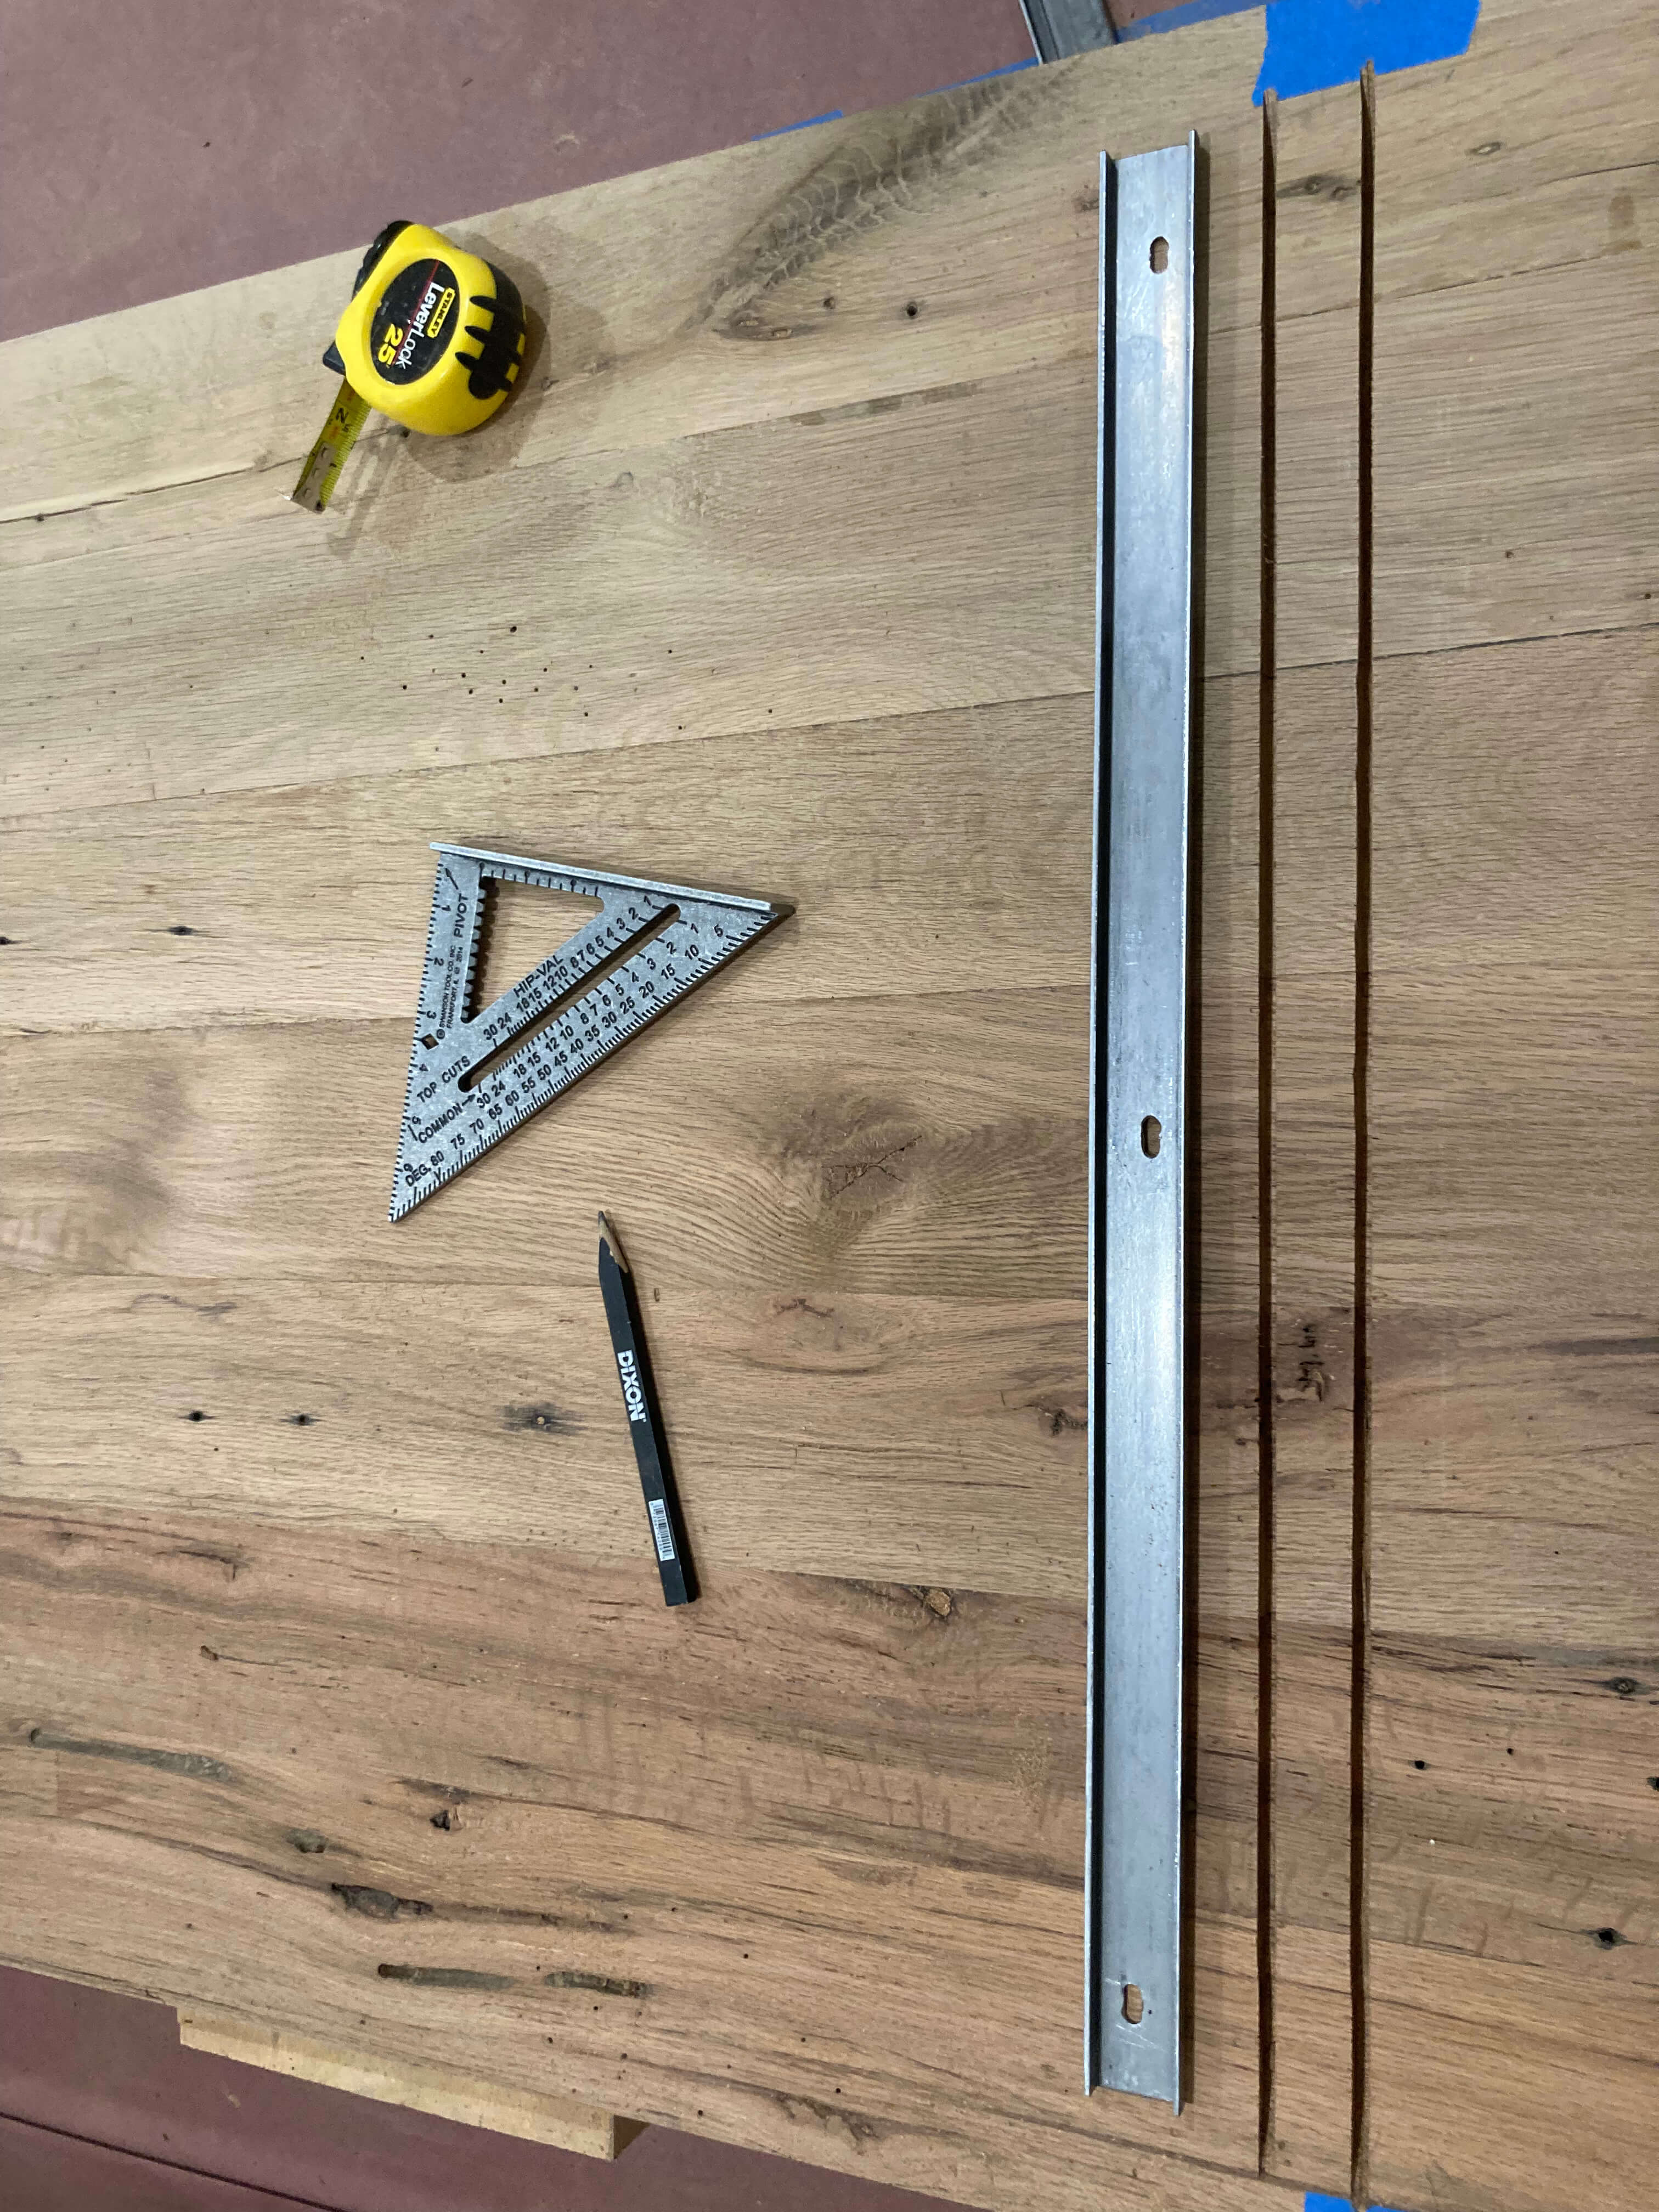
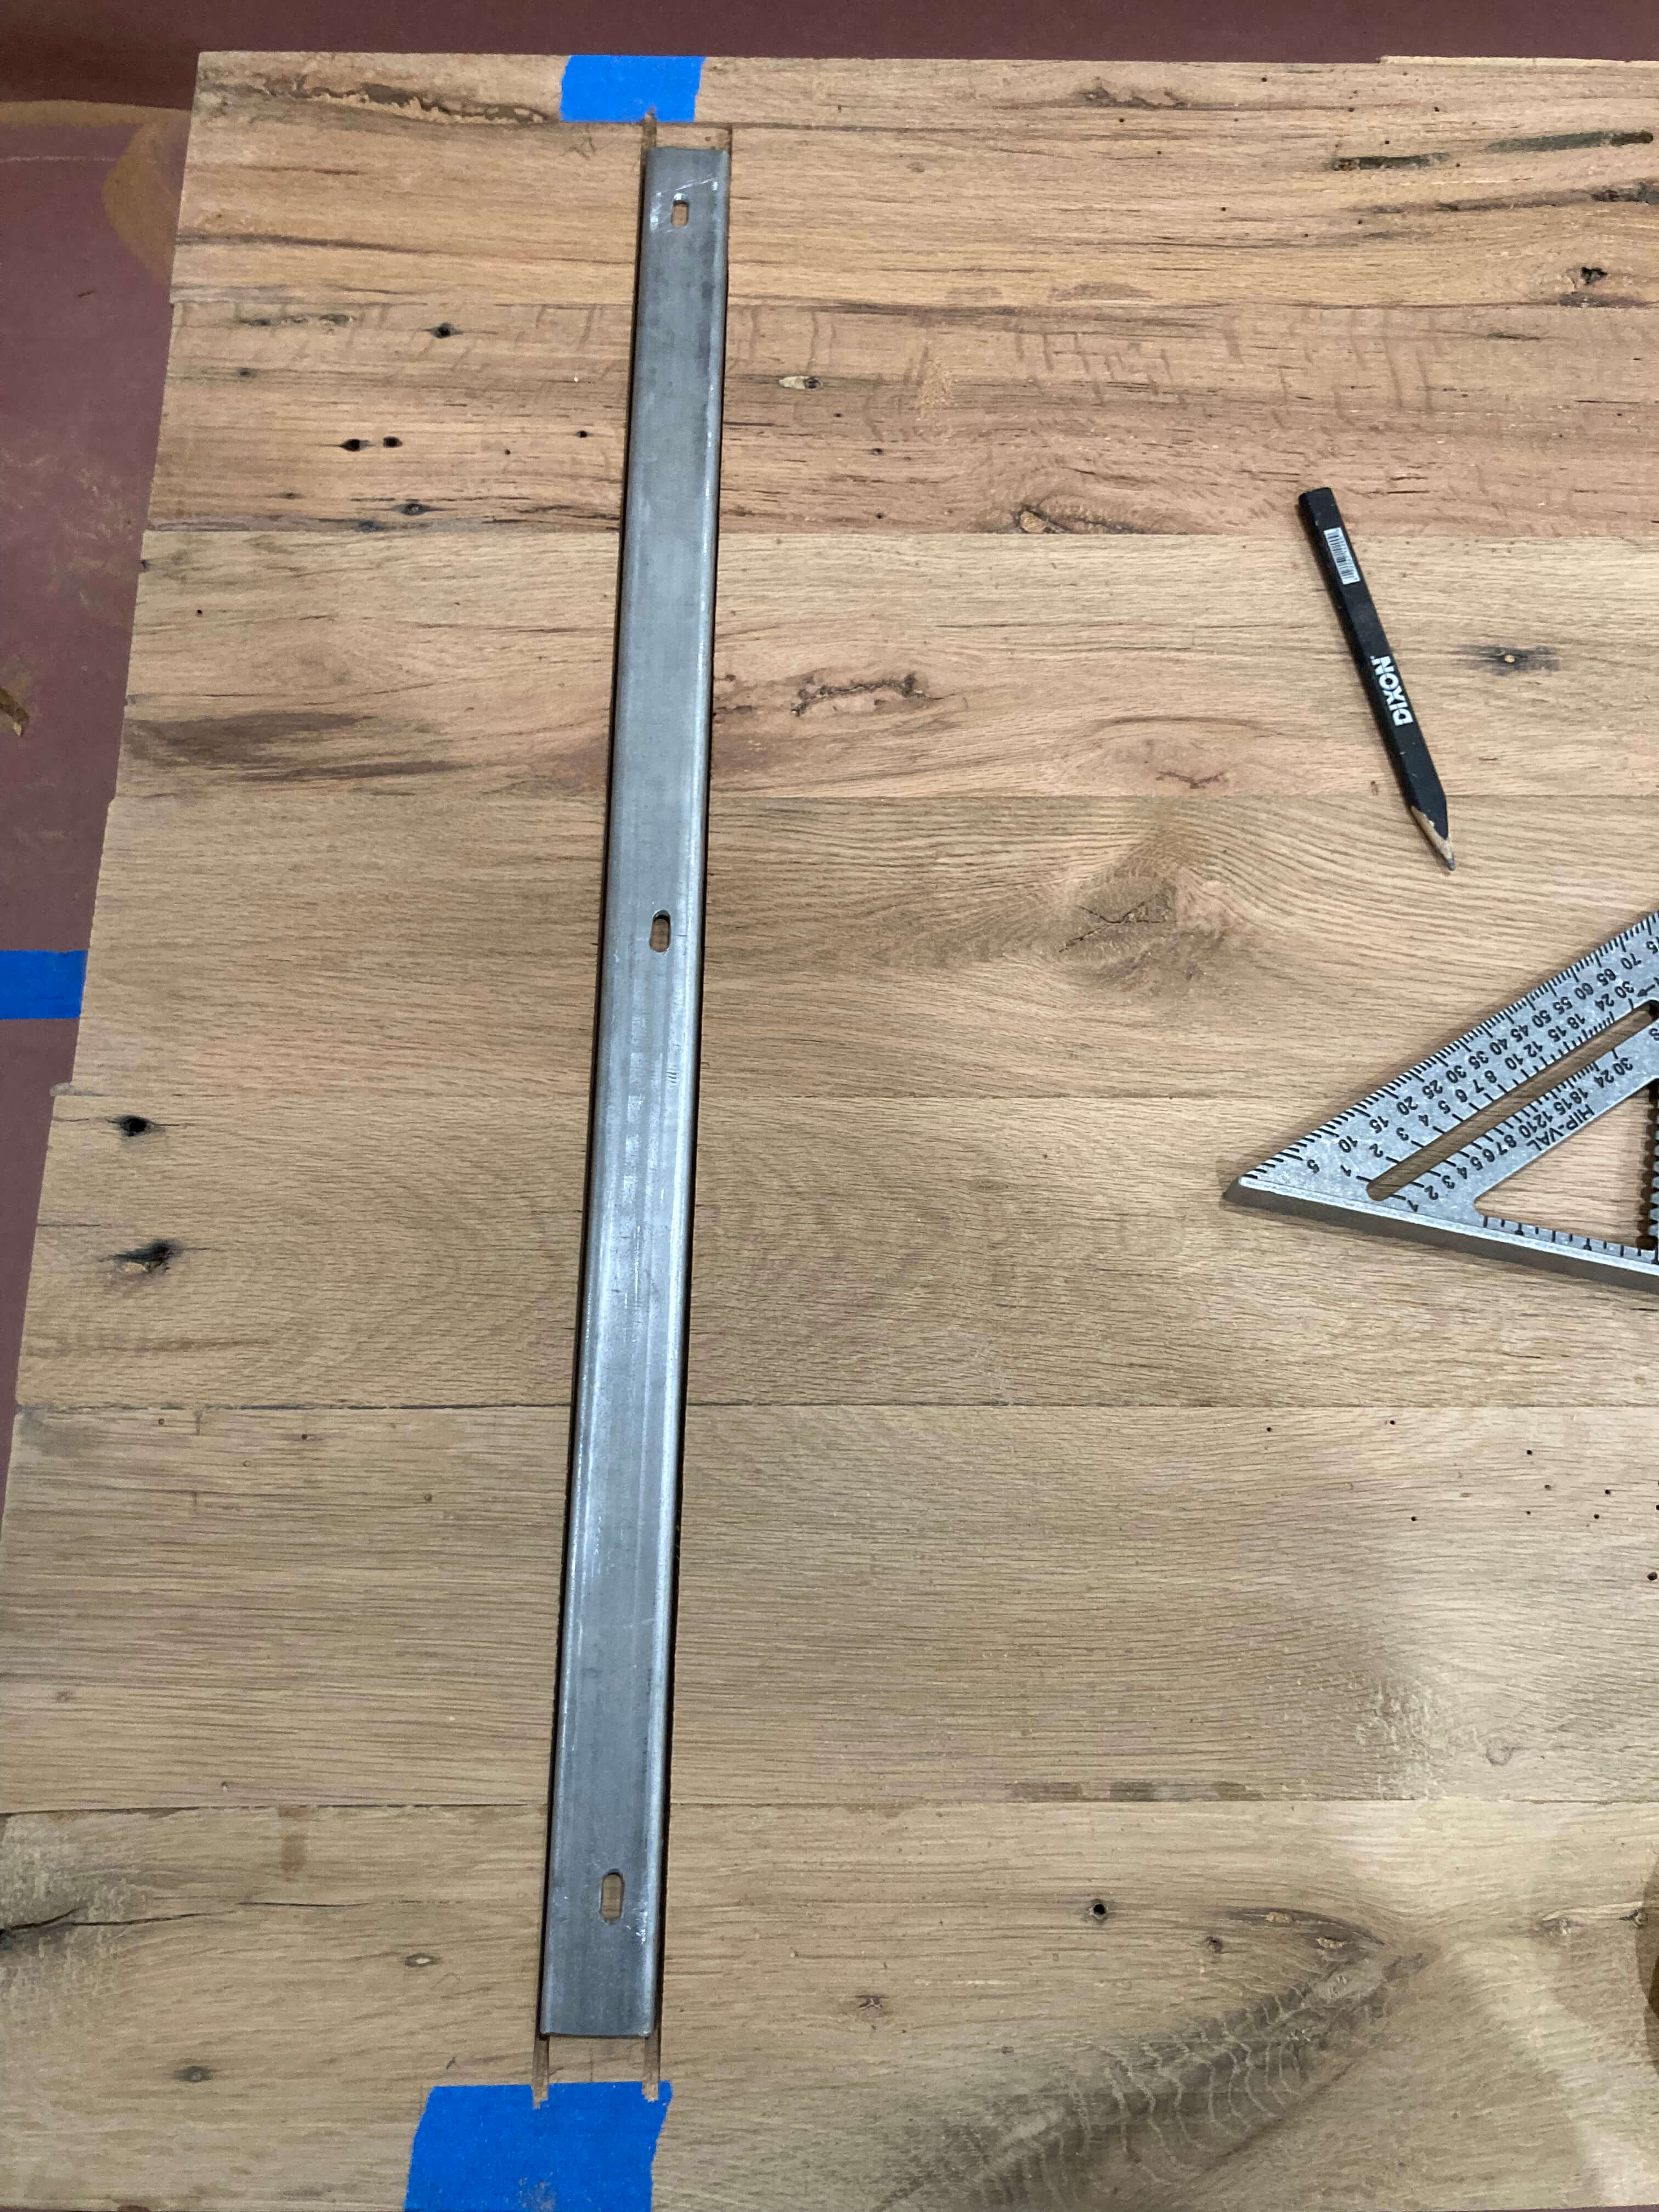
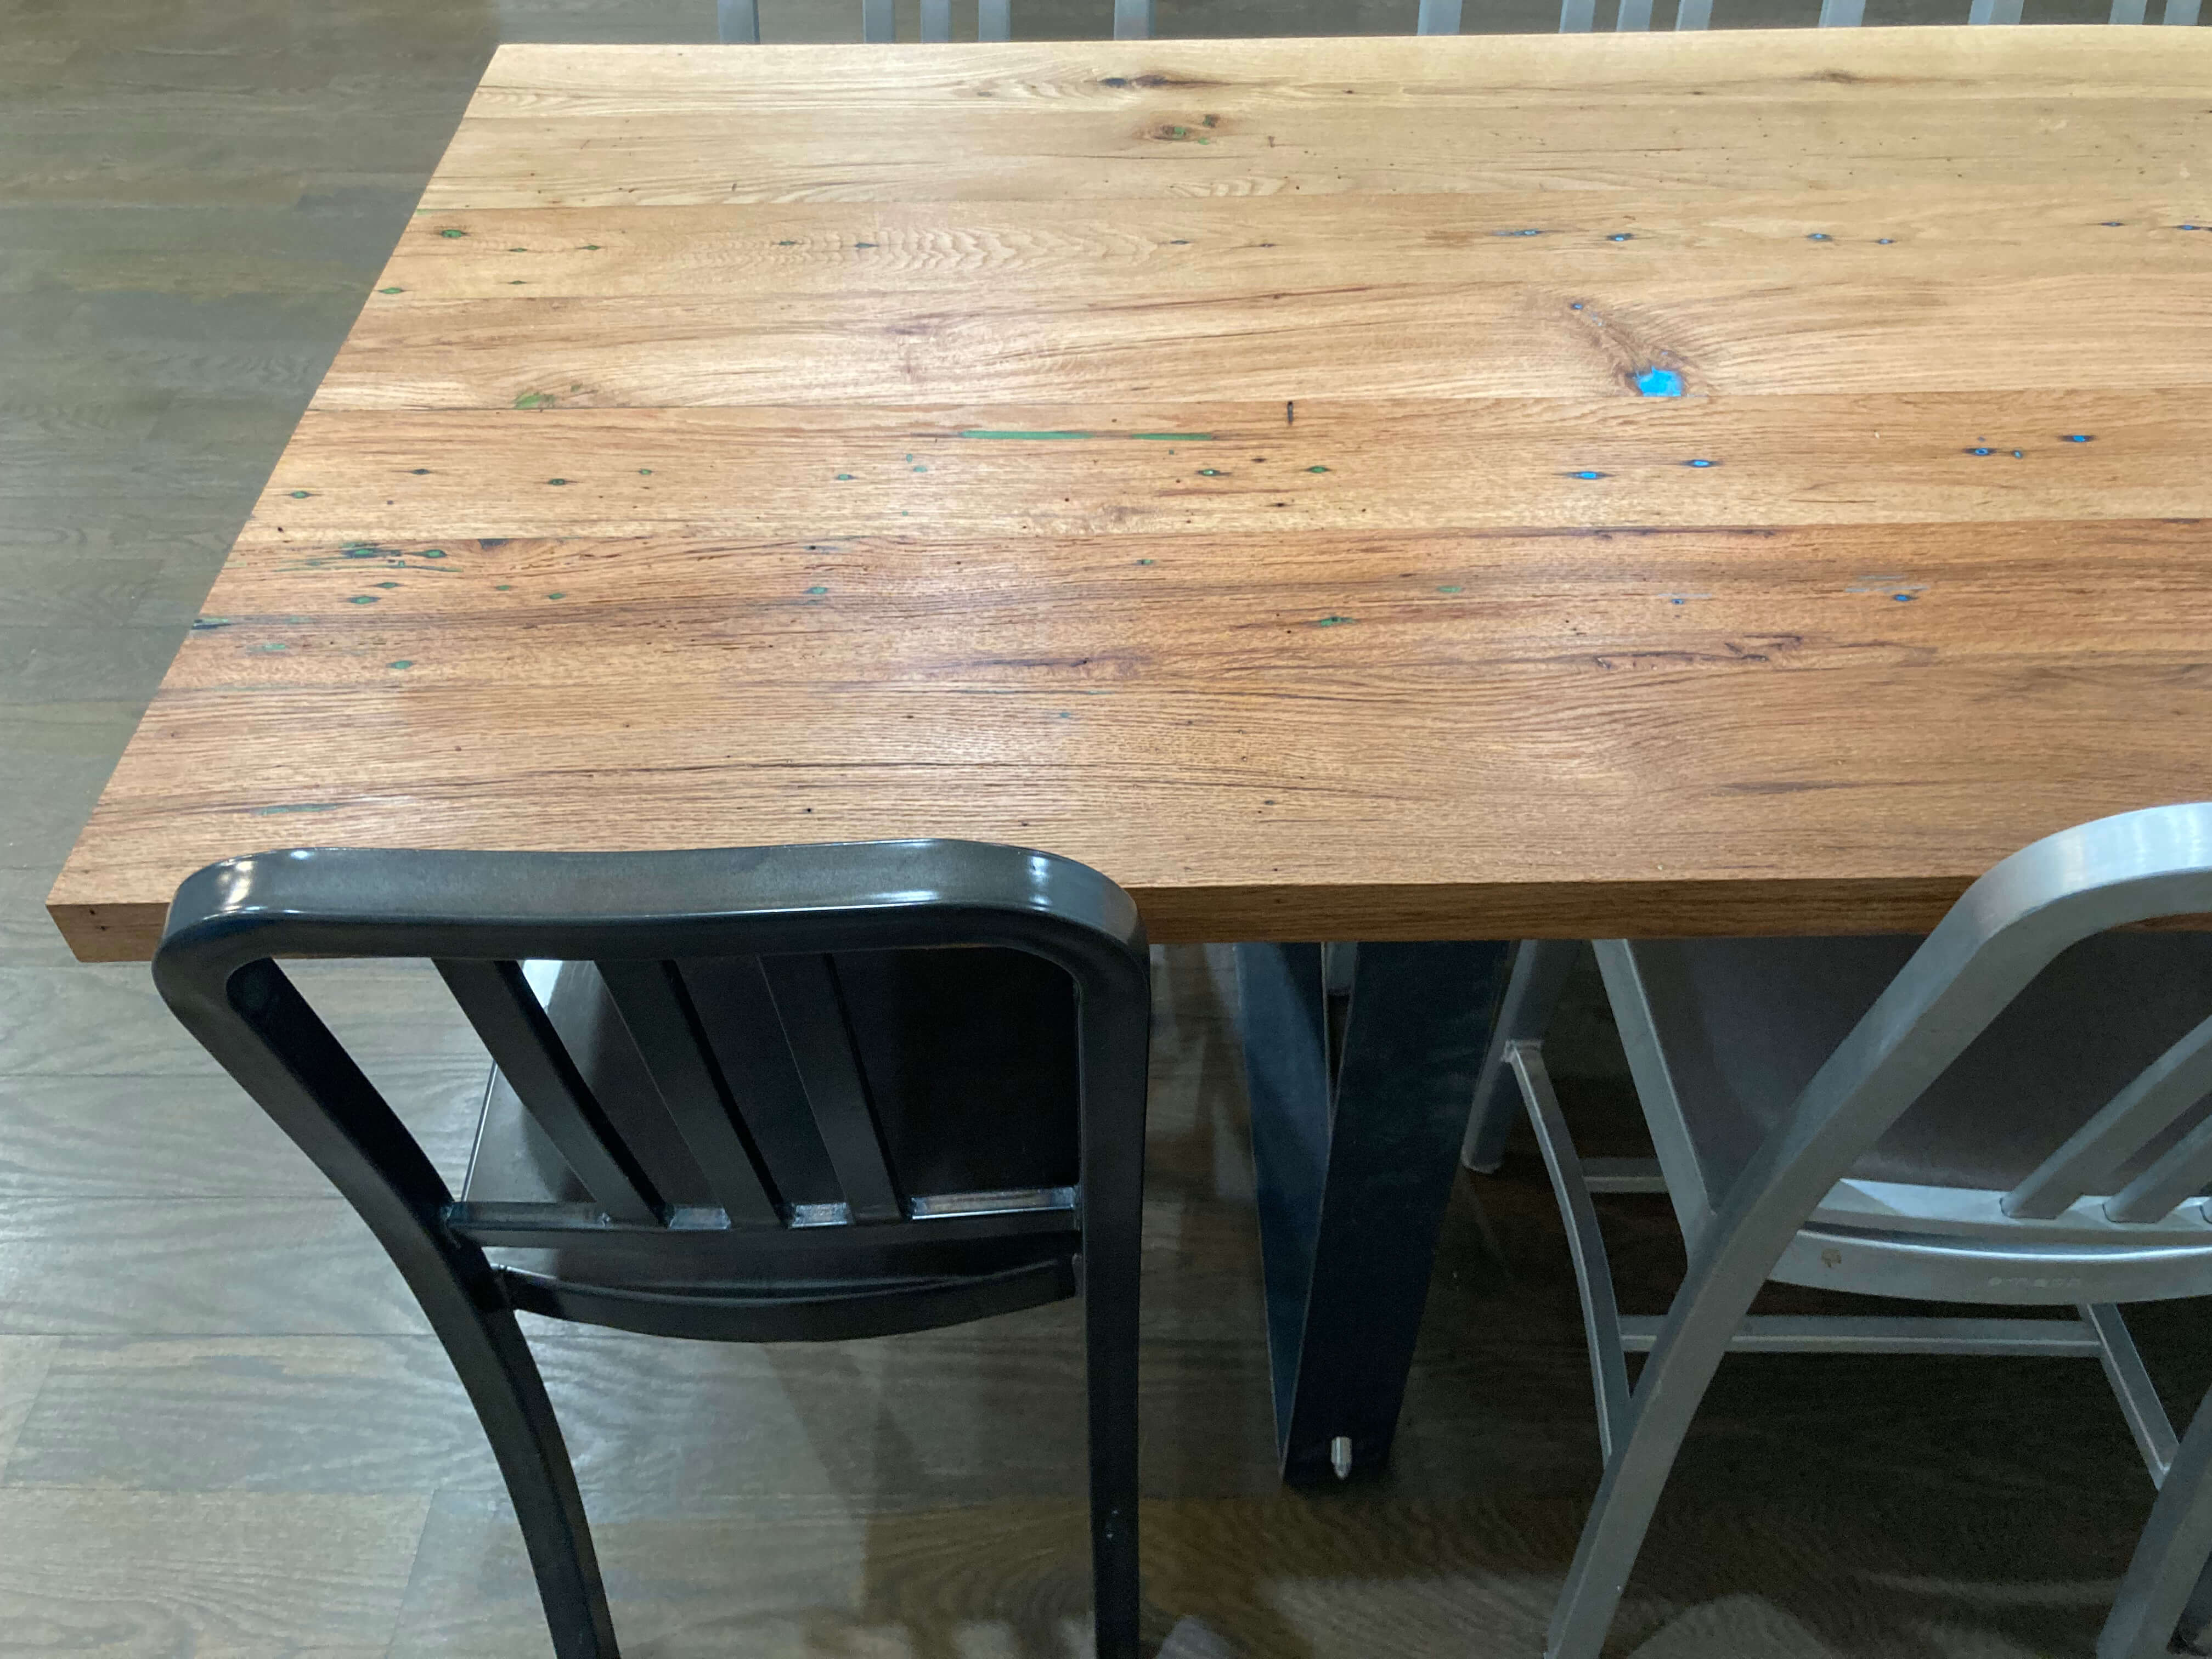
To prevent the table from bowing, I added some c-channel iron on the underside, making sure to cut oval shaped holes for the bolts attaching it to the table to allow the table to expand / contract width-wise as humidity changes with the seasons. I used set screws and socket cap screws to attach these supports (and the table legs) to the wood, rather than wood screws, to create less wear and tear on the table with dis- and re- assembly.
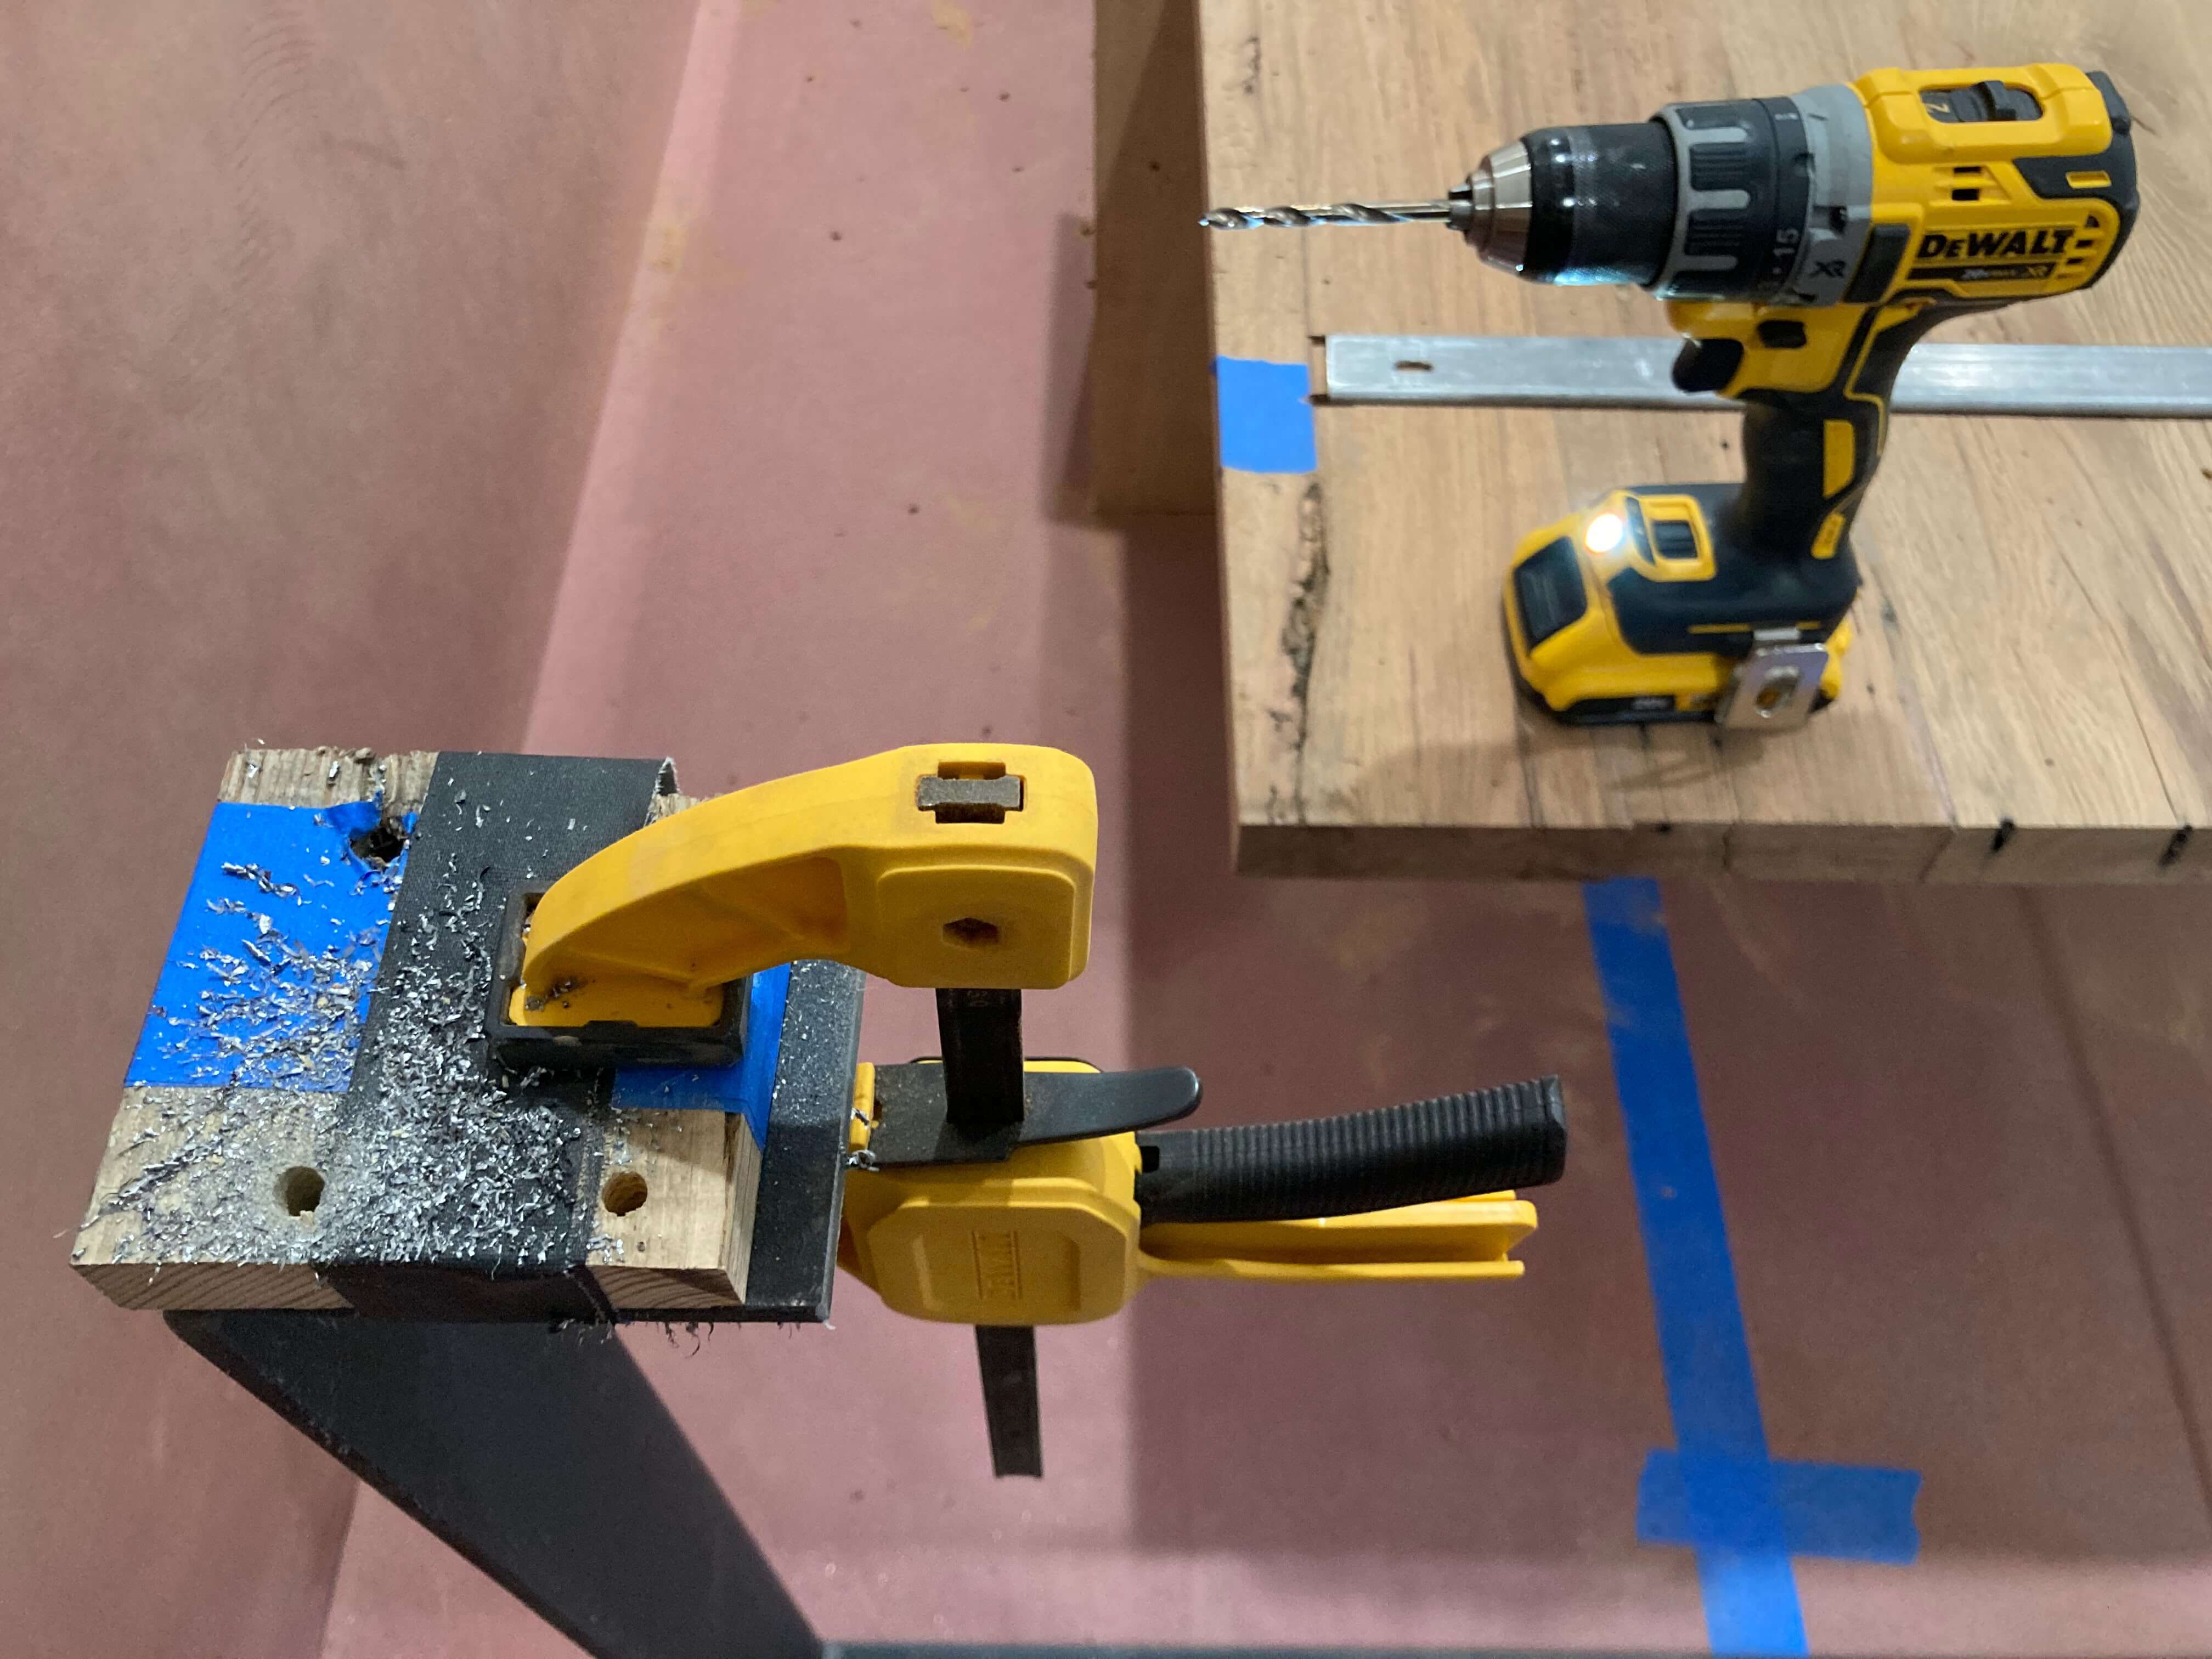
The only tools I used for this project were a skill saw and orbital sander I borrowed from Rob and Jenny, the biscuit joiner I borrowed from my Uncle, my power drill, various wood and metal bits and a cone burr grinder bit for metal work, some hand tools like chisels and clamps, and a crimper I bought to work with the steel cables. Oh, and some plastic syringes to apply the epoxy resin and a butane torch to pop air bubbles in the epoxy as it set.
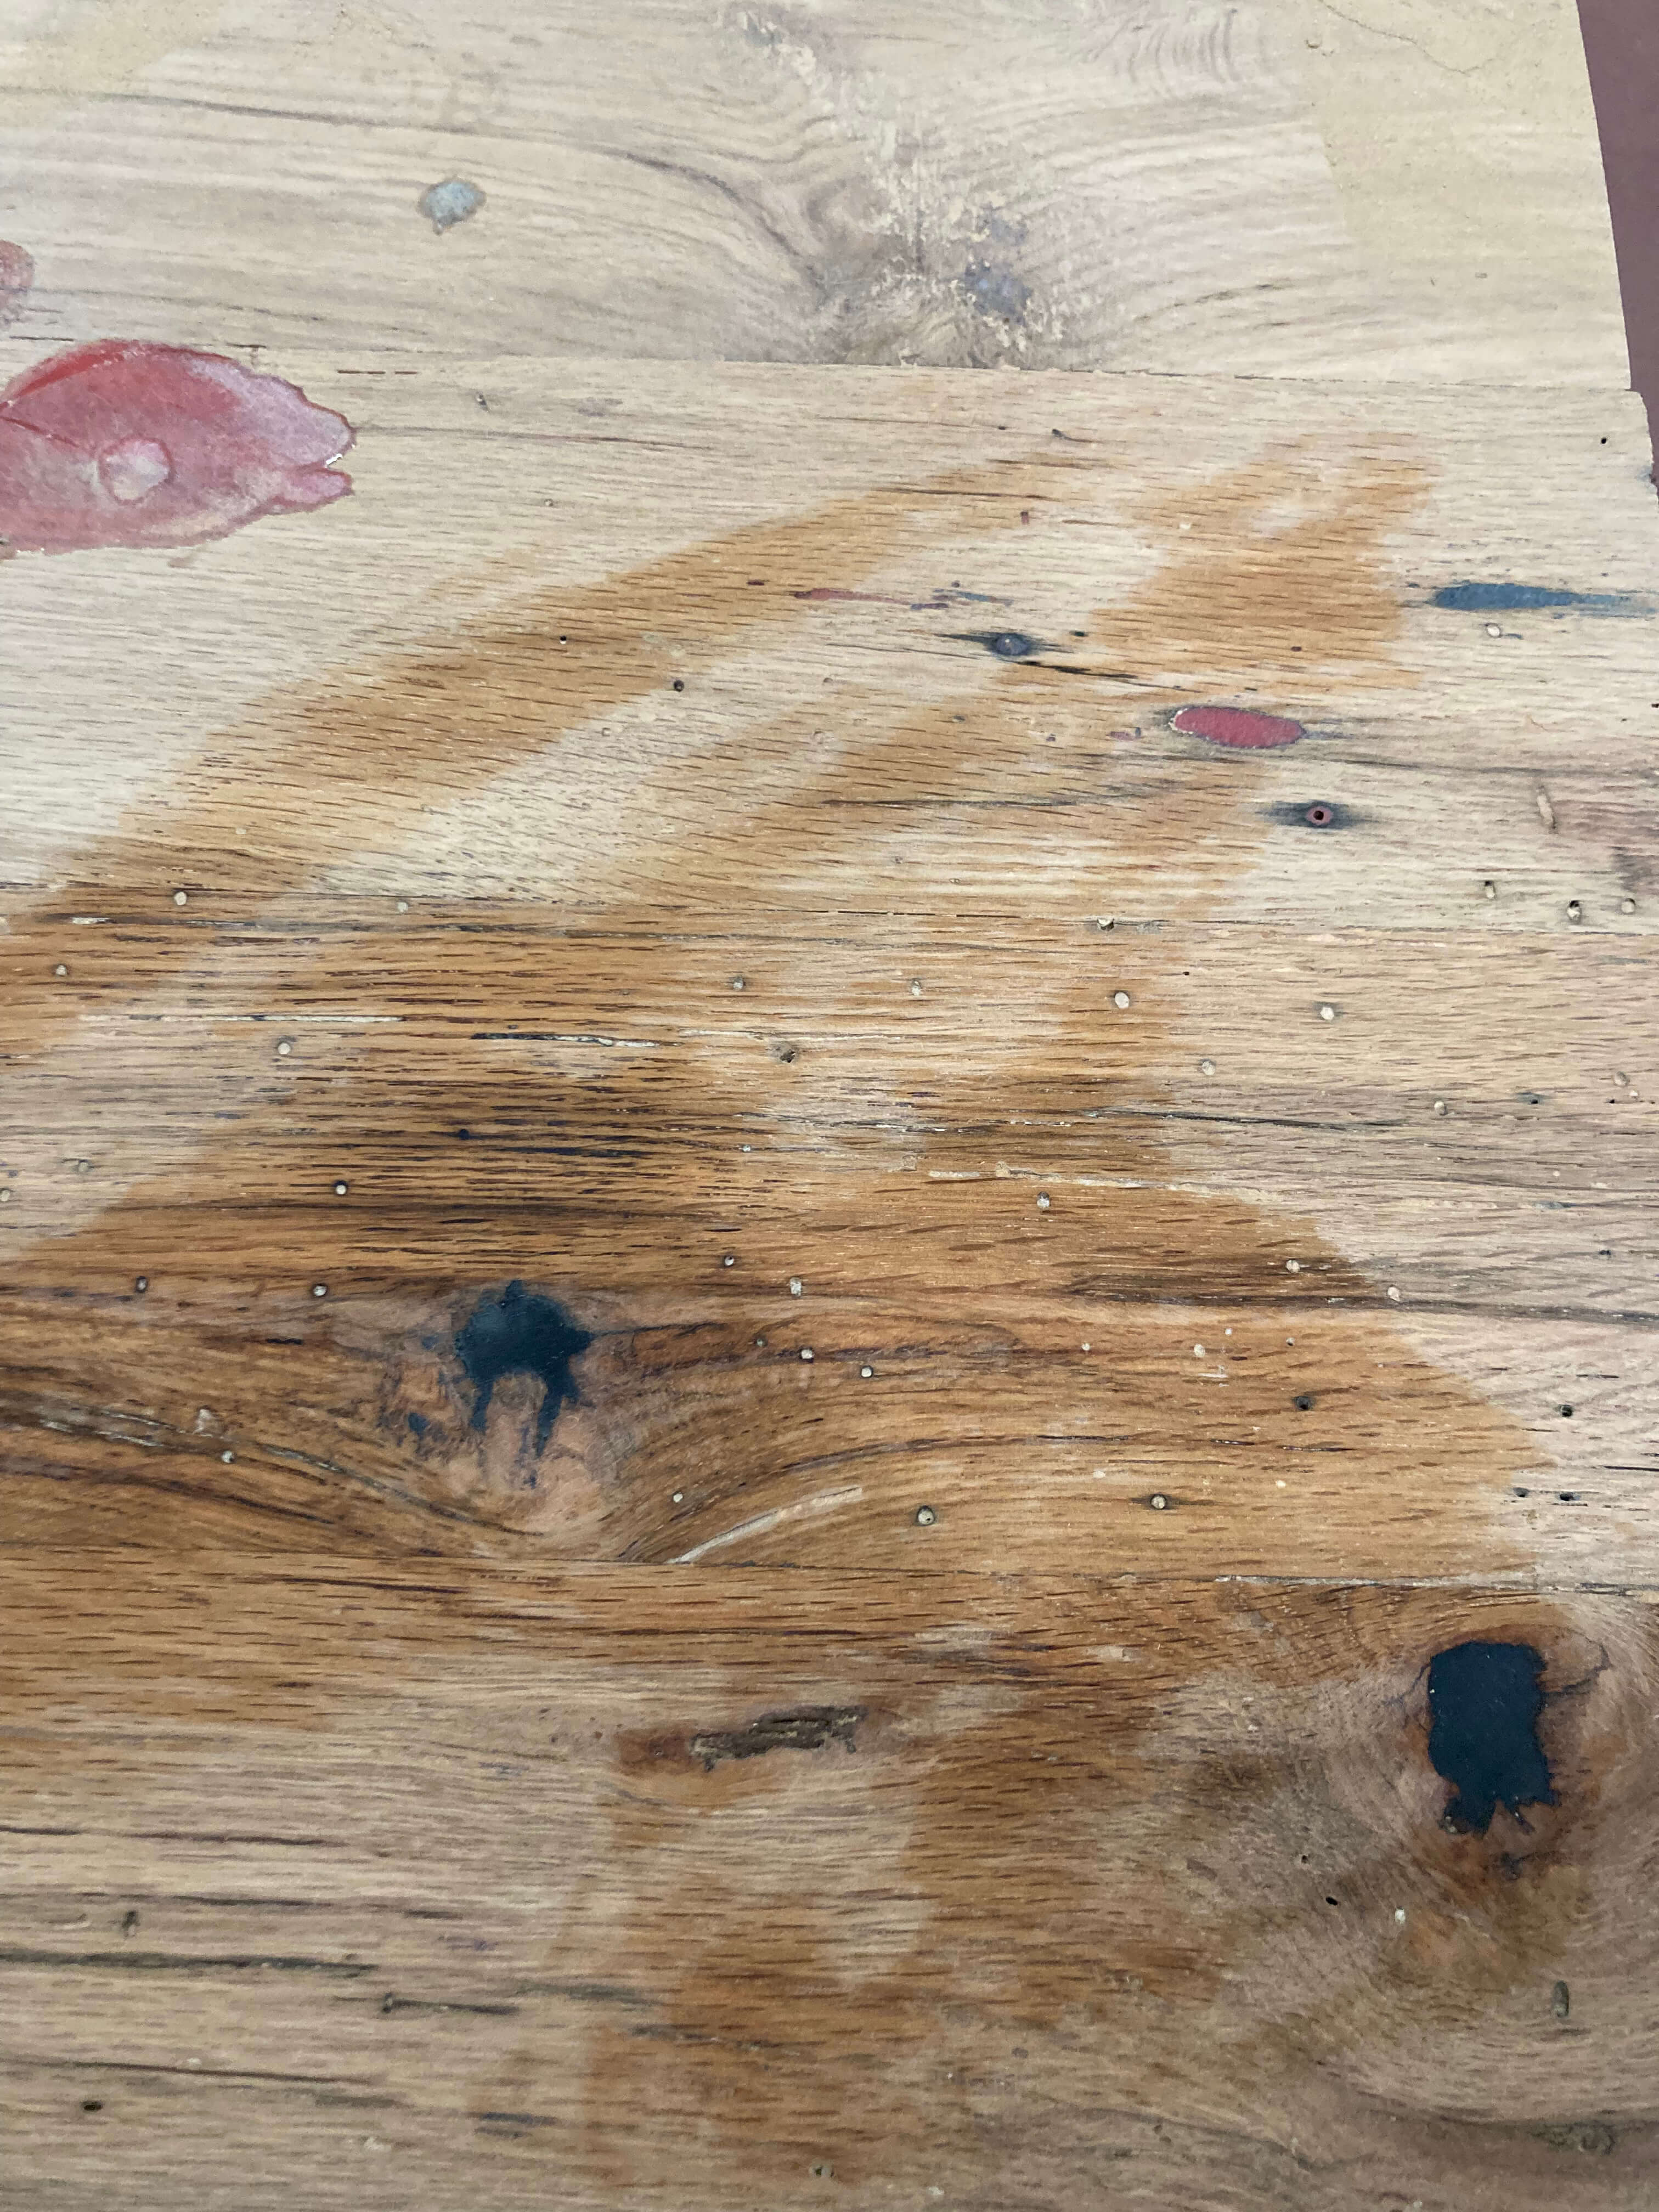
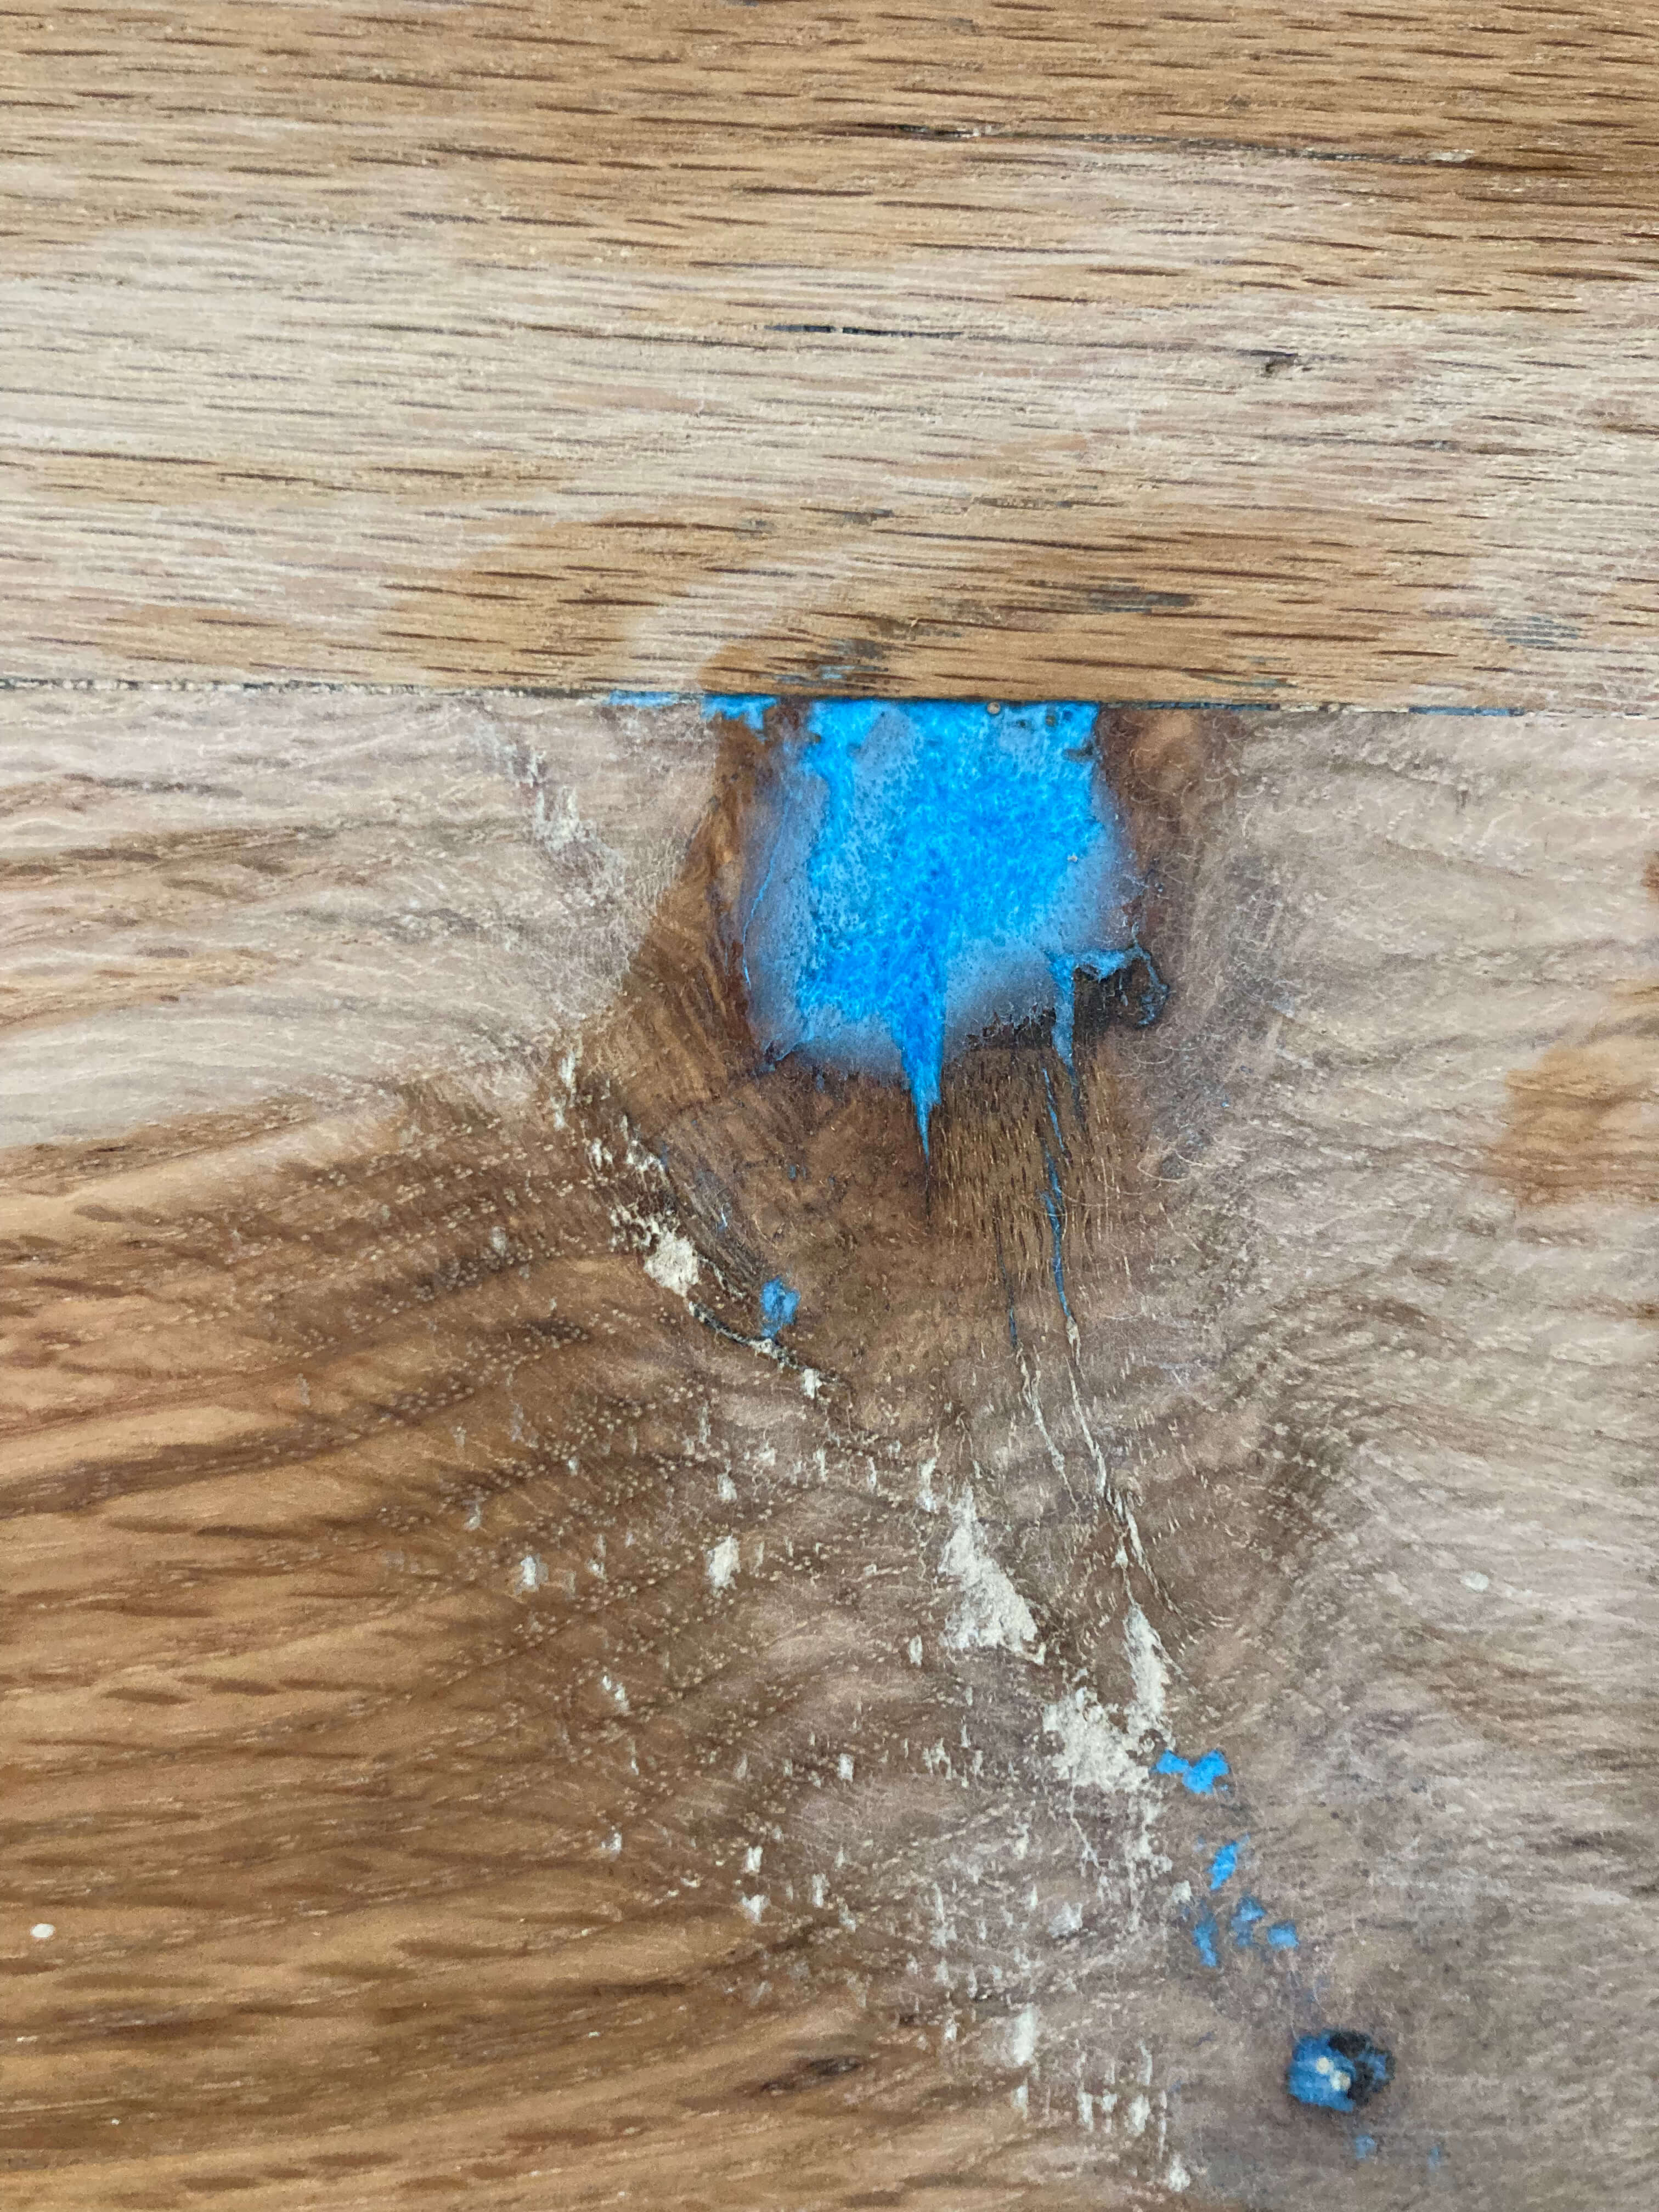
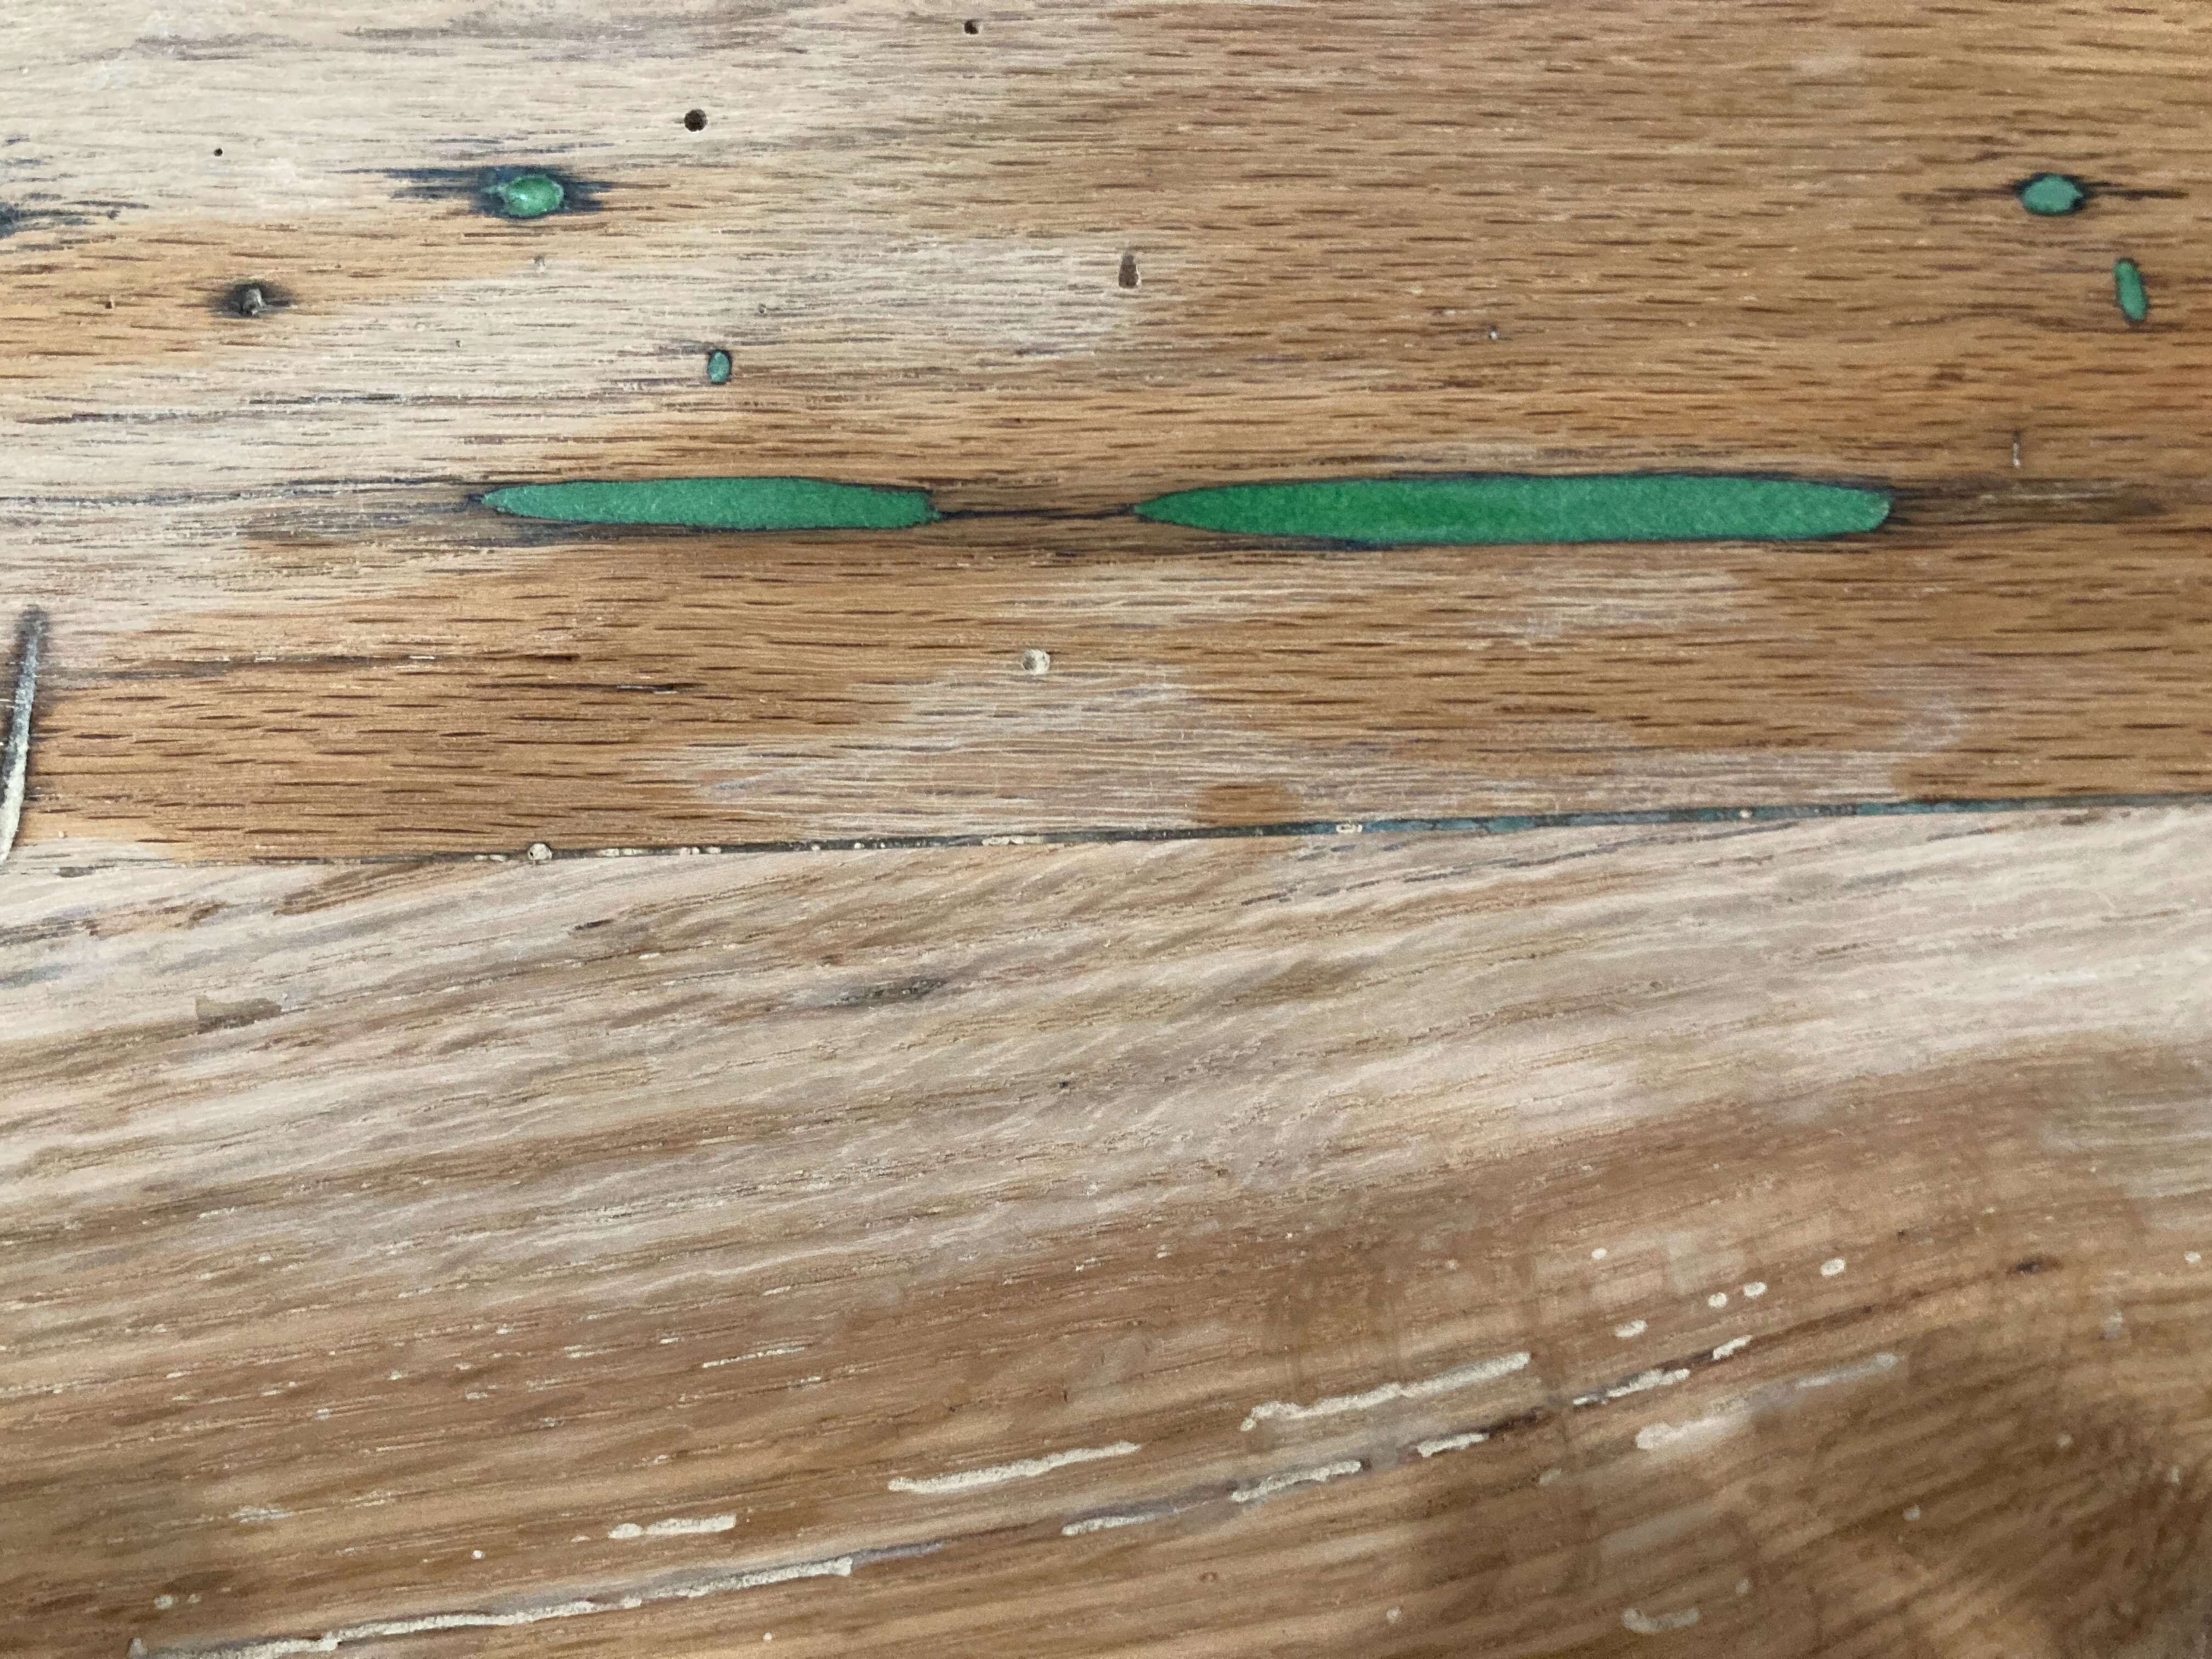
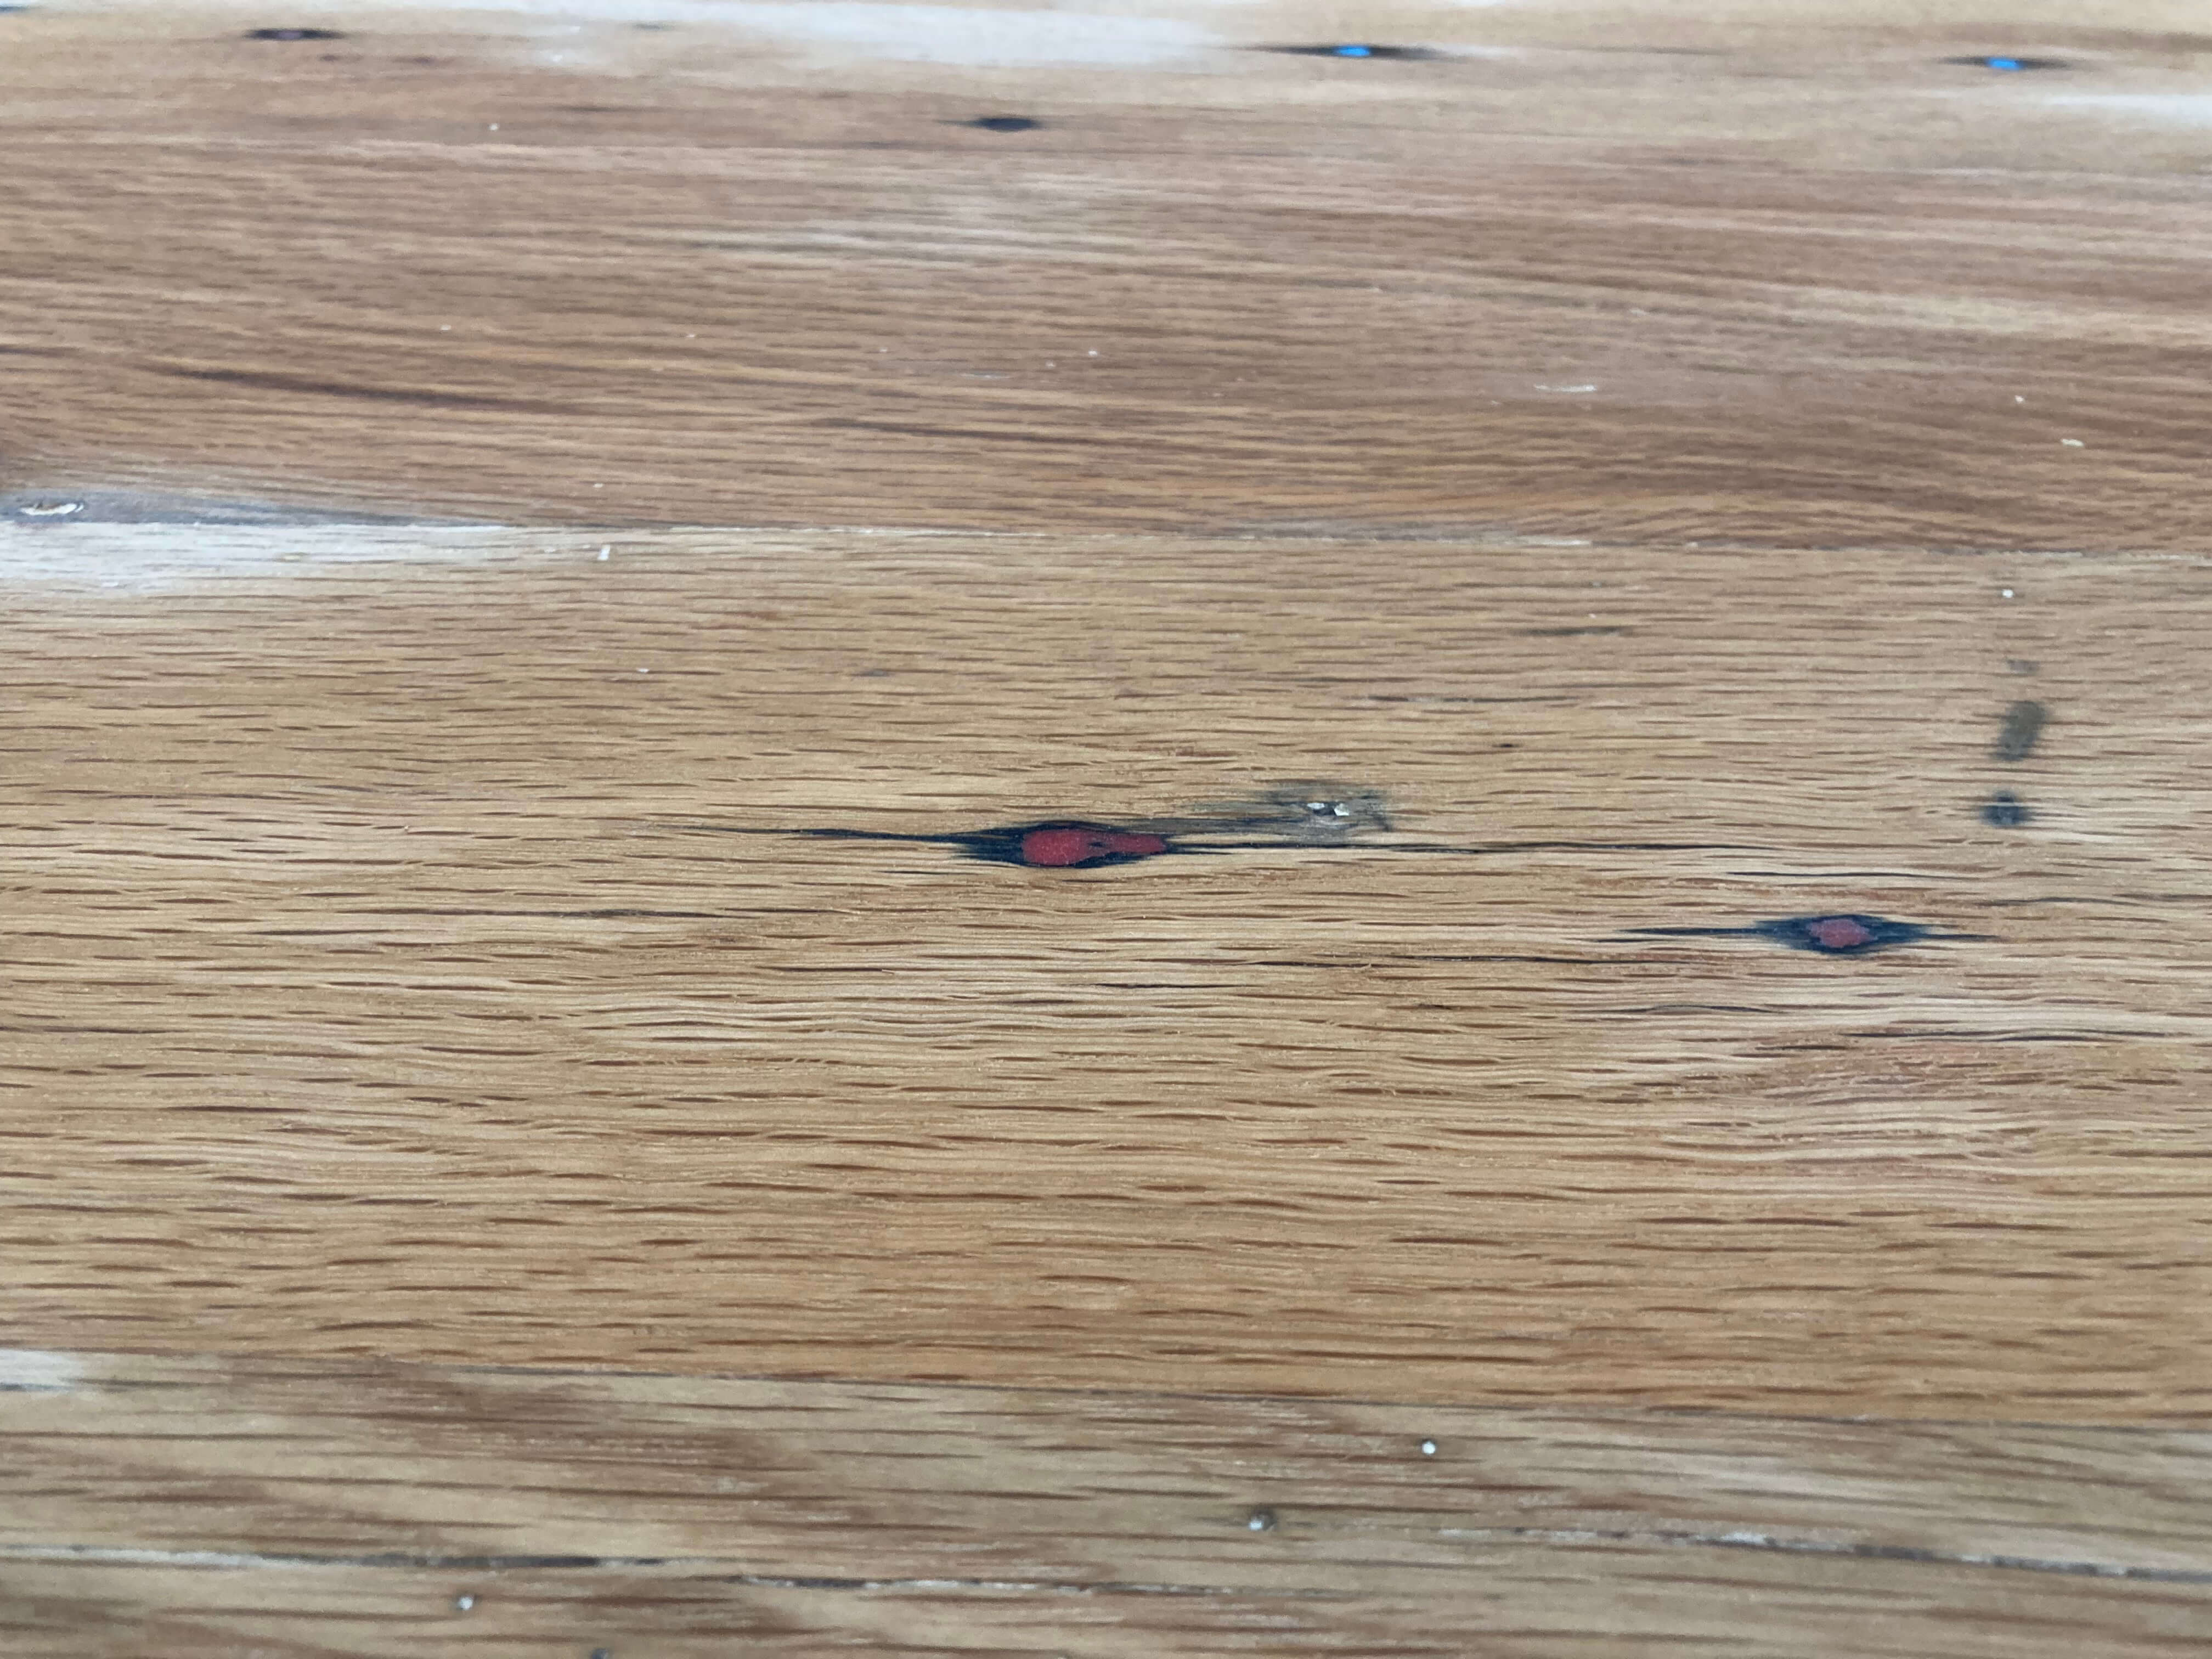
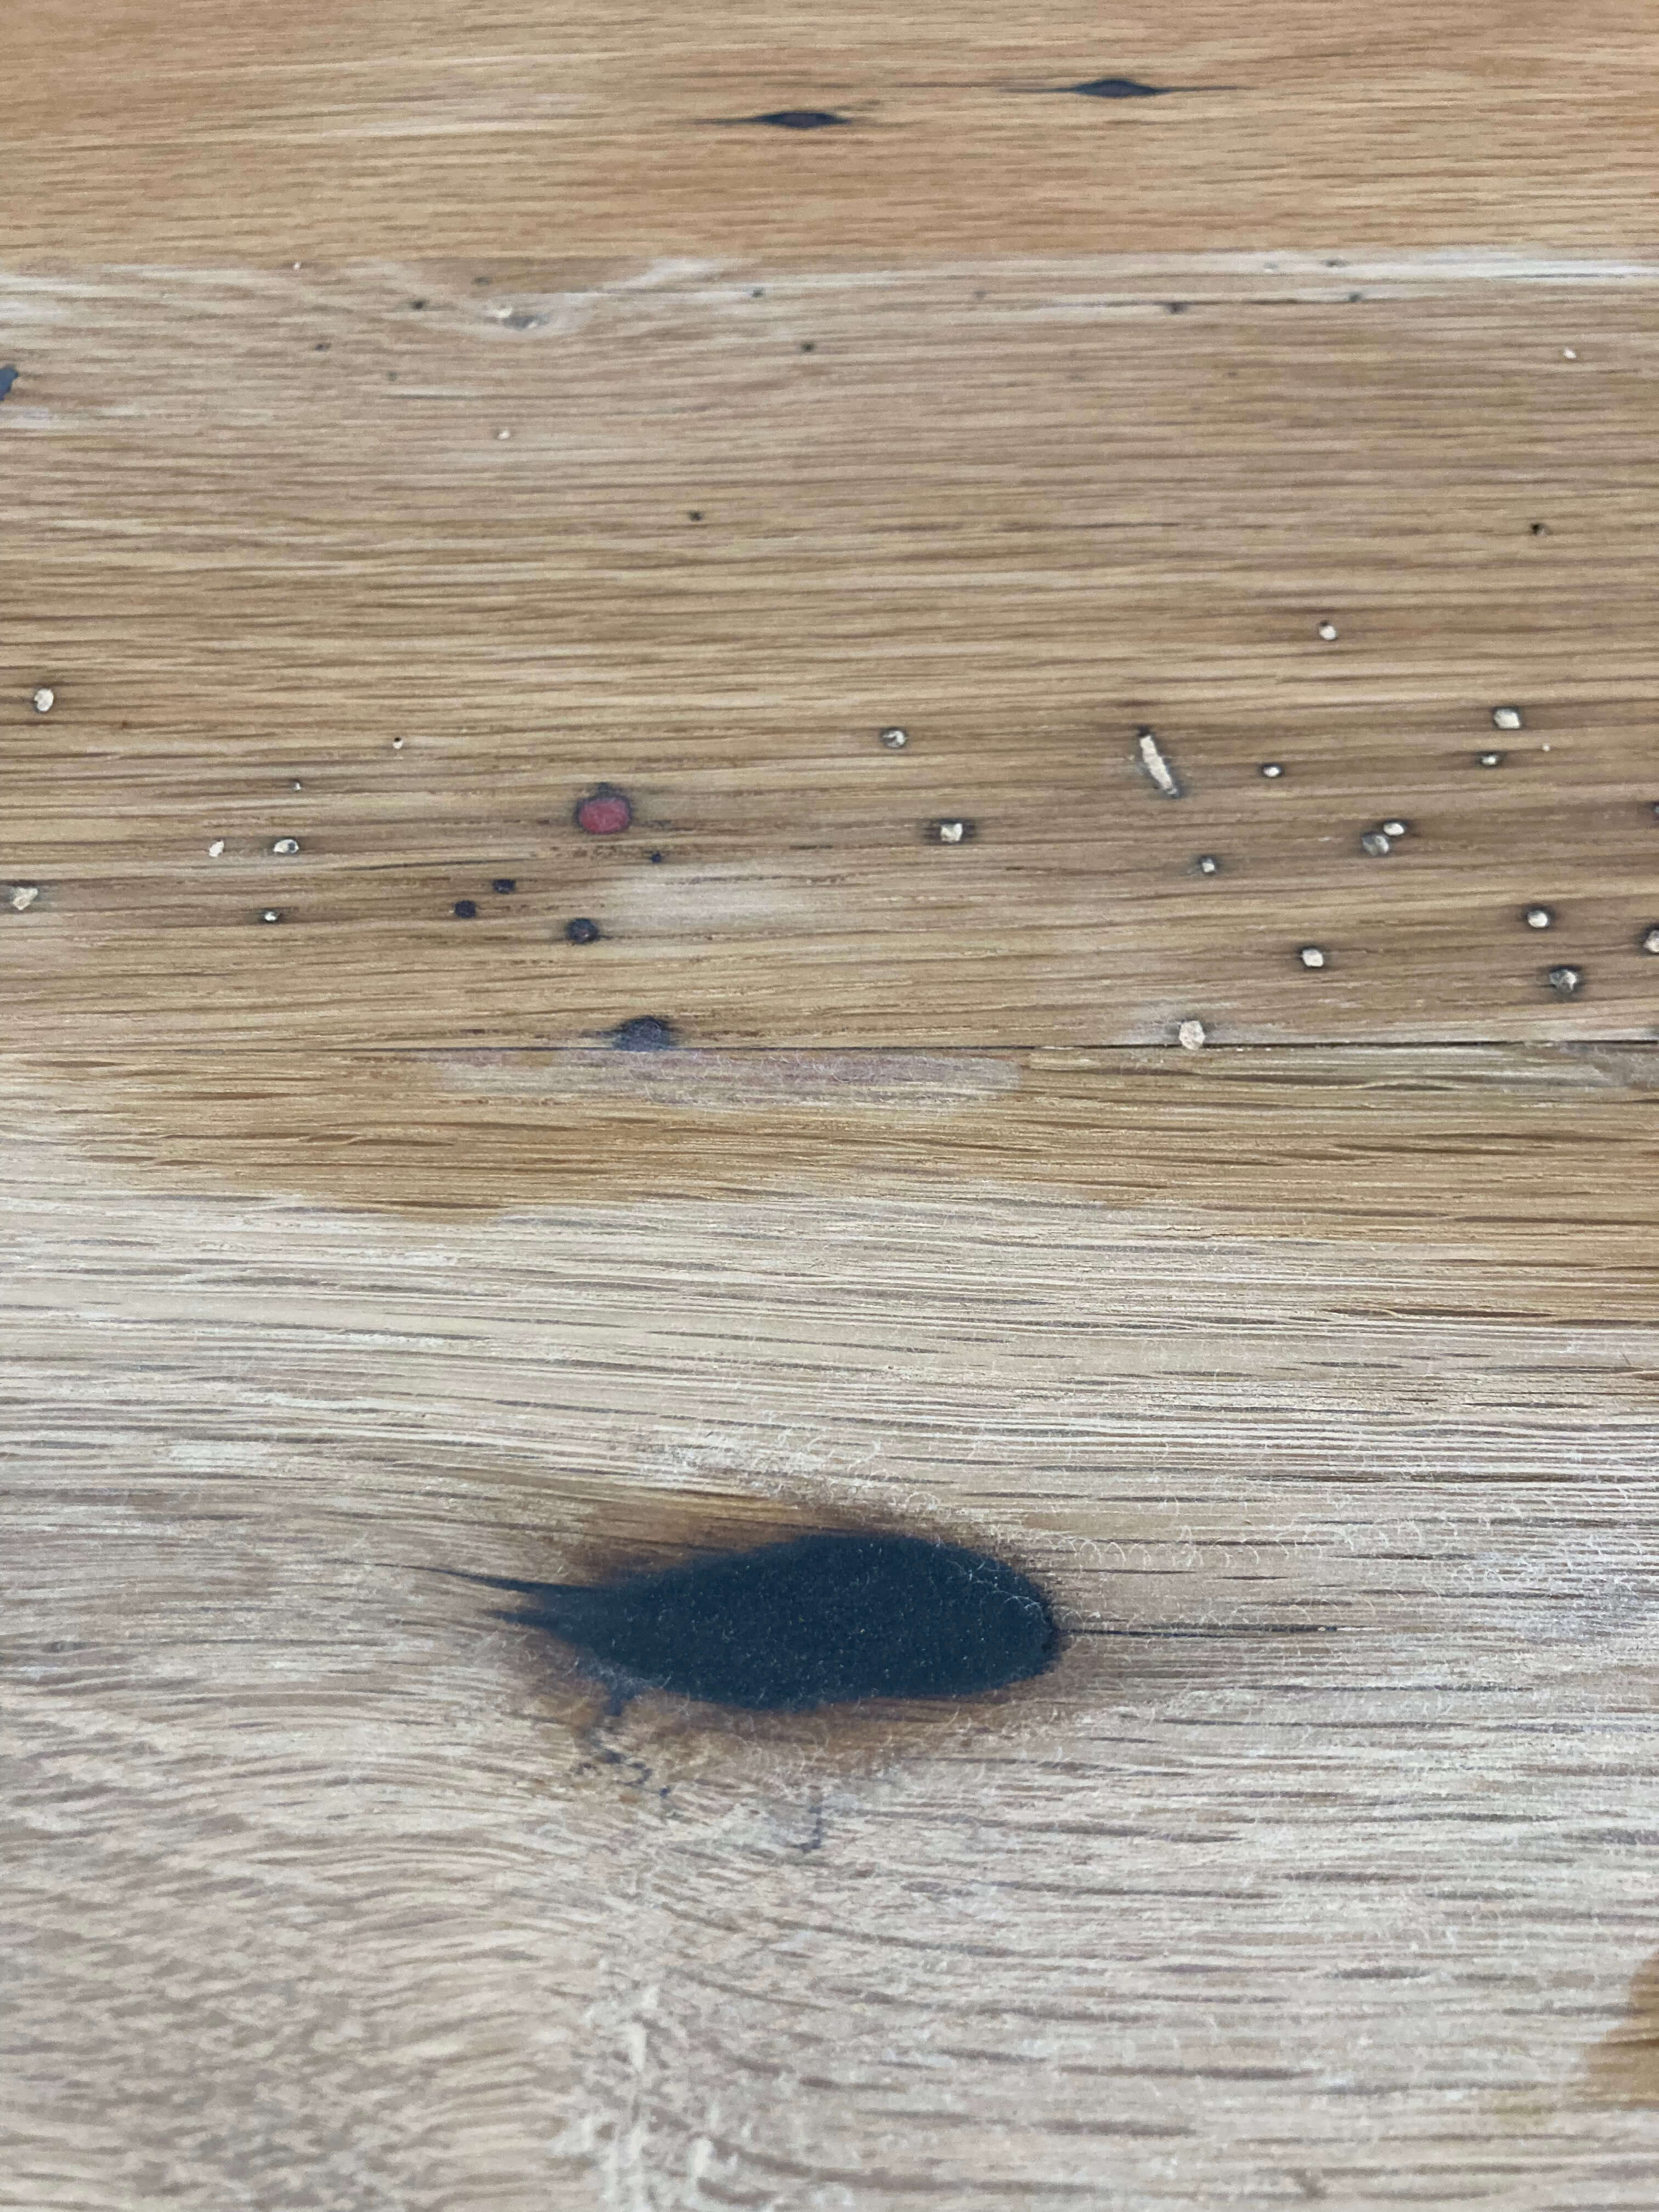
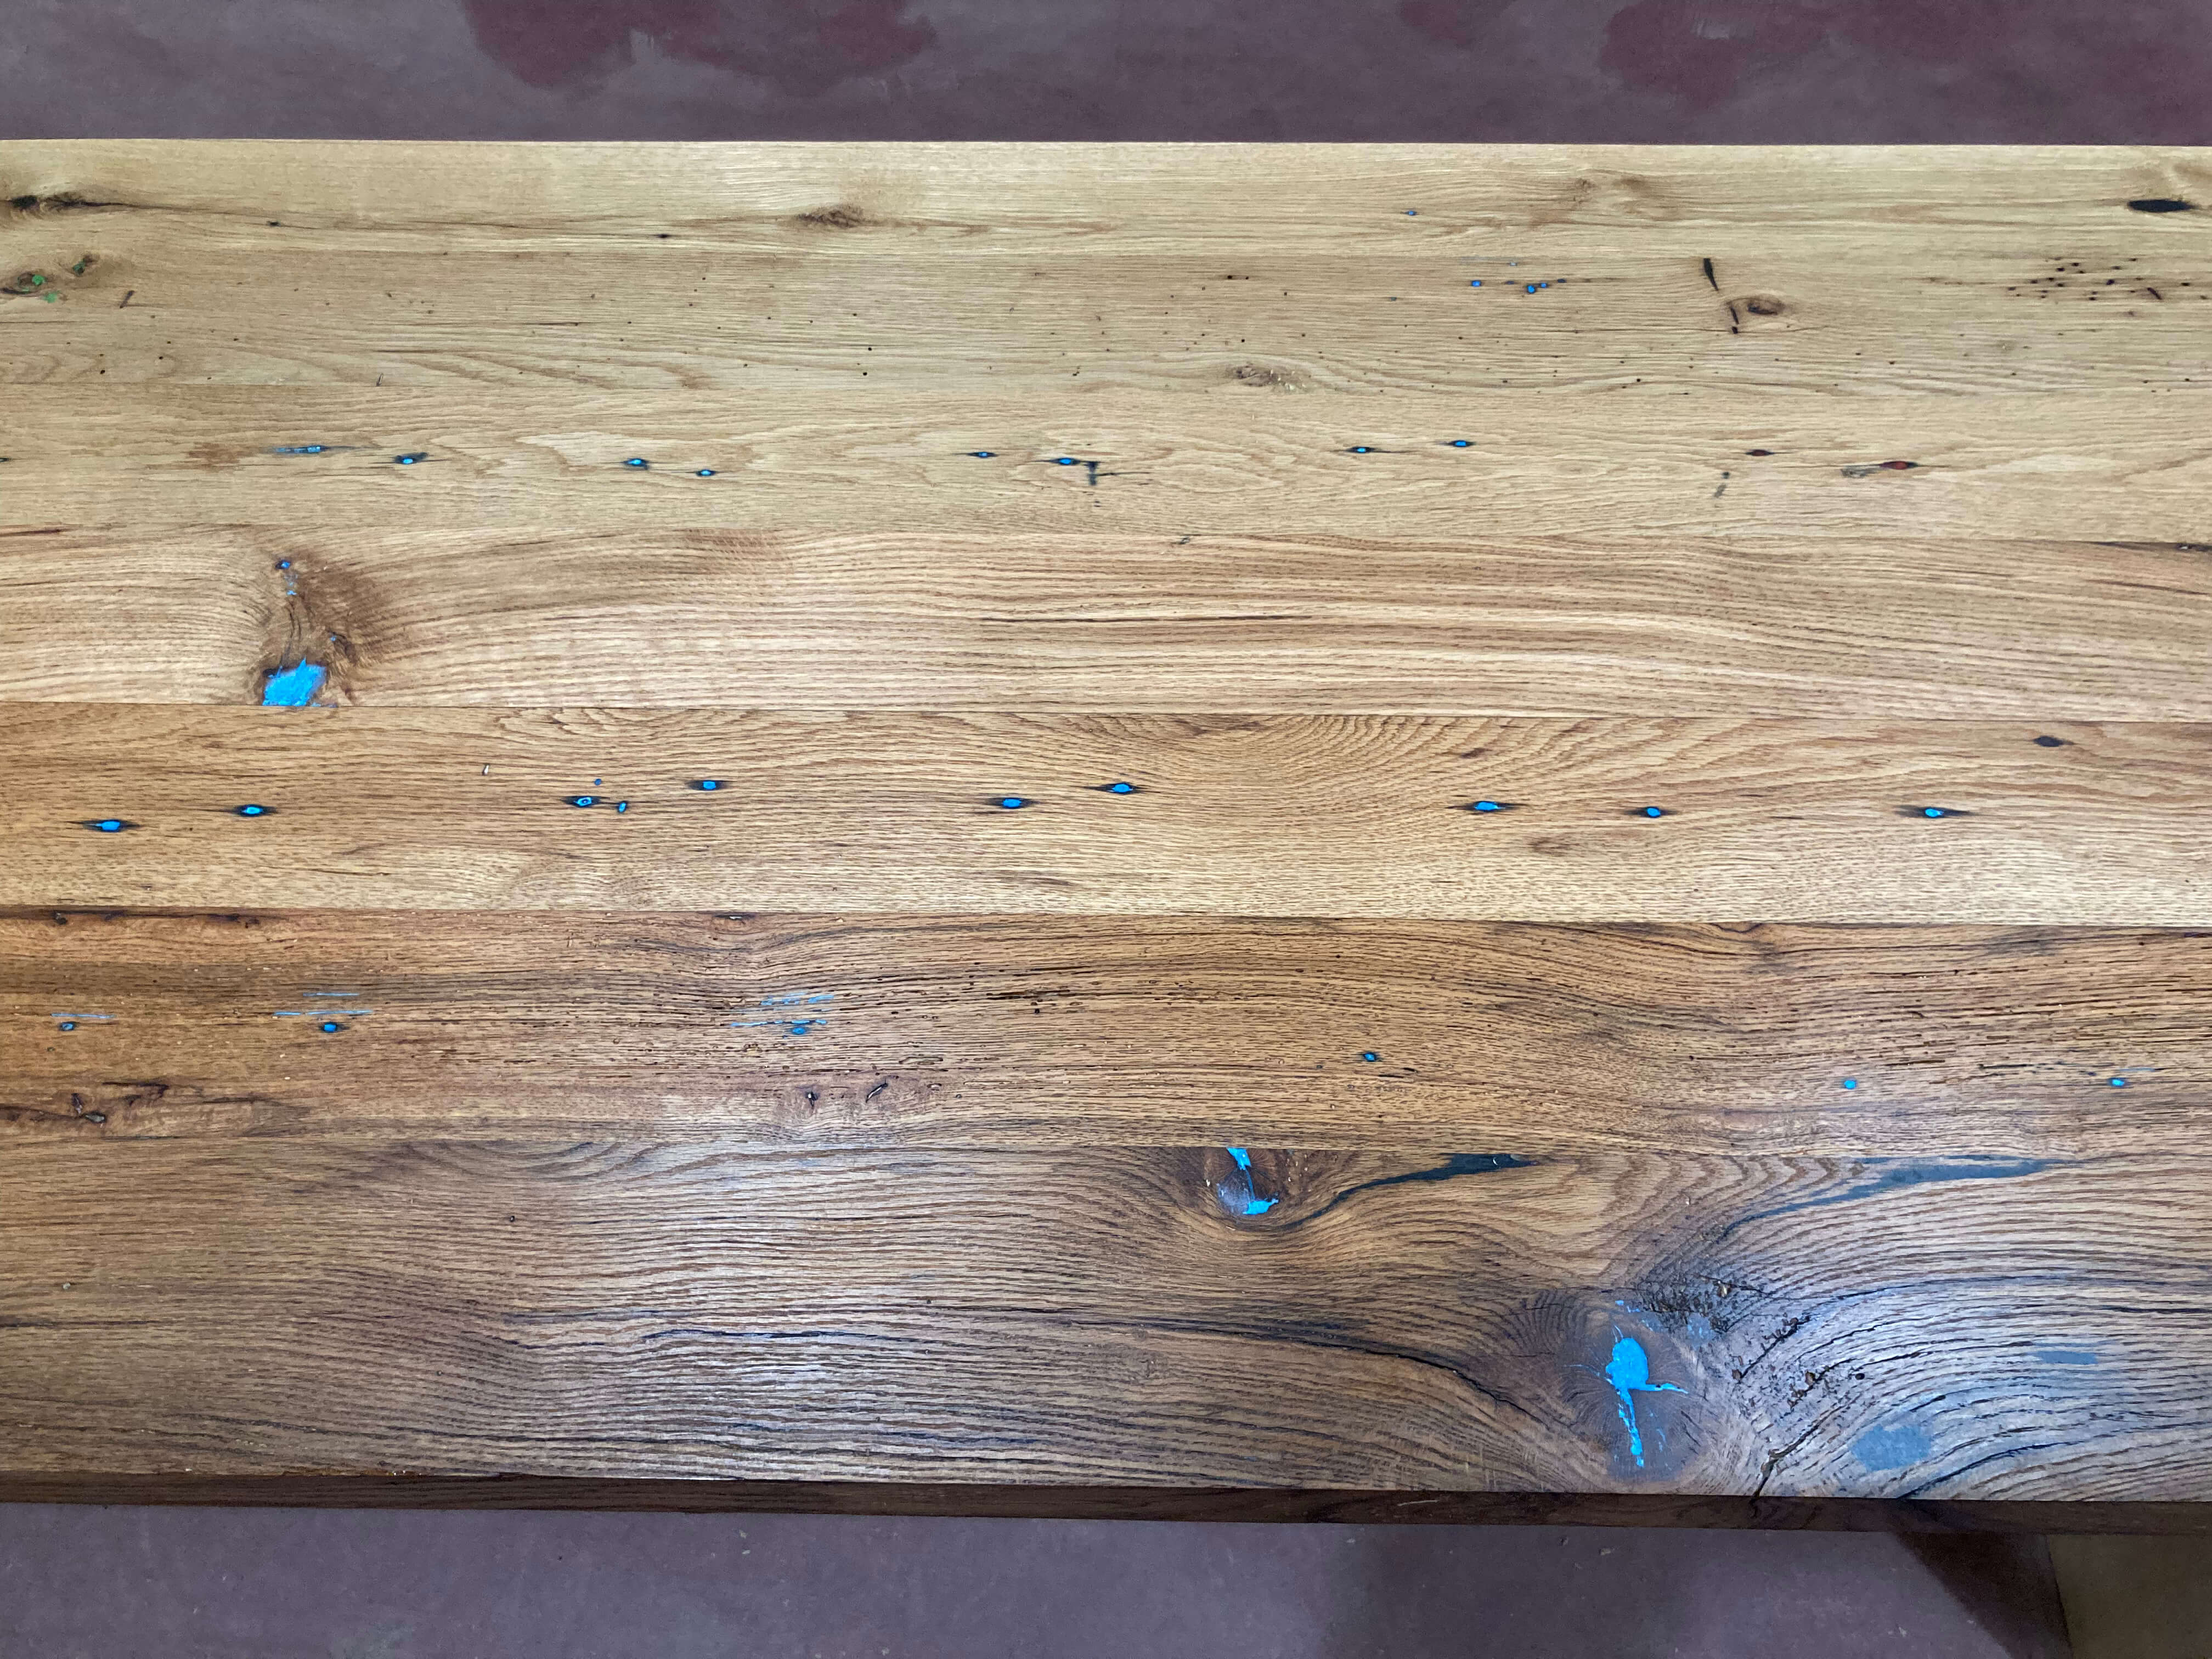
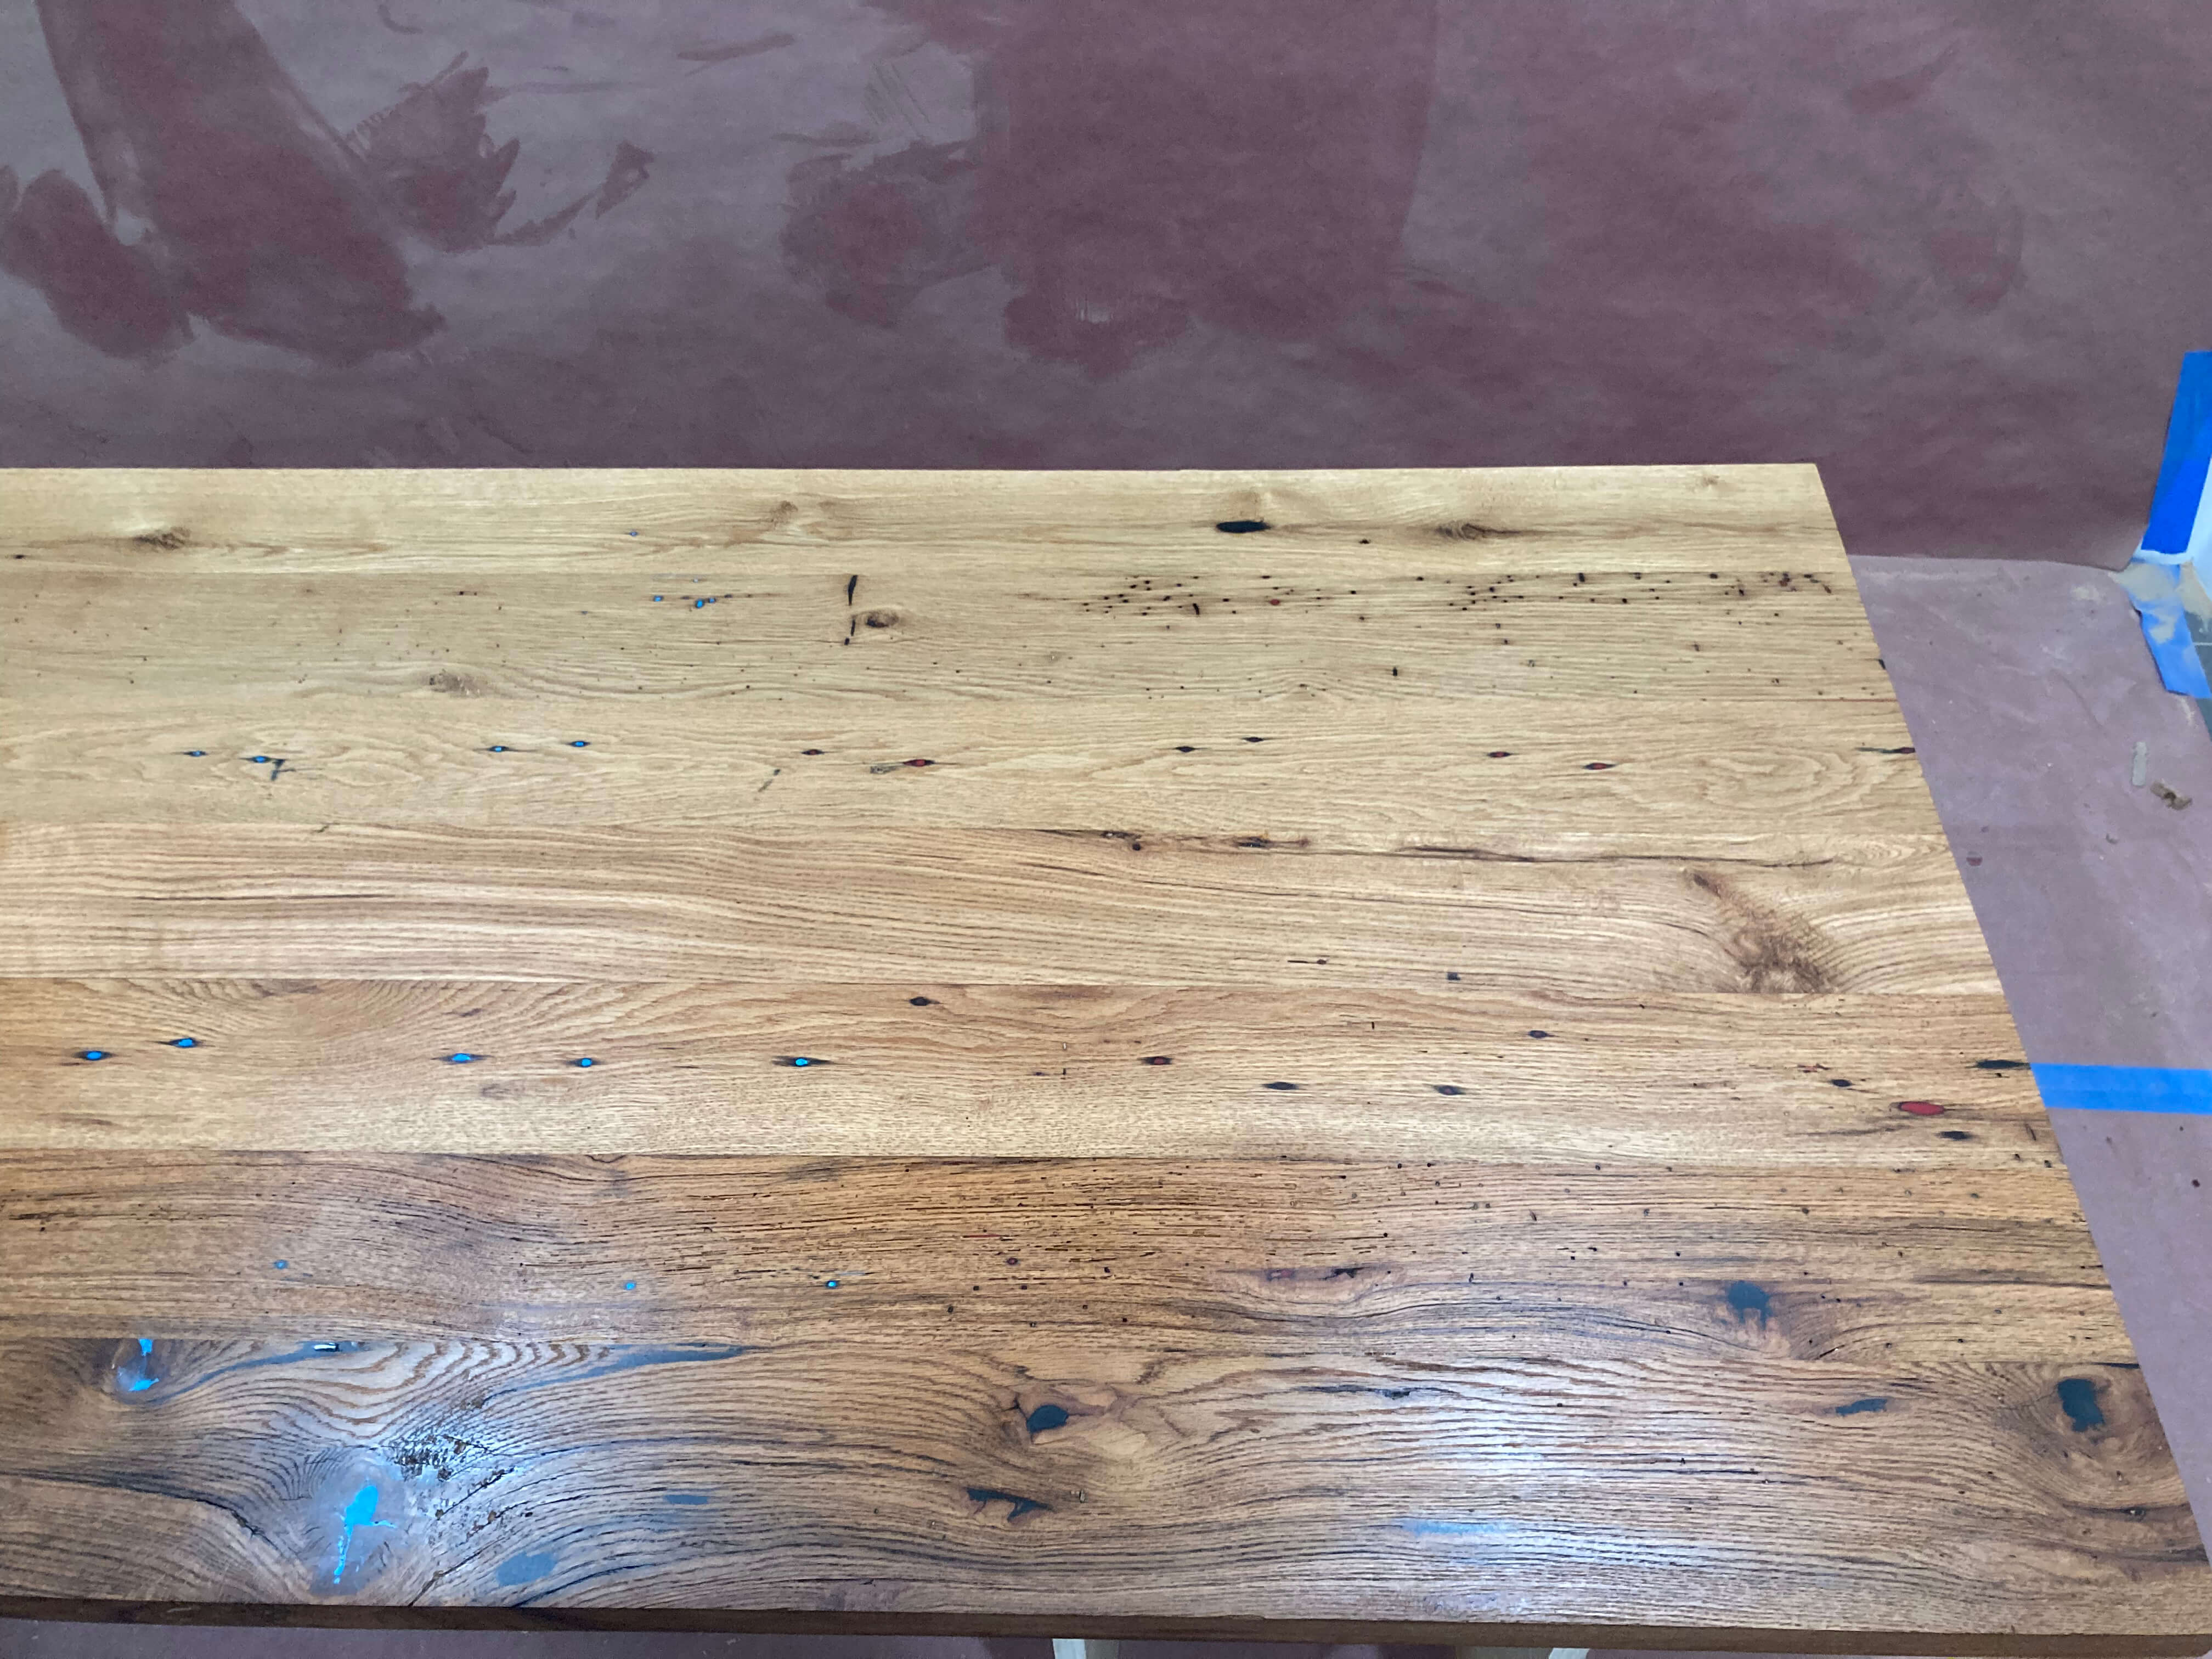
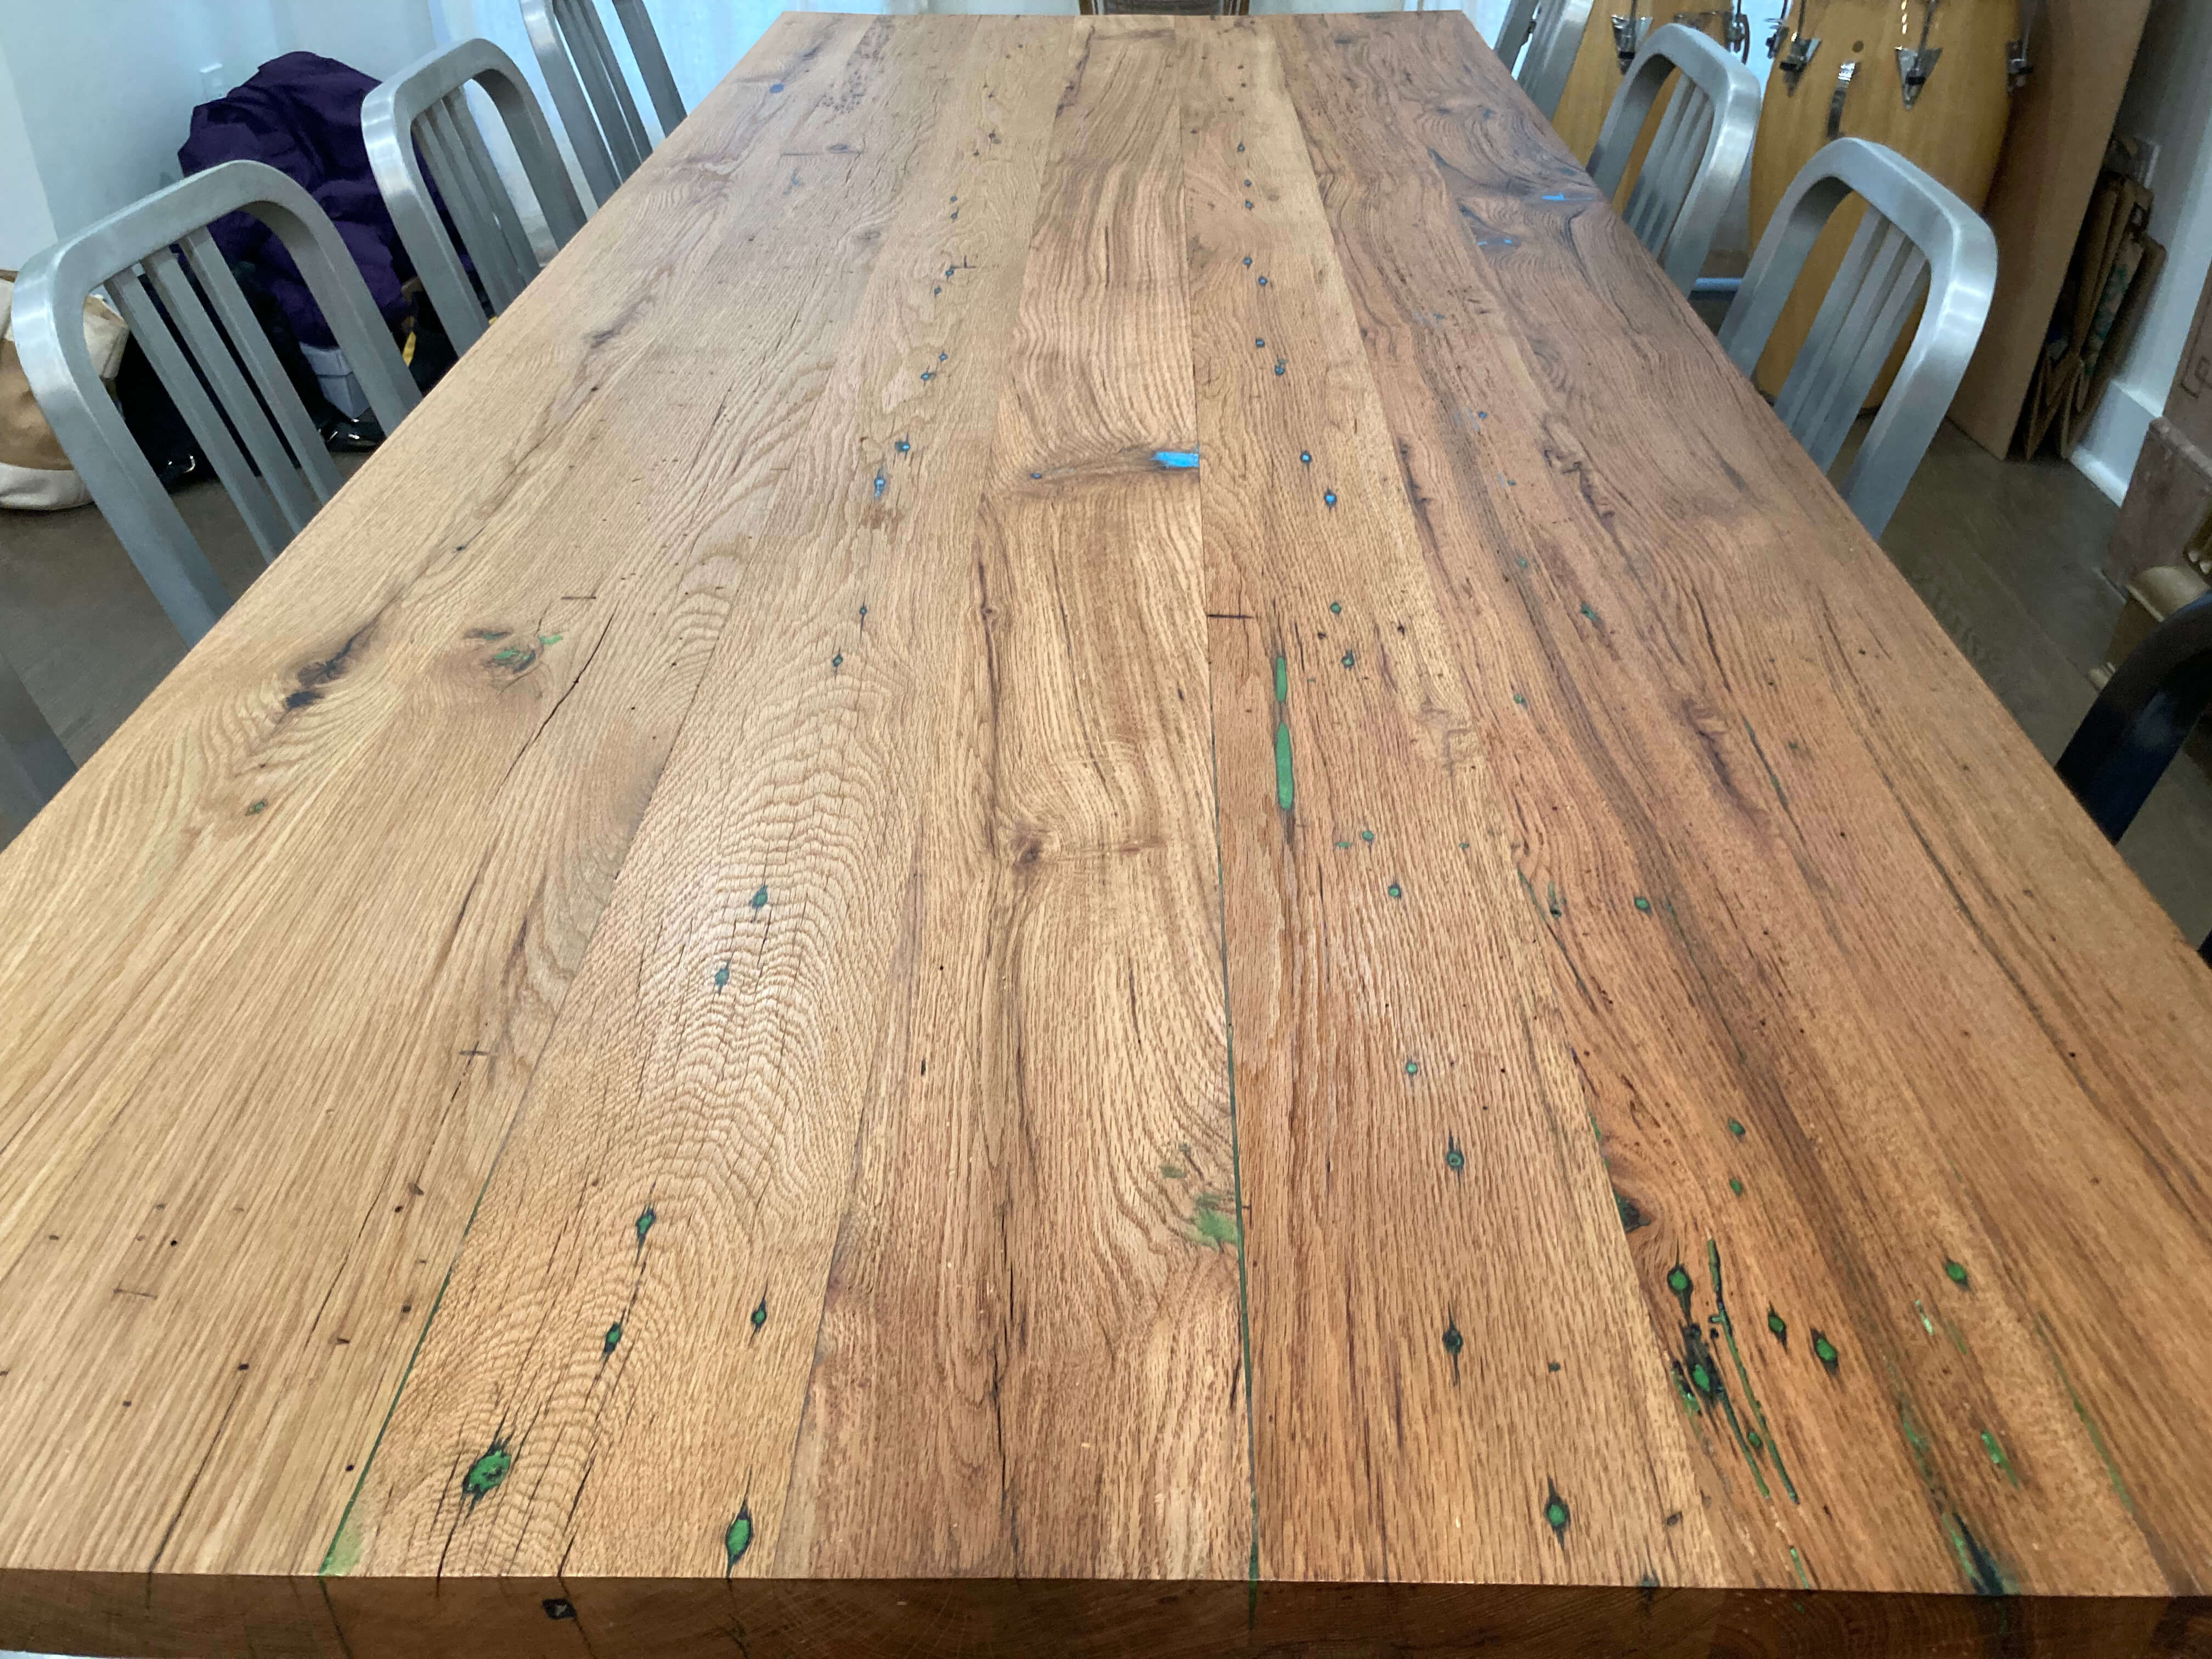
Speaking of which, for a little flair, we dyed the epoxy resin that we used to fill knots, cracks, and old nail holes a few different colors – black, red, blue, and green. I wasn’t totally sure how this would turn out (Jason was skeptical and pushed for all black which he had used in the past), but once we dramatically increased the ratio of pigment to epoxy, the colors became pretty saturated and started to look pretty good.
Despite many of the imperfections of this build my eye will often go to, one of the things I like about this table is I haven’t quite seen anything like it.